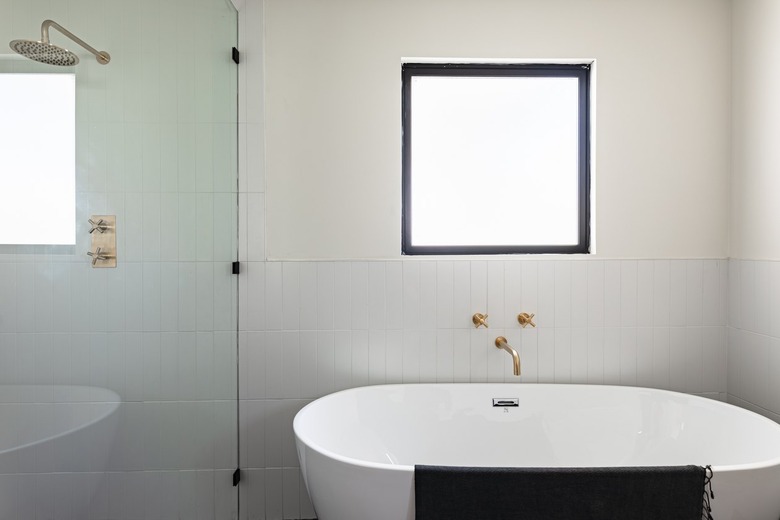
How To Hang Drywall Around A Bathtub
The final preparation of a bathtub enclosure for tile, paint or other wall finish is the installation of water-resistant drywall. Water-resistant drywall has an identical gypsum core composition as traditional drywall, except it has a thin wax coating on the surface paper to inhibit water penetration and a reinforced gypsum core. You can also get mold resistant drywall for your bathrooms. Water-resistant drywall installs in the same way as standard drywall, and the easy procedure will prepare your bathtub walls for their final finish material.
1. Measure the Bathtub Area
Measure the horizontal dimension of the bathtub's rear wall. These measurements help you cut the first pieces of drywall for the tub surround.
2. Cut Water-Resistant Drywall
Cut a length of water-resistant drywall according to the measurements, using a utility knife or drywall saw. The walls surrounding the tub need to use water-resistant drywall or, preferably, cement board instead of regular drywall to protect them from moisture damage.
3. Secure Drywall With Screws
Position the cut piece of water-resistant drywall horizontally against the bathtub's rear wall and rest its bottom edge on the lip of the bathtub ledge. Make certain the sheet is held level, then secure the piece to the wall framing using galvanized or coated drywall screws to prevent rusting. They're typically spaced approximately 8 inches apart and 2 inches inside the drywall edges. Repeat for the next piece of water-resistant drywall on that wall. This sheet should be laid above the previously installed sheet and should fit tightly against the ceiling.
4. Measure the Drain End Wall
Begin the bathtub's drain end wall installation at the same level at the rear wall, measuring the length of drywall to be cut to the appropriate wall stud center line. Typically, the water-resistant drywall is extended 4 to 6 inches beyond the front vertical edge of the bathtub or above the shower head if you're installing a shower and tub combo, where it will meet the standard-type drywall covering the balance of the bathroom walls.
5. Cut Holes for Faucets
Measure the locations of the tub faucet and valve locations, then transfer this layout to the water-resistant drywall piece you cut for the wall. Cut out the holes necessary using a utility knife or drywall jab saw.
6. Install Side Wall Drywall
Place the side wall water-resistant drywall piece into position, against the wall framing that was placed over the valves and faucet. Level the piece and secure it in place using drywall screws. Repeat for the next piece of water-resistant drywall above the previously installed sheet. Again, this second sheet will reach the ceiling level and the width should be cut to fit tightly against the ceiling surface.
7. Tape, Mud and Sand Joints
Tape and mud all of the drywall joints and screws prior to applying the planned wall finish. Apply self-adhesive fiberglass drywall tape to all joints or use joint compound to adhere fiberglass drywall tape. Avoid paper drywall tape, which isn't moisture-resistant.
Install corner beading where the drywall sheets meet in the corners. Apply two coats of mud, allowing them to dry between, to the joints and screws. Sand the final coat of mud to get a smooth finish.
