How To Remove The Cover Of A Window Air Conditioner
Things Needed
-
Phillips-head screwdriver
-
Helper
-
Nut driver
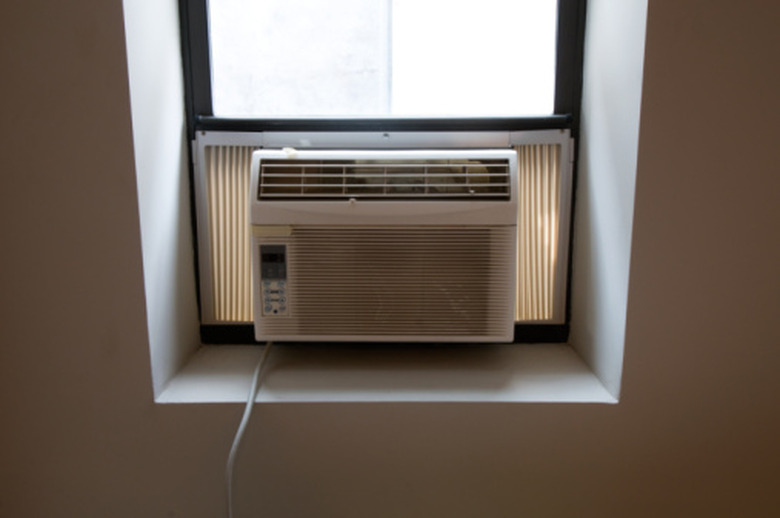
Your window air conditioner has two covers protecting the internal mechanisms. The front cover protects the air filter and front of the air conditioner. This is the part of the unit you see in the room. The outside cover, or case, protects all of the internal working parts of the air conditioner. The front cover may or may not have securing screws, depending on the manufacturer. The outside cover, however, attaches relatively the same.
Remove Front Cover
Step 1
Turn off the air conditioner and unplug the power cord from the outlet.
Step 2
Pull the control knobs straight off of the air conditioner with your fingers. Look for screws near the control-knob stems.
Step 3
Remove the screws with a Phillips-head screwdriver, if your air conditioner uses screws.
Step 4
Lift the bottom of the front cover up with your fingers and pull it away from the air conditioner. Unhook the top of the front cover and remove it completely from the air conditioner.
Remove Outside Cover
Step 1
Unplug the air conditioner and remove the front cover. Pull the unit out of the window and into the room. Ask a friend to help carry the air conditioner to an area where you can remove the cover.
Step 2
Place the air conditioner on its side so you can access the hex-head screws securing the case. Remove the screws with a nut driver. Place the unit on its bottom.
Step 3
Remove the screws on each side, securing the case to the front of the air conditioner unit with a nut driver. The screws are near the front of the case on each side.
Step 4
Tilt the unit on its back while holding the front of the air conditioner. Ask your helper to assist you while doing this. There is a brace on each side between the case and the inside of the air conditioner.
Step 5
Lift the inside air conditioner away from the case and place it on its bottom on a flat surface with a towel underneath.
