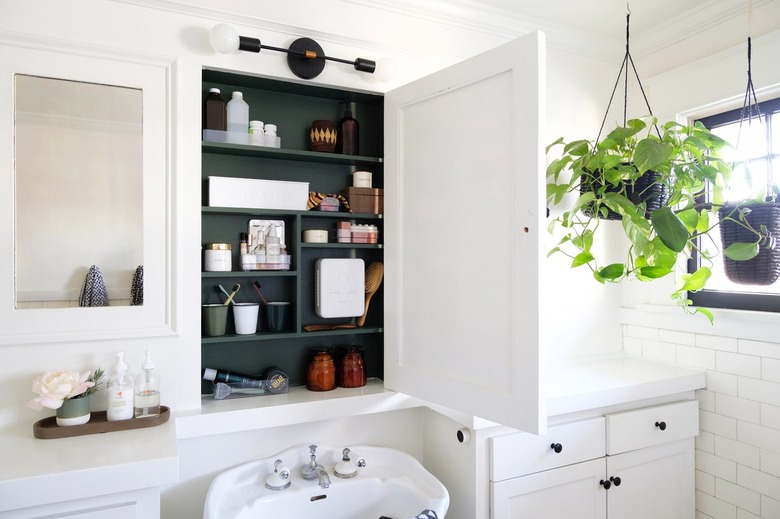
How To Cover Up A Hole Left By A Medicine Cabinet
We may receive a commission on purchases made from links.
Most medicine cabinets are installed in bathrooms by cutting a space in the drywall to fit the depth of the cabinet. This allows the doors to be closer to flush with the wall, using the space behind the drywall for storage. The alternative, mounting the whole cabinet outside the wall, takes up valuable space in what's usually a small room.
This works well until you're looking to remove or replace the medicine cabinet because you'll find a rectangular gap in the wall where the back of the cabinet used to sit. It looks alarming, but patching drywall to cover up a hole left by a medicine cabinet is actually a fairly straightforward job.
Basic Medicine Cabinet Patching Information
Basic Medicine Cabinet Patching Information
No matter how you proceed, you will be filling the gap the medicine cabinet left behind, and there are a couple of ways to accomplish this. The first involves using drywall mounting tabs installed on the edges of the hole that are then held in place using drywall screws. This method is simple but is not very sturdy.
The second method involves adding two wood planks on the inside of the hole that are screwed into the existing drywall and then attaching the new piece of drywall to these supports. Whichever method you choose should work based on your skill level, the size of the cabinet hole and your plans for the wall space. Either way, you'll also need the materials related to the method you've chosen.
Working with drywall and mud can release dust particles into the air. It's recommended to have good ventilation in the space and to use gloves, safety goggles and a dust mask. Most of the steps required are relatively simple, but make sure to use good safety protocol, especially when you are cutting the drywall and drilling holes.
Getting Started With Repairs
Getting Started With Repairs
To start, prepare the work area by removing the medicine cabinet and measuring the space left behind. If the hole isn't straight, mark lines to make a uniform square or rectangle and cut with a drywall saw until the hole is a perfect rectangle. Carefully measure the hole in the wall and then cut the drywall to fit those dimensions.
Then, you'll need to add support depending on the method you've chosen. If you are using drywall mounting tabs, install four of them onto the edges of the hole in the wall, one near each corner. Make sure they're aligned so that the spring tabs are facing away from the wall.
If you are using wood supports, cut two planks that are 2 to 3 inches longer than the length of the hole in the drywall. Position each plank inside the hole, one on each side, so that the boards overlap the drywall by at least an inch on either side. Using drywall screws and a drill, screw both boards into the existing drywall using one screw on each side through the space where the board covers the existing drywall.
Installing New Drywall
Installing New Drywall
Once your support system is in place, insert the new piece of drywall into the hole. With drywall tabs, press the new piece into each tab and then use drywall screws through both sides of the tab to connect the new drywall to the old per the manufacturer's instructions. If you are using wood braces, apply adhesive to the wood first and then press in the new piece of drywall. Use drywall screws to firmly attach the new piece to the planks underneath.
Apply mesh drywall tape over the seams and spread joint compound (mud) over the tape to fill in any gaps. Apply multiple coats of mud if needed and heed the instructions on drying time. Once dry, sand the dried compound until the entire work area is smooth and flush.
