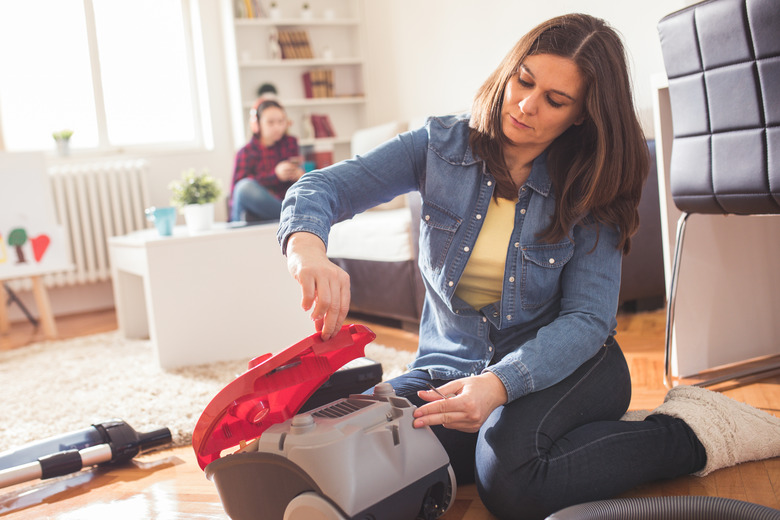
How To Take Apart A Bissell Vacuum
Vacuuming frequently can help keep your home looking tight and smelling fresh, but every once in a while a vacuum cleaner will suddenly stop sucking things up properly. If it is under warranty, a trip to the repair shop is called for, but if you have an older or secondhand vacuum cleaner, this can get expensive. Taking apart and cleaning a Bissell vacuum cleaner usually solves the problem. It is not difficult, and it can help your machine run at peak efficiency for years.
Consult Your Bissell Vacuum Manual
Consult Your Bissell Vacuum Manual
Most Bissell vacuum cleaners are more similar than they are different, but it is always a good idea to consult your vacuum cleaner manual if you have it. This will help ensure that you do not damage the casing or any of the parts, and it may offer helpful suggestions as to the best cleaning solutions. If you do not have the manual, it is usually possible to find one online by going to the Bissell website.
Prepare Your Work Area and Gather Supplies
Prepare Your Work Area and Gather Supplies
Taking apart and cleaning out a vacuum cleaner is messy, dusty work, so the first step is to lay down an old sheet, plastic tablecloth or tarpaulin. This can be done on a workbench or table or on the floor. You will also need a flat-head and a cross-point screwdriver, small bowl, pliers, a sturdy comb, scissors, can of compressed air and several clean, lint-free cloths. A sink or large bucket full of hot water and lots of degreasing dish soap is also useful. If you have dust allergies, latex gloves and a painter's dust mask will help protect you.
Disassemble Your Bissell Vacuum Cleaner
Disassemble Your Bissell Vacuum Cleaner
Remove any attachments that are clipped onto your Bissell vacuum cleaner, including any hoses that are detachable. Put them in your sink or a bucket of hot soapy water and let them soak while you continue.
Examine the body of your vacuum cleaner to find all of the places where the case is screwed together. Remove the screws using the appropriate screwdriver. Place the screws into a small bowl to keep them from wandering off. Take the case apart and set the pieces aside.
Depending on what kind of vacuum you have, your next step is to remove the bag, the Bissell healthy home vacuum filter or whatever filter you have. If you have a bagless vacuum cleaner, this is a good time to wash the dust canister.
Remove the beater bar and take off the Bissell Easy Vac drive belt or whatever kind you have. If this is a fairly new belt that does not need to be replaced, wash it in hot soapy water and pat it dry.
Clean All Parts Thoroughly
Clean All Parts Thoroughly
Wash and dry all of the attachments that have been soaking. Use a sturdy comb to remove any stubborn dust or other debris from the bristles of brushes. Don't forget to run soapy water through the hoses and hard plastic hose extensions and rinse them well. Drain or discard and then replace the soapy water.
Use scissors to cut away any hair, thread or strings that might be tangled in the beater bar's brush bristles. Use the sturdy comb to clean, straighten and fluff them up. Wash the beater bar in your fresh, hot and soapy water and dry it thoroughly. Return the old, clean belt to the beater bar or put on a new one.
Dampen a clean, lint-free cloth in fresh soapy water and wipe down the inside and the outside of the case. Rinse it with a clean cloth dampened with clear water and dry the pieces thoroughly. Make sure the wheels are not tangled with hair and wipe them down as well.
Replace the Bag or Bissell Easy Vac Filter and Reassemble
Replace the Bag or Bissell Easy Vac Filter and Reassemble
Put in a fresh bag or replace the filter. If your Bissell filter is washable, do so. Dry it thoroughly and place it back in the case.
Put your Bissell vacuum cleaner back together by reversing the steps you took to disassemble it. Whether you have a Bissell Powerforce canister, an upright or a handheld vacuum cleaner, it should run much better once it has been taken apart and thoroughly cleaned.
