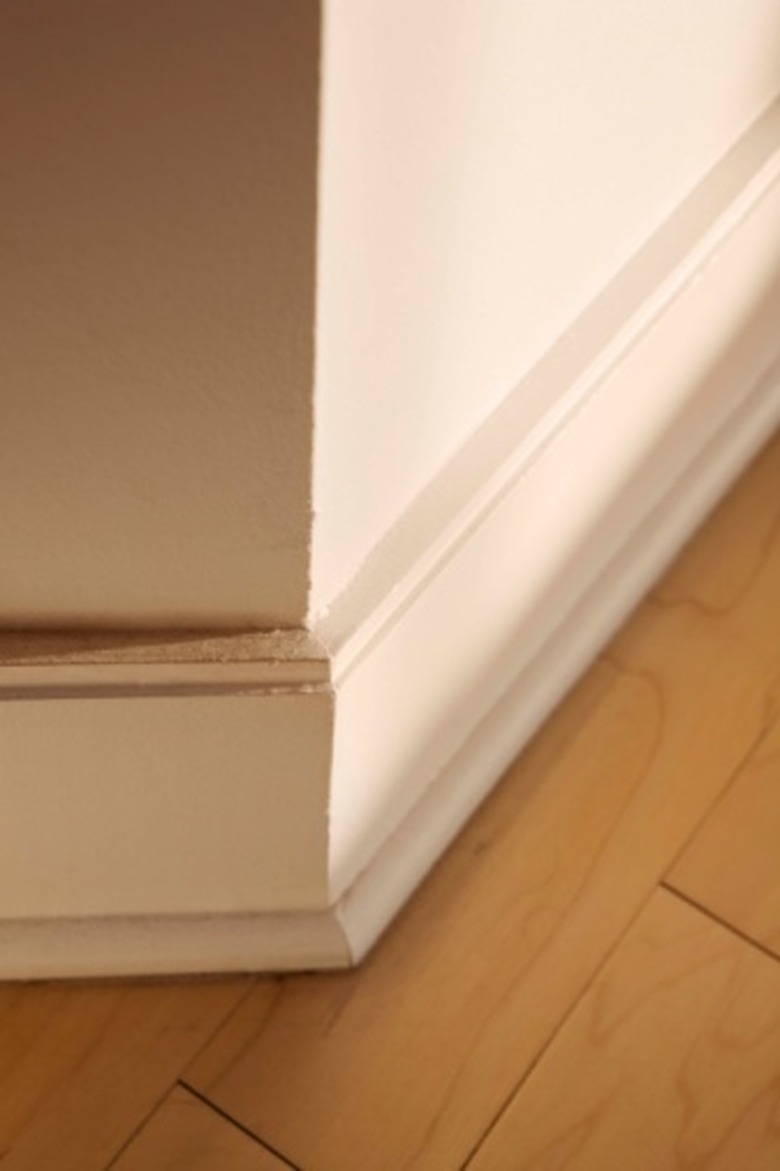
How To Remove Baseboards From Plaster Walls
Things Needed
-
Utility knife
-
Stud finder
-
Stiff putty knife
-
Pry bar
-
Claw hammer
-
Scrap wood
-
Pliers
Removing baseboards is necessary when you install new flooring, wainscoting or simply want an updated look. The process of removing baseboard trim from plaster walls can lead to unnecessary dents, holes or loss of wall plaster if you do not use the right tools and technique. With a slow and gentle approach the damage is minimal and most times the baseboards can be reused.
Step 1
Run a utility knife along the top of the baseboard in the seam created by the wall and the baseboard. Score several times through the caulk or paint with light pressure instead of one heavy score. The angle of the knife should be such that it does not cut into the plaster wall, but into the seam.
Step 2
Locate the position of the wall studs by using a stud finder tool. Start at the stud closest to the end of the baseboard. Position the edge of a stiff putty knife on top of the score line and gently tap it with a hammer to begin separating the baseboard from the wall.
Step 3
Insert a pry bar into the gap and gently tap it with a hammer. Place a piece of scrap wood above the baseboard and behind pry bar. This helps provide leverage and prevents you from denting or making holes in the plaster walls.
Step 4
Separate the baseboard from the wall gently and take note of where the nails are located. Position the pry bar as close as possible to the nails when you pry the baseboard away from the wall.
Step 5
Work your way down the length of the baseboard. With one hand on the pry bar and the other gently pulling the baseboard, continue to separate the baseboard from the wall one nail at a time.
Step 6
Tap the molding back in toward the wall if a nail is stubborn and refuses to come out with the baseboard. This usually exposes the nail head allowing you to remove it with a pair of pliers. If you use a claw hammer, make sure to place a scrap piece of wood underneath it to protect the molding.
