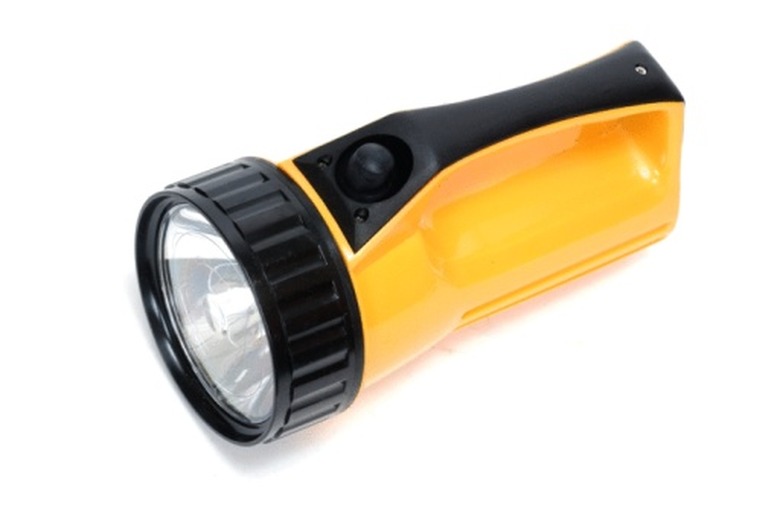
How To Install A Six Volt Battery In A Flashlight
A flashlight is one of the first things we look for when there is a power failure. However, a dead battery makes the flashlight useless, and fumbling around in the dark is not the best way to replace a battery. Flashlights that hold a 6-volt battery are larger than ones you can grip with one hand and they have handles for easy carrying. Be prepared before the lights go out with a flashlight you can depend on.
Step 1
Remove the cover protecting the lens of the 6V flashlight. The cover will either screw off or is held by clips. Push up on the end of the clip to release the cover.
Step 2
Unscrew the head that holds the lens. The head contains the glass, the light bulb and wires. The wires will still be connected to the tube of the flashlight, so allow the head to hang to one side.
Step 3
Flip the flashlight upside down to remove the old battery. You may need to give the flashlight a hard shake to dislodge the battery. The battery is not connected to anything, but the fit may be tight inside the flashlight tube.
Step 4
Replace the new battery inside the tube with the "+" end of the battery facing up. The battery will display the "+" sign near the top edge of the battery.
Step 5
Screw the head back onto the flashlight tube.
Step 6
Snap or screw on the protective cover. Switch the flashlight to on to ensure the battery is properly installed.
Tip
Check all the flashlights in your home and car every three or four months to make sure the batteries are working.
