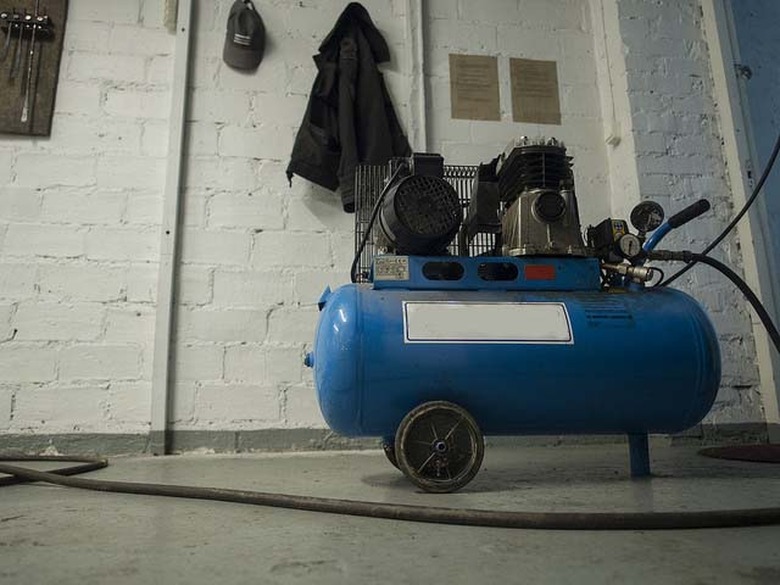
How To Repair A Bostitch Air Compressor
Bostich compressors manufactured by Stanley, like those made by Porter-Cable, Craftsman or any other manufacturer, include three main components: a pump, a tank and a regulator to cycle the pump on and off to keep the pressure steady. When the compressor won't build or maintain pressure, the pump or regulator could be at fault, or a worn seal may be causing the tank or pump to lose pressure. The problem could be electrical in nature, but to address it, you may have to fix an underlying mechanical issue.
Electrical and Mechanical Problems Are Interrelated
Electrical problems, such as a circuit breaker repeatedly tripping, aren't always caused by failure of electrical components, although they can be. For example, a loose drive belt can cause the motor to work harder and overheat the run capacitor, which in turn trips the breaker. A capacitor overheating can also be the result of insufficient motor lubrication or a worn pump seal. On the other hand, a capacitor can blow for no reason other than it's defective.
Compressor Won't Switch On
Compressor Won't Switch On
If you can't get the compressor to start, check the power cords for loose connections, and check the receptacle for power. No power? Look for a tripped breaker or GFI receptacle on the circuit. If a breaker or GFI trips repeatedly, or the compressor won't operate even if there is power, it's time to look for the cause in the compressor itself.
Step 1
Inspect the start and run capacitors. If either one is blackened or partially melted, it has probably blown, and it's time to replace it. You may need the manual to locate these electrical components and to determine how to remove and replace them. If you don't have one, you can usually get one online by searching for the make and model of your compressor, followed by the word "manual."
Warning
After removing a capacitor, never touch the terminals until you check the voltage across them with a voltmeter and verify that it's zero. A charged capacitor has enough power to cause a potentially injurious shock.
Step 2
Listen for leaks from the tank fittings, the hose or the tool you are using. If you suspect a leak, verify it by spraying around the area with soapy water and watching for bubbles. Once you've located the leak, repair it as needed by tightening the fitting or repairing the hose or tool.
Step 3
Unplug the compressor and remove the belt. Turn the motor shaft to make sure it spins freely. If it's jammed, you may have to disassemble the motor to make the repair.
Step 4
Check the belt tension — you shouldn't be able to move it laterally more than about a finger's width. Adjust the tension, or replace the belt if you can't tighten it or it looks worn.
Compressor Won't Maintain Desired Pressure
Compressor Won't Maintain Desired Pressure
It's important for the compressor to deliver air at the pressure you set. If the pressure is too much or little, your tool won't work properly. When the pressure is too little, the problem — more often than not — is a leak, but it could be caused by improper adjustment or malfunction of the pressure regulator, pressure limiter, switch or unloader valve. If the compressor doesn't switch off and builds too much pressure, that's almost always from a problem with the switch.
Making Pressure Adjustments — The pressure regulator is located on the outlet just before the quick connect. Turn the knob clockwise to increase pressure and counterclockwise to reduce it. If the compressor has limiter screws, they are usually located under the shroud on the top of the tank. After removing the shroud, you'll see two brass screws. One controls cut-in pressure and the other controls cut-out pressure. Consult your manual to determine which is which. Turning the screw clockwise typically raises the pressure, and turning the screw counterclockwise lowers it.
Low Pressure; Excessive Noise — As the compressor motor ages, and parts become loose and worn, it may take more time than it should to build pressure. That's a good indication that the pump seals are worn and need to be replaced. The feasibility of doing this yourself depends on your mechanical skills. You may prefer to have the compressor serviced rather than make this repair yourself.
Bad Unloader Valve — The unloader valve is built into the pressure switch, and when it malfunctions, the compressor may start up, but it will stall. This happens because the valve isn't properly releasing residual pressure when the charging cycle is complete. To replace it, you may have to replace the entire switch assembly.
Water in the Air Lines
Water in the Air Lines
When air is compressed, some moisture tends to condense and collect in the tank and in the air lines. Water in the air line can ruin a paint job, and it can cause tool freeze-up in cold weather. The tank has a drain plug, and you should remove it to release the water after every use of the compressor. In cold or humid weather, when water is particularly a problem, install a water filter on the outlet port before you attach the hose.
