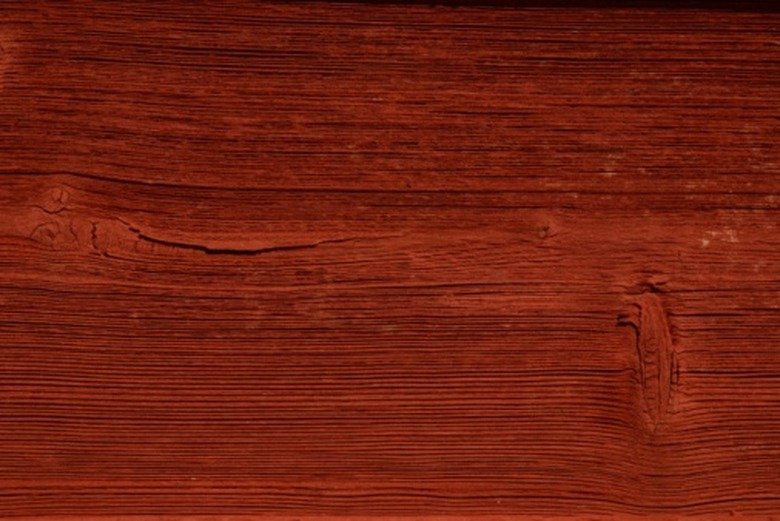
How To Raise The Grain & Stain Wood
Things Needed
-
Water bucket.
-
Clean Rags
-
Lambs wool applicator (for large areas like flooring and walls)
-
Vacuum
-
Tack Cloth
-
Stain
-
Mineral Spirits (for cleanup)
Staining wood can fundamentally change its color and character, and personalize any object or surface to meet most tastes. A common method of applying stain is to simply wipe it on, let it sit for a few minutes, and then wipe off the excess. In most instances, this method will provide the desired result and is quick and relatively simple. In some cases, however, like when dealing with less porous woods like maple or ash, it is necessary to raise the grain so that the wood accepts more of the stain during the application. Fortunately, this is an easy process.
Surface Preparation
Step 1
Using 120 grit or finer sandpaper, sand the surface to be stained. Be certain to follow the direction of the wood grain during the sanding process, because the stain will highlight any cross-grain marks.
Step 2
Vacuum the wood thoroughly to pull dust from any cracks and provide a clean work environment. This will keep dirt and other impurities from getting into the stain or finish as you work.
Step 3
Wet a clean rag with water, and wipe the wood down with it. While you shouldn't flood the surface, don't be afraid to get it wet either. The water will penetrate the wood, and cause the grain to raise up and open. Let the wood fully dry before proceeding.
Staining the Surface
Step 1
Use a clean cloth or an applicator to apply stain to the surface. Use a generous amount of stain to make sure it covers the entire surface. The now-open grain should easily accept the stain. Let it sit for a couple of minutes to fully penetrate.
Step 2
Wipe off any excess stain. If working a large area, make sure to go back into the adjacent sections to blend them all together. This will prevent one area from being darker or lighter than others.
Step 3
Let the stain dry overnight, and then coat the wood with three layers of finish. Use a brush or other applicator depending on the size of the surface. If the first coat of finish pulls the stain for any reason, give it more drying time before proceeding.
Tip
Keep stirring the stain to keep the color uniform.
Warning
Don't start and stop large projects. Get everything ready for staining at the same time for the best result or you may experience color variations.
