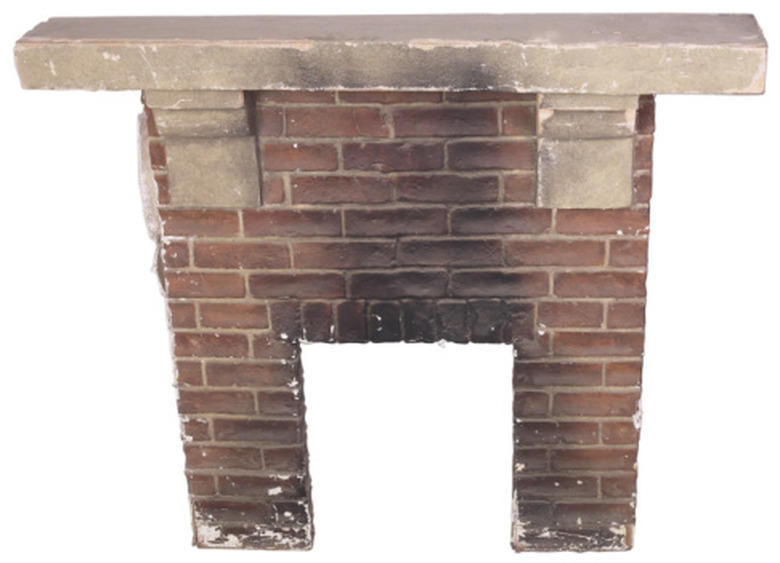
Proper Installation For Fireplace Tile Cement Board
Things Needed
-
Measuring tape
-
Pencil
-
Cement board
-
Straight edge
-
Utility knife
-
Thinset mortar
-
Notched trowel
-
1½-inch concrete nails
-
Hammer
-
Tile
An old fireplace can be an eyesore. Homes with outdated brick fireplaces can be brought up-to-date with a new tile fireplace surround. Before the tile can be placed, cement board must be installed. The cement board creates a sturdy surface for the tile installation. Most fireplace surrounds can be covered in large pieces of cement board. However, if you use several small pieces of cement board you must cover the seams. Place fiberglass mesh tape across the seams and cover the tape with thinset mortar. You'll then have a sturdy and level surface on which to install new tile.
Step 1
Measure the fireplace surround with a measuring tape. Use these measurements to mark where the cement board must be cut. Create these marks with a pencil.
Step 2
Cut the cement board pieces to size. Place a straight edge along the areas of the cement board that must be cut. Run a utility knife along the straight edge to score the cement board. Finish cutting the cement board to size by snapping the board from the side that's not scored. The board should break cleanly when snapped.
Step 3
Spread thinset mortar over the fireplace surround with a notched trowel. Press the cut pieces of cement board over the mortar.
Step 4
Nail the cement board to the brick fireplace with 1½-inch concrete nails. Hammer the nails into the brick mortar joints where possible.
Step 5
Allow the thinset mortar to dry overnight, then tile the fireplace as desired.
