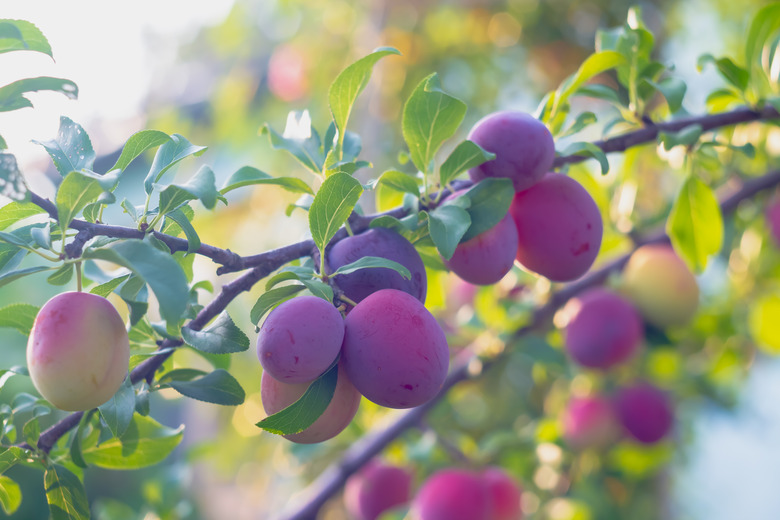
How To Plant Plum Seeds From A Plum You Just Ate
We may receive a commission on purchases made from links.
Although today's gardeners can choose from a variety of hybrid plant seeds and fancy plant grafting, sometimes it's fun to go back to the basics. Whether you're in the mood to use what you have or want to teach your children about the wonders of nature, you can absolutely plant a tree by saving the pit of a plum you just ate. In fact, it can be as simple as cleaning up the pit and popping it into some soil if you live where plum trees grow in U.S. Department of Agriculture plant hardiness zones 3 through 10, depending on the variety.
Things Needed
Set Realistic Expectations
Set Realistic Expectations
Before you plant your new plum tree (Prunus spp.), avoid disappointment by having realistic expectations. In nature, not every seed is viable or willing to sprout, and plums are no different. You may want to save a few of your plum pits in case they don't all germinate properly. It's disappointing when seeds fail to germinate but don't be hard on yourself if it happens to you. It happens to Mother Nature too, and she has the ultimate green thumb.
It's also important to understand that the plums you buy from the supermarket aren't grown from seeds. Farmers carefully choose plum varieties and healthy rootstocks to graft together and create a desirable finished product. Because of all this intermingling of plants and their DNA, your seed may not hold the same characteristics as the plum it came from. You could plant the seed of a delicious plum and grow your own tree that produces inedible fruit or none at all.
Growing your own plum tree is a fun and interesting experience that may or may not be fruitful. If you're in it for the fun, planting a plum tree from seed is a pretty neat thing to do. If you're in it because you want to grow your own fruit or promote self-sufficiency, you should probably skip the plum pit and buy a grafted tree from a reputable nursery.
How to Plant Plum Seeds From a Plum You Just Ate
How to Plant Plum Seeds From a Plum You Just Ate
Like many other stone fruits, plum seeds need a period of stratification in order to germinate. This is just a fancy way of saying that they need to experience a period of winter-like cold before they're ready for action. If you're planting your plum seed in the fall, you can simply place it in the garden and let nature do the work; in this case, skip to Step 2. Otherwise, you'll need to artificially simulate winter weather in your refrigerator.
1. Clean and Stratify the Pit (optional)
- Wash the plum pit in warm water, carefully removing all of the slime and pulp from the pit.
- Wrap the freshly washed pit in a damp (but not wet) paper towel.
- Place the wrapped pit in a plastic bag and place it in your refrigerator. You will need to maintain the pit at a temperature of between 34 and 40 degrees Fahrenheit for about 60 to 90 days.
- Check on your plum pit periodically, rewetting the paper towel as needed.
- Remember to save at least two plum pits. Plums don't self-pollinate, so you'll need at least two trees unless your neighbors also grow plums.
2. Plant the Seed
If you ate your plum in the fall, you can wash the pit and then just plant it 3 inches deep in a sunny spot. The winter weather should stratify the seed and prepare it to germinate in the spring. If you needed to stratify the seed indoors, plant your seed when the pit has cracked open and the young tendrils of the seedling are poking through it.
- Plant your plum seed in a container of fresh potting soil, placing the seed about 2 inches below the soil surface.
- Place the potted plant in an area where it will receive lots of sunlight.
- Water the plum seedling as needed to keep the soil moist. Do not saturate the soil or allow it to get soggy. This will rot the seed and kill it.
- Continue tending to your young seedling until all danger of frost in your area passes.
3. Transplant the Young Tree
When you're certain that there is no more danger of frost, it's time to move your little plum tree outdoors.
- Choose a spot where the tree will receive at least six hours of direct sunlight every day.
- Plant the young tree in a planting hole twice the size of its current pot. Set the tree so that the soil in the ground is at the same depth it was in the pot.
- Water the tree immediately after planting and then as needed to keep the soil moist during its first growing season.
- Fertilize your plum tree with an application of a balanced 10-10-10 fertilizer in the spring and again in the fall if desired.
