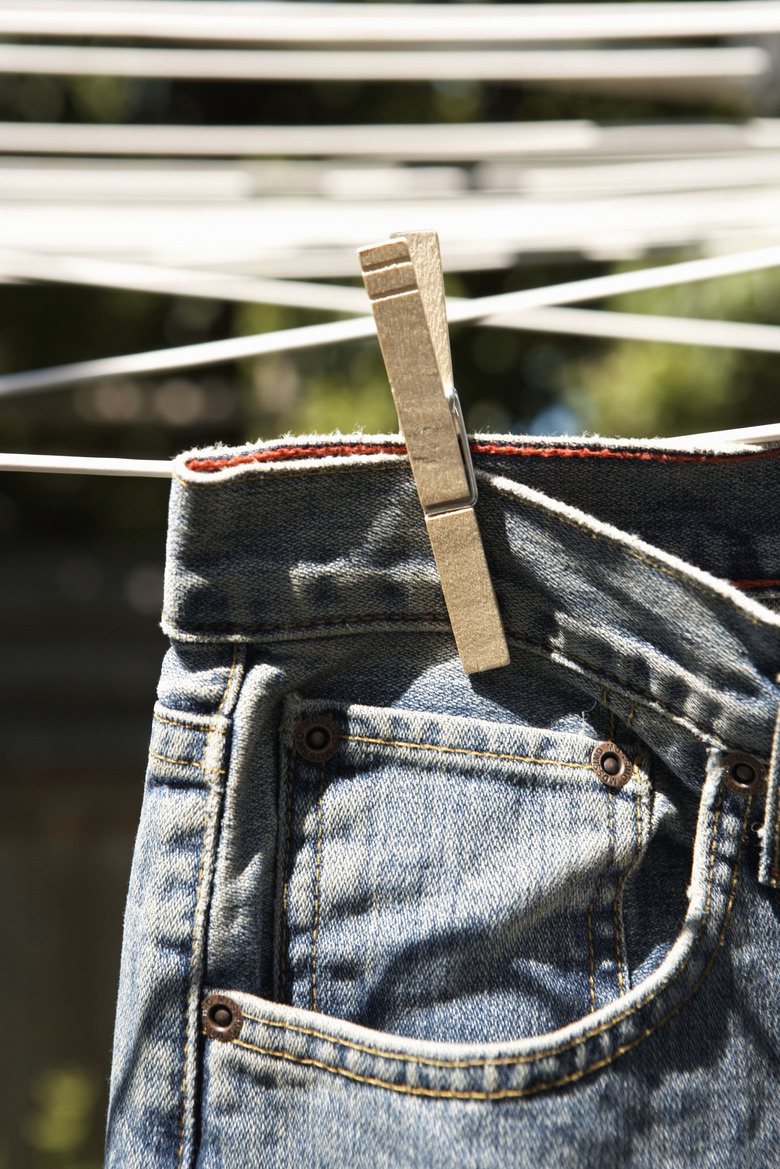
How To Restring A Rotary Clothesline
Things Needed
-
Clothesline
-
Scissors
-
Measuring tape
The clothesline that hangs on a rotary clothes dryer is meant to be taut enough to hold up heavy, wet clothing and allow it to dry. Over time, the weight of the clothes begins to stretch out the line and make it sag. At first, tightening the line without replacing it might work. However, eventually, the line will no longer hold itself tight and you will need to replace it entirely.
Tensioner Models
Step 1
Measure the space between the two arms on the rotary clothesline where the line needs replacing. Take the measurement between the exact space which needs replacing.
Step 2
Cut a piece of clothesline to fit the space. Cut it a few inches long to make sure you have enough.
Step 3
Unscrew the line cover by turning in a counter-clockwise motion until it pulls free. Repeat the process on the other side of the line you are replacing.
Step 4
Unwrap the existing line from around the base of the tensioner. Pull it out of the tensioner to remove the line. Repeat for the other side of the line.
Step 5
Insert one end of the new line through the tensioner from the outside toward the arm. Wrap the end around the base of the tensioner into the groove. Thread the end back through the front of the tensioner.
Step 6
Trim the end to leave about 1/2-inch of string. Thread one of the line covers back onto the line and screw it onto the end you have just completed.
Step 7
Thread the other line cover onto the free end of the line and push it out of the way.
Step 8
Feed the free end of the line through the tensioner on the other arm from front to back. Pull the line tight.
Step 9
Wrap the line through the groove at the base of the tensioner, keeping it pulled tight to ensure the line remains taut.
Step 10
Feed the line back through to the front of the tensioner. Trim the end to about 1/2-inch in length.
Step 11
Slide the line cover back and screw it into place.
Hook or Hole Models
Step 1
Tie the clothesline to a hook at the end of one of the rotary arms. Pass the clotheslines through the hole instead if that is what your model is equipped with.
Step 2
Pull the line over to the next arm. Wrap it around the hook at the end of that arm, or pass it through the next hole. Pull the line taut between the two arms.
Step 3
Move around the rotary clothes dryer, repeating step 2 all the way around. When you reach the first arm, move down to the next layer and repeat.
Step 4
Tie the end of the clothesline to the last hook near the center of the rotary dryer when you have wrapped the line around each hook on every arm. Tie a knot right at the end of the line if your rotary clotheslines is equipped with holes instead of hooks.
Tip
Keep tension on all lines to ensure the line can hold wet clothing. The lines can be tightened as needed in the future.
