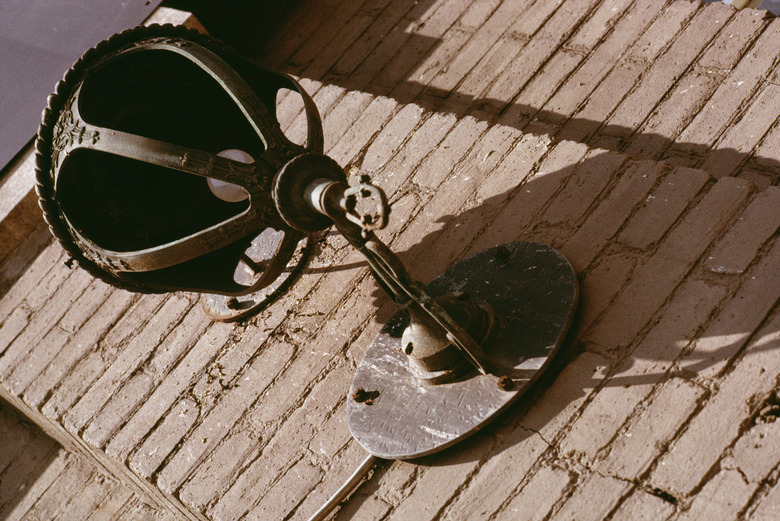
DIY: How To Install Outside Garage Lights With No Previous Holes
Things Needed
-
Light fixture(s)
-
Electrical retrofit box(es)
-
12-gauge wire with ground
-
Saw
-
Phillips screwdriver
-
Flat screwdriver
Outside garage lights increase the safety and security of a home and add a pleasing visual element as well. Factors such as existing electrical connections in the garage, garage insulation and the presence of drywall all impact the difficulty of this project.
Planning
Step 1
Identify the location for the light fixture(s). Be sure that the mounting height and location follows local building and electrical codes. When in doubt, contact the city/county and ask.
Step 2
Look behind the location where the fixtures will be mounted. If the garage is finished with insulation and drywall, this can be difficult. Use a stud find if necessary, and measure and mark the location on the inside wall where the fixture will be. If there is drywall on the garage walls, cut a small access hole at this location. Make sure there is room to mount the fixture boxes.
Step 3
Identify a power source to tap into. Care should be taken to not overload the circuit. Contact a qualified electrician if necessary.
Install the Fixtures
Step 1
Cut a hole on the outside wall at the location desired. The hole should be the size of the retrofit box with as little excess space around the box as possible. Mount the box in this hole.
Step 2
Fish the electrical wire from the box into the wall and to the power source identified in the planning stage. If there is drywall in the garage, it may be necessary to cut access holes in the drywall, or to run the cable in a surface conduit.
Step 3
Turn off the power source and wire the light fixture(s) according to the included instructions. There should be a wire for hot, neutral and ground. Mount the fixture(s) on the box(es).
Step 4
Turn the power source back on and test the fixtures. If the fixtures are equipped with motion or light sensors, test this functionality as well.
Tip
Always turn off the breaker for the circuit while working on electrical wiring.
Plan and measure carefully before starting out. Identify wiring paths and check for obstructions ahead of time to avoid having to change plans during installation.
Warning
Electrical shocks are very serious. Always test wires before handling and assume they are live.
Use care when cutting holes in the outside walls. It is better to start with a hole that is too small and gradually make it larger than to have one that is too large.
