How To Clean Construction Dust Inside A Home
We may receive a commission on purchases made from links.
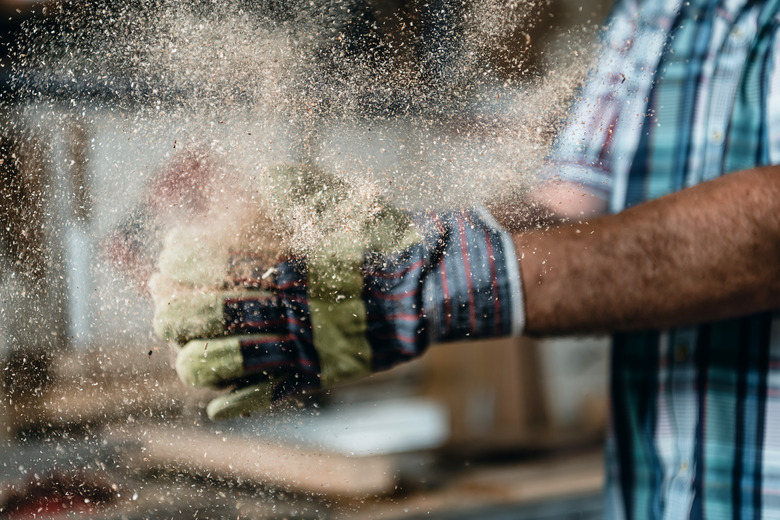
Adding onto a home or remodeling a room creates a great deal of dust. Cutting and sanding construction materials, including drywall, tile, masonry, or wood, leaves dust particles floating in the air that settle on most surfaces in the house. Dust covers floors, furniture, and walls and makes the new construction or renovated area, along with existing structures, look dirty. Removing the dust is necessary to prevent inhaling irritating dust particles and to reveal the beauty of the home that lies under the dust.
Things Needed
-
Fan
-
Shop vacuum
-
Bucket
-
Microfiber rags
Warning
Put on safety goggles and a dust mask before you start your work. This helps minimize the risk of you inhaling the dust or getting it in your eyes. Wear closed-toe shoes in case there are any stray nails, splinters, or other construction materials on the floor.
How to Clean Construction Dust From Inside a Home
1. Ventilate the Room
Open a window in the room and set a fan in the window with the air flowing out to ventilate small dust particles that float after you disturb them.
2. Prepare Your Shop Vacuum
Equip a shop vacuum with a HEPA (high-efficiency particulate air) filter. Ensure you choose a HEPA filter that's the right size and type for your shop vac.
3. Vacuum Up Construction Dust
Turn on the shop vacuum and suck up the construction dust with the end of the vacuum hose. For flooring that's prone to scratching, use a soft brush attachment. Begin at the doorway to the room to avoid walking over the dust and kicking up the particles. Starting at the edge of the room protects floors from scratches as you walk over them to clean, which is especially important for flooring material that is prone to scratching.
4. Move Through the Room Strategically
Move the shop vacuum over the floor using a side-to-side motion. Only walk on dust-free areas of the flooring. Empty the vacuum often and clean the HEPA filter to keep the shop vacuum efficient.
5. Dust the Ceiling and Walls
Use a duster or your shop vacuum to remove as much dust as possible from the ceiling and walls. This will likely knock more dust down onto the floors, so you might need to make another pass over the floor with the vacuum.
6. Mop the Ceiling
Fill a bucket with water. Submerge a sponge mop in the water and squeeze out as much water as possible, so the sponge is barely damp. Place the damp sponge mop on the ceiling in the corner and pull the mop along to remove the dust from the ceiling. Make row-by-row passes over the ceiling. Rinse the mop and repeat until the ceiling is free of dust. Dump the water and refill the bucket as the water clouds with dust.
7. Mop the Walls
Place the damp mop on the wall at the ceiling line and drag the mop down the wall to remove the construction dust from the walls. Rinse the mop and continue to wipe the walls with the damp mop until the walls are dust-free.
8. Wipe Other Surfaces
Wet a microfiber rag with water and wring out the excess water, so the rag is just damp. Wipe cabinet faces, appliances, furniture, and sections of the wall that you could not access with the mop. Start at the highest points in the room and work down toward the floor. Rinse the rag often and change the water to prevent redistributing particles of construction dust.
Tip
Construction dust continues to settle for days or weeks after construction has been completed. Repeat the process as new construction dust settles over the room. Humid areas have less dust settling over time than dry areas because the dust absorbs the moisture and settles faster.
Warning
Avoid sweeping construction dust because sweeping disturbs the settled dust and causes it to float in the air.
