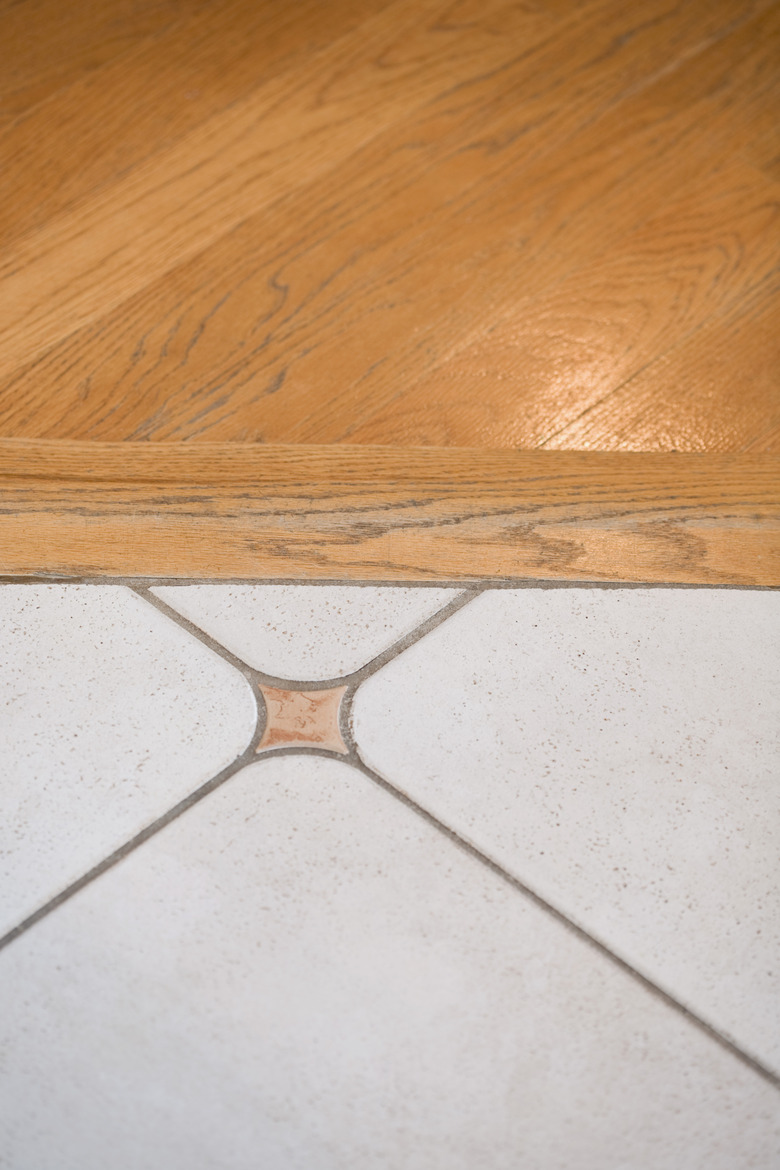
How To Install A Transition On Uneven Floors
Things Needed
-
Measuring tape
-
Step-down transition strip
-
Miter or hack saw
-
Screws
-
Drill and drill bit
-
Screwdriver
-
Wood putty
-
Sandpaper
-
Paint or stain
Flooring installation of any type can be time-consuming and frustrating. One problem that many homeowners run into occurs after the flooring is installed. The new flooring is often higher than the floor in an adjoining room. The uneven floors can cause people to trip or stub their toes on these surfaces. A transition strip is a simple piece of wood or metal that can bridge the gap between two uneven floors. Installing a transition strip should only take an hour or so to do.
Step 1
Measure the height difference between the two different floors. Hold a measuring tape against the lower floor and measure up to the higher floor. Write this measurement down.
Step 2
Determine the width of the doorway or transition area and write this measurement down as well.
Step 3
Purchase an appropriate transition strip for the area. A "step-down" transition strip bridges the flooring difference in two uneven floors. This transition strip has a slow angle that slopes from the higher flooring surface to the lower floor.
Step 4
Use the measurement made in Step 2 to mark the transition's width with a pencil. Place the wood transition strip on a miter saw and cut it to size if it's made of wood. If the transition strip is made of metal, cut it with a hack saw.
Step 5
Screw the transition strip into place. Pre-drill the holes with a drill bit and drill. Secure the screws in place with a screwdriver. If you are using a metal strip, you are finished. Finish a wood transition strip by filling the nail holes in the strip with wood putty. Let the putty dry then lightly sand it smooth with sandpaper. Paint or stain the transition strip as desired.
