How To Replace A Concrete Septic Lid With A Plastic Lid
We may receive a commission on purchases made from links.
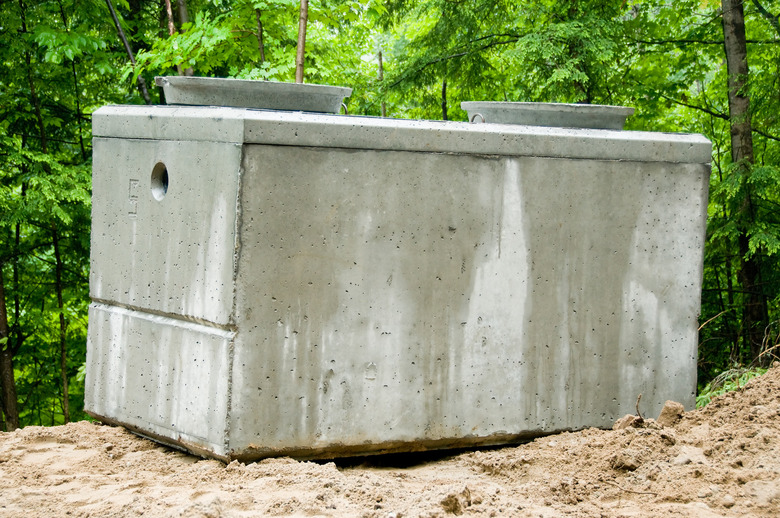
Most concrete septic tanks are installed with heavy concrete lids over the manholes and access holes and then covered with soil. While this is an adequate installation, many septic professionals recommend replacing the concrete lids with plastic risers and lids for better access when inspecting and cleaning the tank. By adding a riser, the new plastic lid is easily accessible for pumping and maintenance. The plastic lids are also bolted down, providing an extra level of safety for the homeowner and family.
Things Needed
-
40- to 60-grit sandpaper
-
1 bag quick-drying, high-strength, flexible concrete patch mix
How to Replace a Concrete Septic Lid With a Plastic Lid
1. Clear the Area
Clear the area of furniture, potted plants, yard décor, and other items. Secure pets and keep other humans and children out of the area. Also put on safety gear, including gloves and safety goggles. Always wear a dust mask or respirator when working with concrete to protect your lungs from the silicates in the dry mix.
2. Locate the Tank and Lids
Locate the tank and lids. Dead grass may indicate the location of the tank, as the soil is shallower and less able to hold moisture for the lawn's roots. A metal detector can locate the rebar in concrete tanks; then probe to find the edges.
3. Remove the Soil
Remove all the soil on top of the septic tank. Generally, the tank is between 1 and 3 feet below the surface of the soil and up to 25 feet from the house. The average size of a septic tank varies; look for a size of approximately 4 1/2 feet wide and 8 feet long. In addition, inspect the tank for damage; cracks or a sagging top indicate repairs or replacement of the tank are imminent.
4. Measure the Lid
Measure the diameter of the lids and any tank inlet or baffle outlet covers. If the larger lid, or "manhole" lid, is more than 24 inches in diameter, it may require an adapter before fitting the lid riser over the hole. Adapters are available from the lid riser manufacturer.
5. Remove the Lid
Remove the concrete lids and set them aside. This may require use of a backhoe, as the concrete lids are extremely heavy. Avoid breathing any fumes rising from the septic tank and wear a protective mask or respirator to reduce exposure.
6. Adjust the Riser Height
Measure the distance between the tank and the ground. Trim the riser if necessary according to the manufacturer's directions or in older systems, consider adding a riser to lift the new lid to ground level. To reduce the height of the existing riser, drill a hole at the appropriate height for the riser; then trim off the excess riser length with a jigsaw. Some manufacturers make adjustable risers, making trimming unnecessary.
7. Rough the Riser Base
Sand around the bases of the risers with 40- to 60-grit sandpaper. Wipe it with a tack cloth; then place the risers over the manholes and the intake and outlet holes.
8. Apply Concrete Patch Mix
Mix the recommended quick-drying, high-strength, flexible concrete patch mix in a bucket. Work quickly as the mix dries in 15 to 20 minutes. Apply liberally around the bases of the risers with a trowel, completely sealing the edges to the top of the septic tank. Allow to dry completely.
9. Attach the New Lid
Bolt the new lids onto the risers according to the manufacturer's directions, using a socket wrench.
10. Rebury the Tank
Cover the septic tank with soil. Add sod or scatter grass seed to cover the bare soil.
Tip
- Have a septic tank professional inspect and pump the tank, if necessary, while you have the lids off.
- Thoroughly wash your hands and clothing with soap and hot water after completing the project.
Warning
- Never enter or even stick your head into a septic tank. The gases generated in septic tanks cause a number of deaths every year; you may pass out, fall in, and suffocate or drown.
- Do not leave the septic tank unattended, even for a minute, while the lids are open. A child or pet could fall in and drown.
- Do not drive over the risers and lids.
