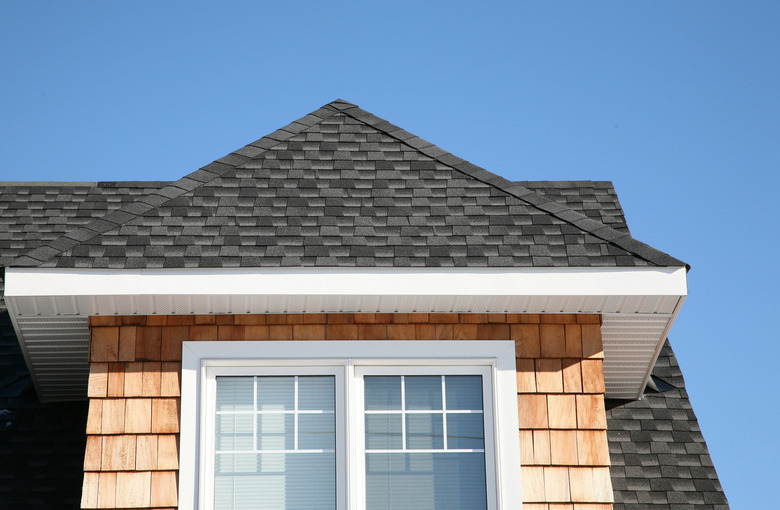
How To Scab A Rafter Tail
Things Needed
-
2-by-4 or 2-by-6 lumber
-
Measuring tape
-
Saw
-
Ladder
-
Claw hammer
-
3-inch wood screws
-
Drill
-
Screwdriver or screwdriver bit
-
Reciprocating saw
Rain and snow are the enemies of a roof. As years of wear and tear create small cracks — particularly at the lower edges of the roof line where snow weight accumulates and moisture pools — moisture can seep through to the rafters beneath the roofing and begin to rot. When rafter tails — the ends that often extend beyond the roofline — are damaged they can be repaired through a process with the delightfully descriptive name "scabbing."
Step 1
Set up your ladder on level, stable ground near the area of the roof with the rotted rafter tails.
Step 2
Pry away rain gutters by removing either the metal strapping that holds them to the fascia boards or the long metal spikes that fix them to the fascia with the end of a hammer. Set the gutters aside.
Step 3
Remove the nails from the fascia board covering the rafter ends with the end of a claw hammer. Also remove the soffit material covering the bottoms of the rafters, if applicable.
Step 4
Examine the rafter tails to determine the extent of the damage. When the soft, rotted areas are confined to the very ends of the rafters, you can repair the rafters without disturbing the roof.
Step 5
Remove the shingles, underlayment and plywood sheathing directly over the rotted rafter tails if damage extends more than few inches from the end of the rafters.
Step 6
Measure the length of the overhang with a measuring tape, from the exterior wall to the end of the rafter in the case of a badly rotted rafter tail, or for a rafter with rot someplace other than its end. Measure the rotted portion of a rafter with damage confined to its last few inches.
Step 7
Cut a length of 2-by-4 or 2-by-6 lumber, depending on your rafter dimensions, to twice the length of the damage for a small repair, or three times the length of its overhang, advises carpenter Jack LeVert in "Fine Homebuilding" magazine's book "Roofing." Skip to Step 9 if your repair is just to the tail end of the rafter.
Step 8
Measure the bird's mouth cut that supports the current rafter on the top of the wall plate, in the case of a larger rafter tail repair. Transfer the measurement to your new length of rafter and make the L-shaped cutout with a hand saw.
Step 9
Slide the new length of rafter in next to the damaged rafter tail. Drill pilot holes for your 3-inch wood screws through the new length of wood and into the old rafter, moving in a zigzag pattern down the length of the new wood until you reach the damaged area. Drive the wood screws into the holes with a screwdriver or a screwdriver bit for your drill to secure the new rafter tail.
Step 10
Cut away the damaged portion of the old rafter with a reciprocating saw, being careful not to cut into the new wood.
Step 11
Replace the sheathing, roofing, fascia boards, soffit and gutter.
Tip
Take advantage of having to remove gutters and other roofing elements by resealing gutters and replacing fascia boards and soffits.
Install metal drip-edge trim along the edge of your shingled roof to ward off future damage to rafter tails.
Warning
Use scaffolding instead of a ladder if you're working on a second story.
Be extra cautious when using power tools at elevation. Wear eye protection and work gloves.
