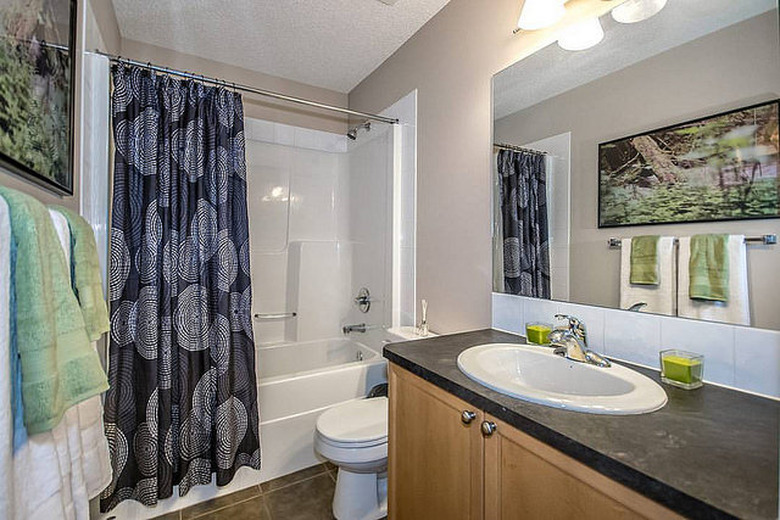
How To Remove A Shower Curtain Rod
The difficulty involved with removing a shower curtain rod depends on how it's mounted, but fortunately, there are only so many ways to mount one. Tension rods are spring-loaded and stay in place by pushing against the shower walls, and you remove one by releasing that tension. Some rods fit into holders with an open top. They are the easiest to remove because you can just lift them out. Some rods, however, are attached with permanent brackets that you have to unscrew. The brackets may be hidden behind decorative escutcheons that you have to remove first.
Removing a Tension Rod
Removing a Tension Rod
Tension rods can easily support shower curtains,which are light, and many people opt to use them. To release the tension, pull back the shower curtain to reveal the junction between the two halves of the rod. Grasp the smaller-diameter rod with one hand and the larger rod with the other, and turn the smaller rod clockwise with respect to the larger one. Note that if you position yourself to face the smaller rod, it's equivalent to turning that rod counterclockwise relative to yourself. Hold the rod securely, because when you release the tension, it will quickly fall.
Removing a Fixed Rod
Removing a Fixed Rod
It's a good idea to have a helper with you when you take down a fixed rod; after unscrewing one end, you might need someone to support that end while you unscrew the other end. No one around? You can also use a 4-to 5-foot piece of 2-by-4 lumber to provide this support.
Things Needed
-
1/8-inch Allen wrench
-
Phillips screwdriver
1. Loosen the Escutcheons
Locate the screw securing one of the escutcheons. It's usually located on the rim at the bottom. Loosen it with a 1/8-inch Allen wrench. When it releases its grip on the wall bracket, slide it toward the center of the rod. Do the same with the other escutcheon.
2. Unscrew the Bracket on One End
Shower curtain brackets are usually screwed directly to the wall. Remove these screws with a Phillips screwdriver. That end of the bar may then fall far enough to allow you to pull the other end out of the bracket on the other wall, but if it doesn't, don't force it. Support that end of the bar while you complete the removal.
3. Unscrew the Other Bracket
After you remove the screws holding the bracket on the opposite end, you'll be able to safely dismount the bar. The brackets may be inserted into the ends of the bars. If so, pull them out and set them aside if you plan to reuse the bar.
Patching the Holes
Patching the Holes
If you're not planning to reuse the bar, you'll want to fill the screw holes. It's easy to do this if the brackets were mounted on drywall. Using needle-nose pliers, pull out the wall anchors. Then apply some spackling compound or drywall joint compound with a putty knife, let it dry, sand it and touch up the paint.
If the shower bar was mounted on tile, patching the holes is a little more challenging. After pulling out the anchors, fill the holes with polyester resin or two-part epoxy. Scrape off the excess filler when it stiffens, but before it sets. When the filler sets, wet-sand the repair with 600-grit sandpaper; then touch it up with an enamel finish that matches the color of the tiles. Applying at least two coats of finish, sanding the first one with 600-grit paper before applying the second, is the best way to make the holes disappear.
