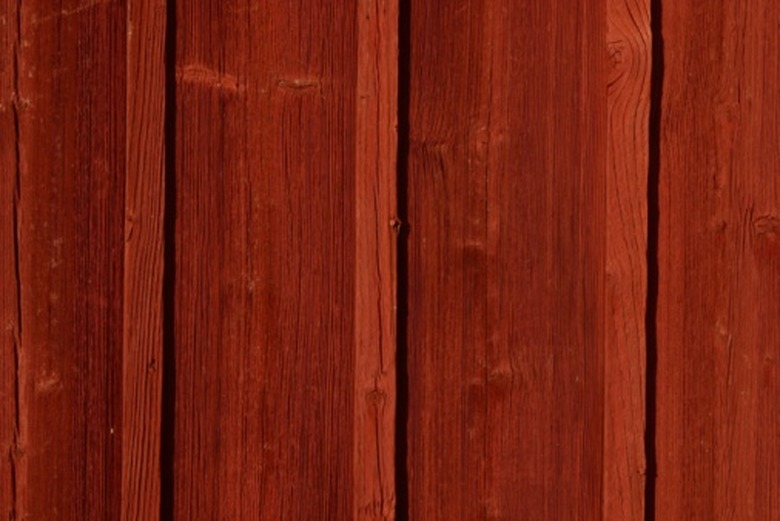
How To Stain Pressure-Treated Wood To Look Like Cedar
Things Needed
-
Drop cloth
-
Micronized pressure-treated wood
-
Solid cedar-colored wood stain
-
Screwdriver
-
Stir stick
-
Staining paintbrush
Warning
The chemicals used to treat pressure treated wood can be dangerous to humans and can cause cancer, tumors, birth defects and reproductive problems. For your safety, pressure treated wood should always be handled using gloves.
Pressure-treated wood is chemically protected to help the wood weather the elements better and last longer than natural wood. Copper-based chemicals help treated wood ward off insects and microorganisms and prevent decay from fungal growth, making the pressure-treated wood a go-to material for many construction projects. If you like the lasting benefits of pressure-treated wood, but think that the wood won't blend with cedar used in your construction project, you can stain the wood to look like cedar. Before you begin your project, purchase micronized pressure-treated wood, which is lighter in color, more natural-looking and easier to stain.
Step 1
Select a solid color wood stain that is cedar colored and designed for outdoor use.
Step 2
Choose a day to begin your project when the weather forecast promises dry conditions, above 50 degrees for at least four days. The drier the air, the faster the wood stain will dry. Rain or any precipitation will ruin or wash away the wood stain.
Step 3
Lay a drop cloth beneath the structure or sections of the structure that you built with micronized pressure-treated wood.
Step 4
Open the can of cedar-colored wood stain, using a screwdriver or paint can opener. Stir the stain for 60 seconds with a stir stick.
Step 5
Stain the micronized pressure-treated wood, using a staining paintbrush to apply a light coat of wood stain. Make sure to overlap brush strokes to ensure an even coat and force the stain into any divots. The pressure-treated wood will absorb the stain as it dries.
