How To Stain And Finish Plywood
Things Needed
-
Sandpaper
-
Wet rag
-
Wood conditioner
-
Paint brushes
-
Clean rags
-
Wood stain
-
Varnish or polyurethane sealant
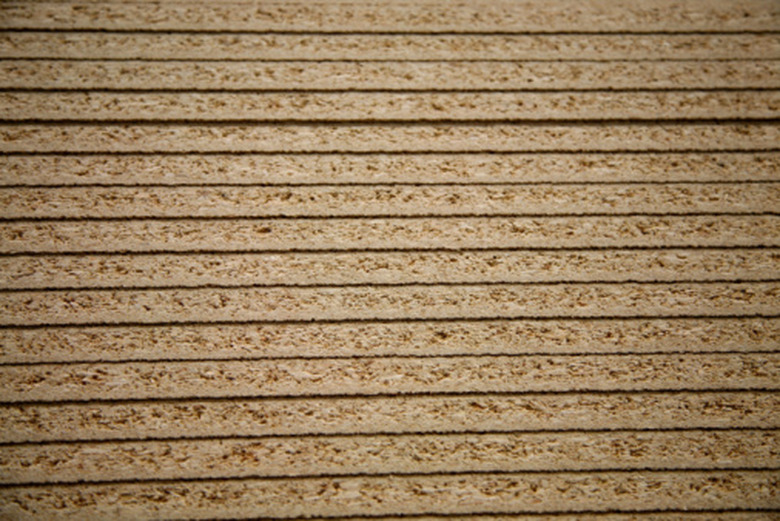
Plywood is an amazingly versatile building material. Because it is made of thin strips of wood glued together with adhesive, it is a very efficient product to produce and is thus inexpensive. When building with plywood, you will often want to stain and finish the surface to enhance your project's beauty. Staining plywood typically requires the use of special gel stains, but by preconditioning the wood you can use any wood stain. This ensures that your finished product will have a uniform color, even if it is made of several types of wood.
Step 1
Sand the entire plywood surface with 100-grit sandpaper. This will open the pores in the plywood and make it better able to accept stain. Once you have finished with 100-grit, sand the surface again with 150-grit and then 200-grit to smooth the surface.
Step 2
Wash off any sanding dust with a wet rag. This step is essential to an even application of stain. Dust left on the surface will result in blotches in the stain.
Step 3
Allow the plywood to dry.
Step 4
Apply a coat of wood conditioner with a brush. It should be brushed on in the same direction as the wood grain. The conditioner is primarily to prevent softer woods from staining unevenly, but it is a good precaution to use with all wood.
Step 5
Allow the conditioner to soak into the plywood for 10 to 15 minutes, then wipe it off with a rag.
Step 6
Brush on a layer of wood stain, following the grain of the wood. Immediately wipe the stain back off with a clean rag. Repeat this process if the stain is not dark enough.
Step 7
Allow the stain to dry for at least 24 hours.
Step 8
Brush on a coat of clear varnish or polyurethane to protect the stained surface. Apply this coat evenly and be careful to avoid drips.
Step 9
Allow the sealant to dry completely before using the plywood.
