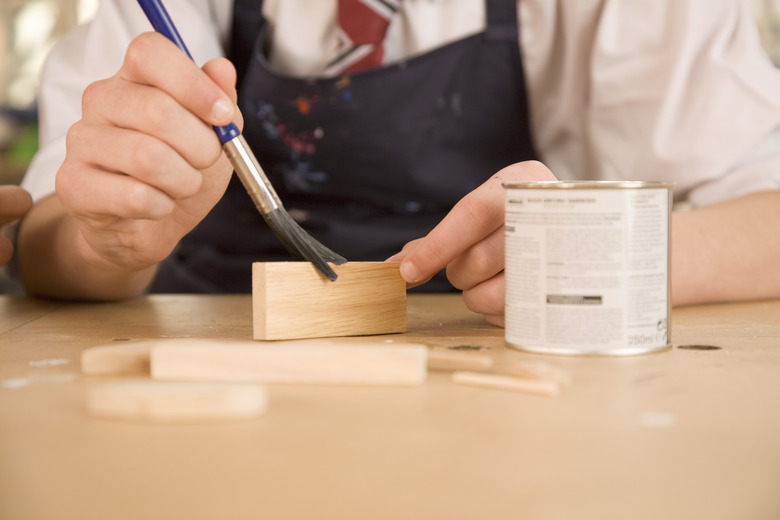
How To Make Pine Wood The Same Stain Color As Oak
Things Needed
-
Stain
-
Medium-grade sandpaper
Pine and oak are two of the most commonly found types of wood. Oak is a hardwood that is much more expensive than pine. It comes in various size pieces with different thicknesses. If you are using pine or oak for trim, it is necessary to stain them. This will not only protect the wood, but give it a finished look as well. If you have pine wood and want to stain it so it looks like oak, you can do so by adding a few extra coats to darken it up.
Step 1
Lay out the pieces of pine and oak. Pick a stain for the pine that matches the color of the oak. Set the stain next to the pine and verify that it is the proper color. Wipe the piece of pine that you will be staining with a clean rag and remove all visible dirt and debris from the surface.
Step 2
Sand off the top of the piece of pine with medium-grade sandpaper. Move the sandpaper over the entire surface in a circular motion. Hold the pine in your nondominant hand and move the sandpaper back and forth over the entire area until the surface is smooth and even throughout.
Step 3
Wipe off the area with a clean rag and remove all the grit left over from the sandpaper.
Step 4
Open up a can of stain that matches the oak color. Dip a brush into the stain and apply the stain with smooth, short strokes over the pine. Work from one side to the other until the first coat has been applied. Let it dry for one hour and apply a second coat in the exact same manner.
Step 5
Look over the second coat and check if it matches the color of the oak. Add a third and final coat so it matches up properly. Let the pine dry overnight and compare it to the color of the oak piece to verify they match up correctly.
