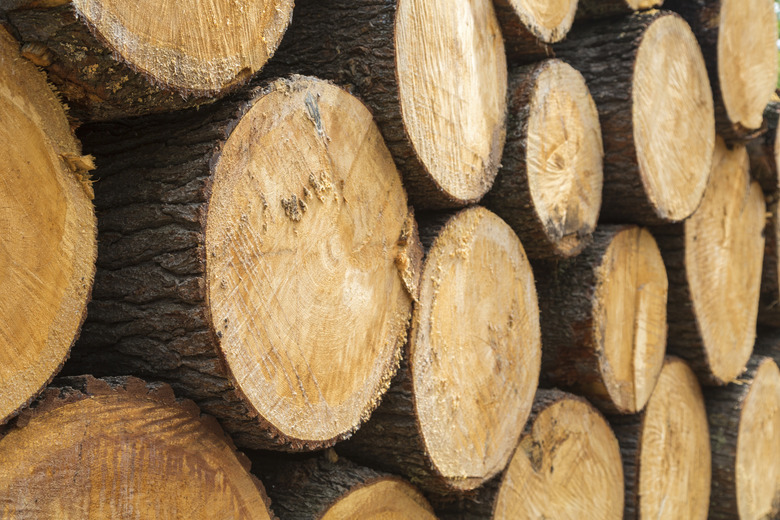
How To Dry Pine Lumber
Excessive moisture in pine creates problems. It causes warps, cracks, splits and twists. It can cause glue bonds to fail. Wet pine won't accept a finish. If you're concerned that your pine may not be dry enough, there's a fool-proof way to test it. If it fails the test, employ drying techniques that bring the moisture down to an acceptable level.
Cause and Effect
Cause and Effect
Unless you've chopped down a tree and sliced it into boards, the pine you're using has already been dried. Green lumber dries in a mill for up to a year. The lumber that most builders and woodworkers use — studs, beams, planks or rough lumber — should be ready to use when you purchase it, but that's not always the case. Problems with moisture in pine are typically the result of climate, shipping, location, storage, drying method or dealer. With this in mind, standards have been established to indicate when the pine is ready to use.
Suspicious Minds
Suspicious Minds
If you're suspicious that your pine may be too wet, or you find it visibly wet when you cut it, check it to make sure. Hand-held moisture meters read moisture content from inside the wood. The meter has two sharp pins on the bottom. Insert both pins into the pine to a depth of a quarter of an inch. Moisture conducts electricity. If too much moisture is present in the wood, you get a high reading — the more moisture the higher the reading. Wood for the construction industry, such as studs and beams, should have a moisture content of between 15 percent and 19 percent. Pine for indoor use in cabinets, furniture and moldings, has a requirement between 6 percent and 8 percent. Some scales say pine can be used at 12 percent moisture content without problems. The area you live in can be partly responsible for the difference of opinion. For example, pine used in Phoenix where the climate is dry might be acceptable at the low end of the scale. Pine used in Seattle where the climate is wet might be acceptable at the high end of the scale.
Stick With Me
Stick With Me
Drying pine at home is basically the same as at a mill. The object is to circulate air around and through it. For pine purchased at a lumberyard or home supply store, select a location inside a garage or shop. If you're drying green pine that you've milled, select a location outdoors on high ground with prevailing winds. Place a row of stickers on the floor or earth parallel to each other about 12 inches apart. Stickers are pieces of scrap wood that measure no less than 3/4-by-3/4 inches. The dimensions are not that important if the stickers are consistently the same size. Place the first layer of pine perpendicular across the stickers, with a couple of inches of space between them. Place another set of stickers on the layer of pine directly over the first set. Proper alignment of the stickers is important to spread the weight evenly. Add another layer of pine followed by another set of stickers. Continue stacking in this manner until the stack reaches 72 to 96 inches tall. If the stack seems unstable, adding weight to the top may be necessary and helps to prevent warping.
Time in a Bottle
Time in a Bottle
Time required to dry pine is subjective to air flow and humidity. In a moist climate, green pine can take up to a year to dry to 19 percent. If you're drying milled pine for furniture, trim work or cabinets, the time required to bring it down to 12 percent can be as little as a few days or as long as a few weeks or more. Check it with the pin meter periodically. Hasten the process by adding fans. If you can't get the moisture down to a reasonable level after a few weeks, it may be necessary to move the pine to an area where heaters can be added. Once the pine reaches the required moisture content for your application, you may notice cracks or splits on the ends. Some people recommend painting or waxing the ends before drying, but this method has mixed reviews. The majority of woodworkers simply trim the ends off a few inches after the pine is dry to remove cracks or splits. Other problems may include stains and mold, which can usually be sanded off.
