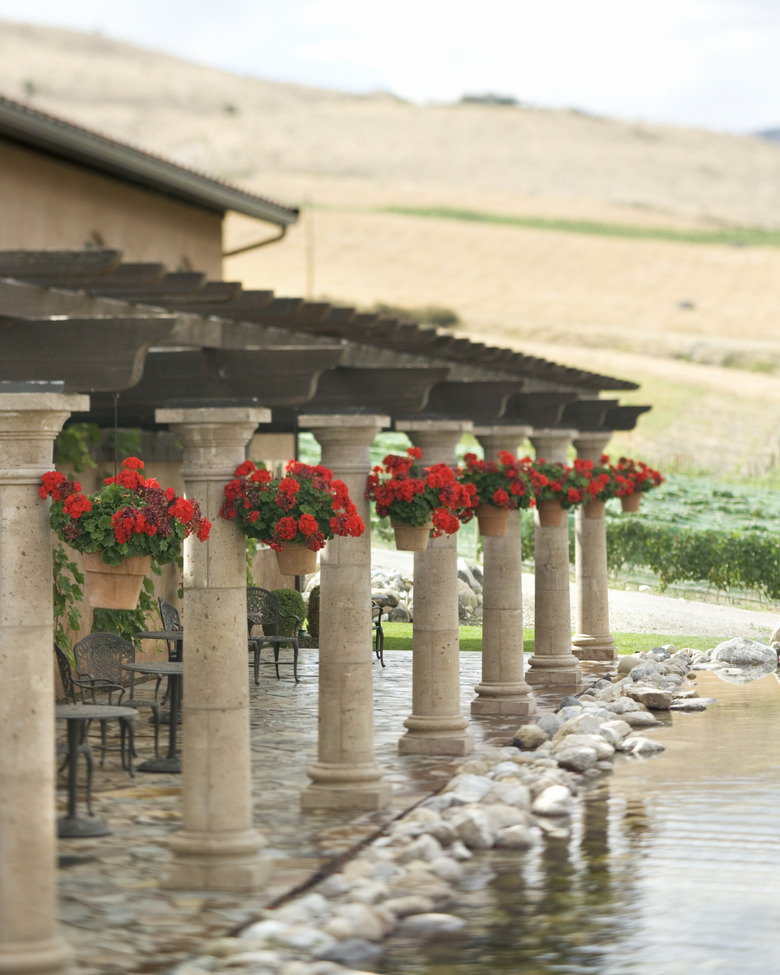
How To Understand The Parts Of A Pergola
A pergola is a simple outdoor structure similar to an arbor. While an arbor typically is a freestanding structure set in a yard or garden, a pergola is usually attached to a house or is freestanding and placed close the house. Understanding the correct terminology is important when you are planning to build a pergola or similar structure. The following definitions will help you become familiar with the various terms involved.
Step 1
Ledger board: On an attached pergola (meaning one side is attached to the house), the ledger is a long piece of lumber that is anchored to the wall framing. Its length should be the length of the pergola and its height should be the same as the height of the rafters (or bigger). The ledger board is typically 2-by lumber.
Step 2
Footings: These are concrete piers (usually in the shape of a cylinder) that are formed by pouring concrete into a hole or form in the ground. They support the posts. Municipal building codes specify how deep the footings must be, which is typically below the frost line.
Step 3
Posts: These are the vertical support members that run from the footing to the beam. On an attached pergola, there must be at least two posts, one at each end of the beam. On a freestanding pergola, there must be at least four posts. 4 x 4 posts are common on smaller pergolas, while larger structures might use 6 x 6s or 8 x 8s.
Step 4
Beams: On an attached pergola, the beam runs parallel to the ledger board. Freestanding pergolas have two beams that are parallel to each other. Many people like to cut the ends of the beams into a fancy shape.
Step 5
Rafters: These are the horizontal members that form the main part of the pergola "roof." They are usually spaced 12 to 24 inches apart. On an attached pergola, the ends of the rafters are attached to the ledger board at one end and sit on top of the beam at the other. With a freestanding pergola, the rafters typically sit on top of the beams on both sides. As with beams, it's common to cut the ends of rafters with decorative shapes.
Step 6
Purlins: These are optional smaller pieces of wood that can be placed on top of the rafters for additional shade. They run the perpendicular to the rafters and are typically made with 2 x 2 or 1 x 2 lumber.

