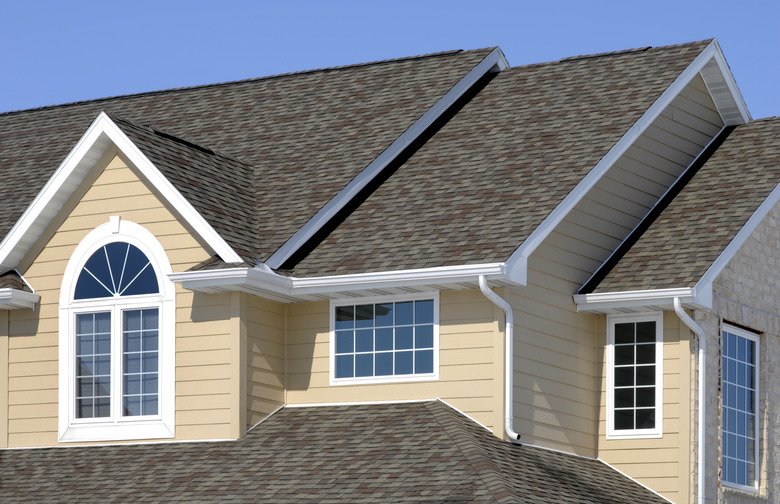
How To Install Architectural Shingles
Architectural shingles may be about 20 percent more expensive than the typical three-tab shingles, but for those who can afford it, they are worth it. Instead of one layer of roofing materials, architectural shingles are designed with multiple layers, creating a thick and heavy tile that is more weather-resistant and creates a three-dimensional look. If you're looking for a higher quality, better-looking roof tile, but need to save money, you can install these tiles yourself. The key is to gather the proper tools and follow all instructions carefully.
Measure the Layout and Purchase Shingles
Measure the Layout and Purchase Shingles
Before you can begin installation, you need to purchase tiles. Measure your roof to determine the number of 10-foot by 10-foot squares you'll need to cover the entire surface. When purchasing your shingles, you will need three bundles per square. Note that as you lay your shingles down, you will double up your first row. All other rows should not line up with the one directly above or below.
Use the Right Tools
Use the Right Tools
Before you begin, gather all of your tools, check to make sure they're in good shape and replace any that are damaged. Obviously, you will need your tiles and an extension ladder to reach your roof. Before laying your architectural shingles, you'll need felt, metal flashing and tin snips. Finally, you will also need a hammer and a nail gun, a sturdy tape measure, a trowel and a utility knife.
Felt and Metal Flashing
Felt and Metal Flashing
Before you can actually install your tiles, you will need to lay down felt, then attach metal flashing. For the felt, begin at the lower edge of your roof and place the felt's edge on the decking. Roll it out horizontally, cutting it with your utility knife when you reach gables, chimneys or other breaks in your roof. At the end of each row, lay a new row above with just a slight overlap. Continue laying row after row until you've covered your entire roof.
To cover the roof surrounding those breaks, you'll need to install metal flashing. To line each area, use your tin snips to cut your flashing into strips and bend each strip in half to create a crease. Open the strips and lay them along the edges of your gables, chimneys, vents or other breaks. Secure the strips into the roof with nails along the bottom.
Installing Architectural Shingles
Installing Architectural Shingles
Begin your first row at the lower left corner of your roof. Before you install your first shingle, use your utility knife to cut 6 inches off of the side, then lay it on your roof, allowing the architectural shingles to hang between 1/2 to 2 inches over the edge. Place a whole shingle next to this one, making sure to nail each shingle to the roof before placing the next. Once you've completed the first row, cut the last shingle so it fits, then lay another layer row directly over your first one, also cutting 6 inches off of the first tile, so that it is two layers thick.
For all additional rows, the tiles in your architectural shingle layout pattern should not line up with the row below. To create this pattern, use your utility knife to cut 6 more inches off – for a total of 12 inches – from the first shingle of the second row, then place the shingle at the end of your roof, overlapping the first row by half an inch. Next to your cut tile, lay a whole tile, continuing with whole tiles around your roof. For the third row, cut 18 inches off of the first tile, then lay a whole tile next to it. Continue tiling the entire roof by cutting 6 inches more off the tile at the start of each new row.
Once one side of your roof is complete, replicate your work on the other side. At the top of the roof, install ridge cap shingles to cover the gap between the courses on opposite sides of the roof. Once you've installed the architectural shingles, finish up your roof by coating the chimneys and vents with roofing tar.
