How To Seal And Coat Pressure-Treated Landscape Timbers
Landscape timber faces a variety of stressors from the outdoors. Termites and other wood-destroying insect infestations, harsh weather and natural rot and decay all threaten the integrity of landscape timber. Fortunately, pressure-treated wood can withstand such conditions. Ideal for outside uses, pressure-treated landscape timber that's sealed and coated will keep your outdoor structures looking beautiful and strong for years.
Pressure-Treated Landscape Timber
Pressure-Treated
Landscape Timber
To extend the timber's useful life span and protect it from the natural elements, pressure-treated timber undergoes a process in which a water and preservative-agent solution is applied to the timber under high pressure, ensuring the solution is deeply embedded.
The active ingredients may vary, but the solution commonly includes alkaline copper quaternary, copper azole or micronized copper azole. These ingredients are key in protecting the wood from termites, fungus and moisture. Because of this process, pressure-treated landscape timber is often delivered to stores wet and will take several weeks to dry out completely.
Reasons for Sealing and Coating
Reasons for Sealing and
Coating
Woods such as hemlock, hem-fir and Douglas fir are commonly used for pressure-treated landscape timber. Unlike cedar, however, these woods are not naturally resistant to rot, hence the need for the pressure treatment.
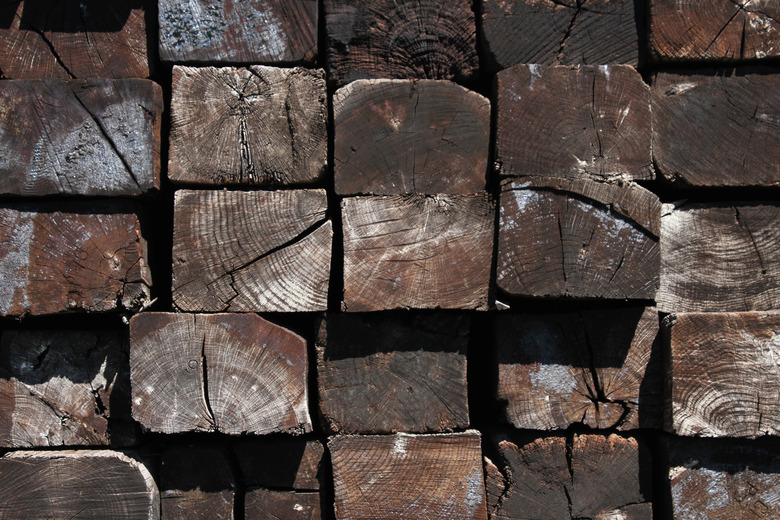
Even though pressure-treated wood is already coated in a protective sealant, the interior is not. Most projects will require precision trimming of the wood before installation, exposing untreated ends. If left unsealed, these ends would allow moisture inside, quickly diminishing the timber's life and quality. This is why it is crucial to seal and coat the exposed ends of pressure-treated landscape timber.
How to Seal and Coat
How to Seal and Coat
Sealing the exposed ends of the timber is a simple process that is worth it in the long run. To do so, you will need an end-treatment sealant. Picking the right sealant depends on the intended look of the wood and whether the wood is intended for above-ground or in-ground installation.
If you want the wood to maintain its natural color, opt for a clear or semitransparent oil-based sealant. If you intend to stain the wood afterward, opt for a combination stain and sealant. Remember that sealant should not be applied to wood that is already stained.
The wood must be dry first so that it can absorb the sealant. Since the pressure treatment leaves behind moisture, it can take several weeks for the wood to dry completely depending on the climate. To ensure that the wood is ready for the sealant, pour a small amount of water onto the wood. If the water collects and beads, the wood is still wet. If the water is absorbed, the wood is dry.
Applying the Sealant
Applying the Sealant
The wood should be free of dirt and debris before the sealant is applied. If you are working with an older structure, pressure wash the surface to remove tough dirt buildup. You will then have to wait for the wood to dry before applying the sealant.
Apply a single coat of the sealant to the clean, dry pressure-treated wood. If you are looking to seal a large area, begin with a small patch that won't be featured prominently on the structure in case you are not happy with the chosen sealant. With a paint-pad applicator, apply the rest of the sealant to the desired areas. In most cases, one coat should be adequate for coverage and protection.
Once the sealant is dry and you are happy with the result, you can paint the timber. Pressure-treated landscape timber can be painted just like any other timber.
