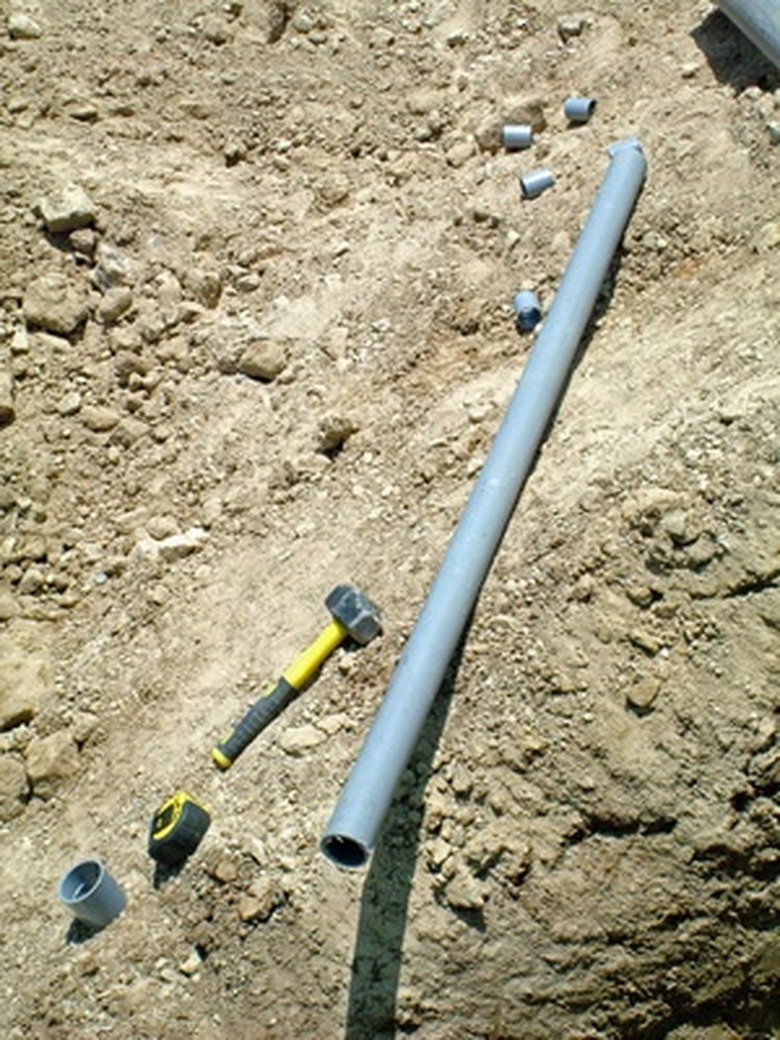
How To Use PVC Pipe Underground To Air Condition A Home
Things Needed
-
4- to 6-inch diameter thin walled (schedule 20) PVC pipe.
-
Trench digging device
-
PVC cement and primer
-
1/4 inch chicken wire
-
insect screen
-
cable or rope
-
duct fan sized for pipe diameter and electrical wire in underground rated conduit (optional)
Tip
Ensure that your trench does not cross any utility lines, such as a supply line from a well or a sewer line to a septic tank.
Having a professional dig the trench may save you quite a bit of time.
Clean the tube about once a month with a bleach solution to ensure a mold and dust free tube. Attach a moist sponge or rag to the far end of a rope along with another equal length of rope. As you pull the sponge through the tube, you will also pull the end of the other length of rope, thereby setting yourself up for the next cleaning.
The end of the pipe at the house will need to enter through the basement wall at depth or be well insulated so the energy gained in the tube is not wasted.
Make any cuts in the PVC pipe with a fine tooth saw and remove all burrs to ensure air tight joints. This is especially important in areas in which radon is a concern.
For colder climates, the depth of the earth tube should be about double the frost depth. For your earth tube, you need a depth at which the earth's temperature is fairly constant. For warmer areas with frost depths less than 3 feet, a 6-foot trench should provide a good balance between efficiency and cost. The trench should slope away from the house at about 1/4 inch per foot and at the far end should be open to daylight. This means that the last few feet of the pipe will not be at depth, but that is OK.
As you lay the pipe, insert a rope or cable so that it runs the length of the pipe when finished. If you are installing a fan, install it at the far end of the tube so that the tube is under positive air pressure. This will decrease the chances of radon or other soil gasses infiltrating the pipe.
Warning
All communities have a call before you dig number. Contact your local building department for this number if you do not know it. This will greatly decrease the likelihood of damaging underground utilities when you dig your trench.
A simple underground PVC pipe, often called an "earth tube" or "ground coupled heat exchanger" can potentially reduce your cooling bills by using the earth's near constant temperature to precondition outside air coming into your home. The same system can be used to reduce heating costs in the winter. This method is a low-tech solution that works on some basic physics, but just because it is low tech does not mean that some thought, planning, and design are not needed.
Step 1
Mark the route for your ditch with stakes and string or survey marking paint. Mark the ditch a measured distance to the side of where you will dig, so that you do not disturb the mark while digging. The ideal route is a straight, slightly downhill run about 100 feet long.
Step 2
Dig the trench. The depth of the trench will vary based on your area and the desired efficiency of the tube.
Step 3
Fill the bottom of the trench with pea gravel to a depth of 2 to 3 inches. This will level the bottom of the trench and provide a drainage layer that will reduce the chances of water getting into the pipe.
Step 4
Install the pipe using PVC primer and cement to seal each joint in the pipe.
Step 5
Cover the end of the pipe that is open to daylight with the insect screen and chicken wire to prevent rodents and insects from entering the tube. This screen should be removable to provide access for cleaning.
Step 6
Back fill the trench. Cover the pipe with 1 to 2 feet of dirt before replacing any large rocks so that the pipe is not damaged.
