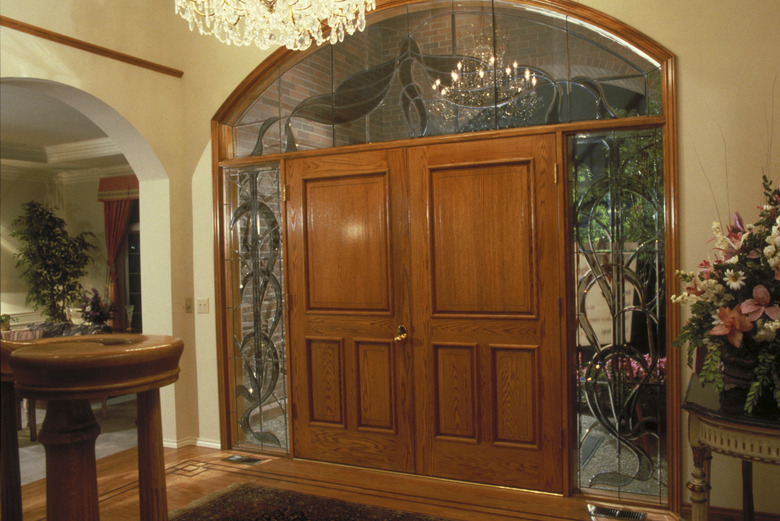
How To Replace A Small Front Door Entryway To Make It Bigger
Things Needed
-
Pencil
-
Graph paper
-
Door system
-
Glass side panels
-
Scaffolding
-
Electric screwdriver
-
Pry bar
-
Drywall knife
-
Chisel
-
Reciprocating saw
-
Pre-made beam
-
Circular saw
-
2-by-6-inch boards
-
Bolts
-
Nails, 4 inches
-
Insulation
-
Drywall
-
Wood trim
A home's front entry can significantly improve its curbside appeal and market value. By increasing the size of the front door and adding special touches, you can change a plain entry to one with pizzazz to spare. It's important to make improvements that fit harmoniously with the size of the home's front windows and porch components, however. The larger door space should look as if its design is original to the home's construction.
Step 1
Draw the front of the house on graph paper to determine the exact space you can allow for the larger door, any glass side panels, and an overhead transom made of glass, if you will use one. Choose a larger single door or a double-door system. Buy a door system based on the size of the porch and the home's interior foyer, taking into consideration the architectural style of the house.
Step 2
Take the door off its hinges with an electric screwdriver to reverse the screws in the hinges. Pry loose any door jamb material with a pry bar, taking care not to damage king studs running from the header to the wall's bottom plate. Remove any glass side panels. Rent scaffolding if you need to take out an existing transom of glass or materials high above the door.
Step 3
Cut interior drywall with a drywall knife to fully expose king studs and framing materials within the door space on the home's interior. Trace the exact dimensions of the door system with a pencil on the drywall before you cut the basic shape.
Step 4
Step back from the wall space to envision the new door space before beginning the work to reframe the wall to accommodate the bigger entry components. Check out electrical wiring that may be inside or outside the wall for outlets or light fixtures. Plan to reroute this wiring for new outlets or light fixtures that will fit the wider entryway.
Step 5
Remove bricks or house siding on the entryway exterior to make room for the bigger door system. Chisel bricks carefully, and use a pry bar or reciprocating saw to take off siding, making sure you're not cutting through any plumbing or electrical wiring.
Step 6
Build wall reinforcement to create a header beam for the new door, if needed. Buy a pre-made beam at the lumber yard that will help transfer wall weight onto the floor area. Cut this beam to fit the wall using a circular saw to make notches, if needed. Ask an expert carpenter to assist in getting the new beam in place, held up by new king studs.
Step 7
Install double king studs from the top plate of the wall to the bottom plate, making the rough door opening 2 inches wider than the door system you will install. Cut these studs from 2-by-6-inch boards with a circular saw, so they can reinforce the overhead transom and support the new door system. Nail them into the plates, driving them on an angle with 4-inch nails.
Step 8
Cut out old studs or framework that will block needed space for the new door system. Make the cuts with a circular saw or reciprocating saw, using the circular saw on lower wall sections only to ensure safety in manuevering the weight of a circular saw. Run any new wiring for exterior or interior outlets or light fixtures while studs are open.
Step 9
Secure a new door system and side panels into place. Follow the manufacturer's guidelines for screwing the door framing and all components into place. Add any insulation needed to cover all gaps before covering the walls in any fashion. Screw the door framing into place fimly before adding new drywall and wood trim to cover the interior walls.
