How To Lay A Natural Stone Hearth Under A Woodburning Stove
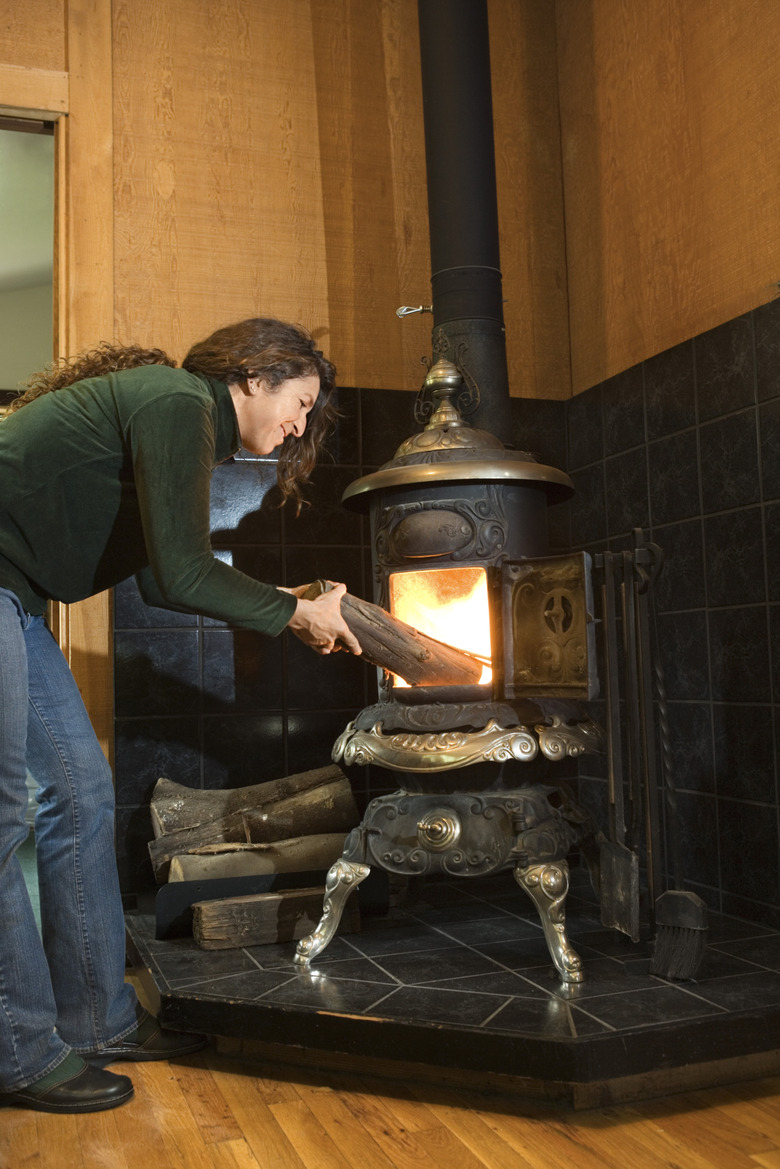
Wood-burning stoves date back centuries, used not only to heat the home but also cook and heat bathing water. Modern variations tend to be purely functional for heating purposes, and they always are built up on top of a stove pad or hearth. This area underneath and surrounding the stove keeps the heat from causing fire damage, as well as protecting the surrounding area from sparks and fallout.
Dimensions
Dimensions
The hearth and stove pad provide the heat reduction and spark insurance you need to safely operate a wood-burning stove. The hearth needs to extend at least 18 inches out from the face of the stove for proper protection, and at least 8 inches in all other directions. These only are minimums, and one of the best ways to lay out a natural stone floor is to make it as large as you need it to be beyond the minimums, to have full tiles or full stones at the outer edges, giving you a clean layout without any cuts.
Thickness
Thickness
When building with natural stones, you need to have a minimum thickness of around 1 inch of material to properly protect from the heat. For stone tile installations, 1/2 inch is made up by the cementboard underlayment, with the rest made up by the tiles. If the subfloor is a concrete slab, no underlayment is needed. Flagstone material also is usable for a stone hearth, although it is significantly thicker than some other types of stone and the pieces range in height, so you need to ensure the pieces are arranged in such a way that the surface is level to provide adequate support for your stove.
Tiles
Tiles
Natural stone tile installations are either installed directly onto the concrete slab or onto a cementitious underlayment installed on top of the wood subfloor. If working with an underlayment, adhere it to the subfloor with a layer of thinset mortar troweled on with a 1/4-inch notched trowel, then nail it down every 4 inches or so with a framing nailer and 1 1/2-inch roofing nails, or screw it down with cementboard screws. You can hammer in the nails by hand if you desire. From there, install natural stone tiles on top of the pad area, grout them in, let them dry for 72 hours, seal the installation and set your stove.
Flagstone Style
Flagstone Style
Flagstone requires either a concrete base or a cementboard underlayment. From there, install the stones in a bed of cement and sand mortar, known as deck mud, which is sold at any home improvement store. When mixed, it has the consistency of damp sand. Plain cement and water, known as slurry, is painted onto the installation surface and before it dries, the deck mud is shoveled into place to coat the slurry. Shovel at least 2 to 3 inches of mud onto the floor, scrape it roughly level with a straightedge and level, then install the flagstones. Paint the same slurry mixture onto the back of each stone as they are set, and use a rubber mallet to firmly pack each stone down into the deck mud mixture, leveling the stones as you go so the finish surface is level even if varying stones are different thicknesses. Grout it or put sand in the joints, then set your stove.
