How To Install Hardwood Floors Around Kitchen Cabinets
We may receive a commission on purchases made from links.
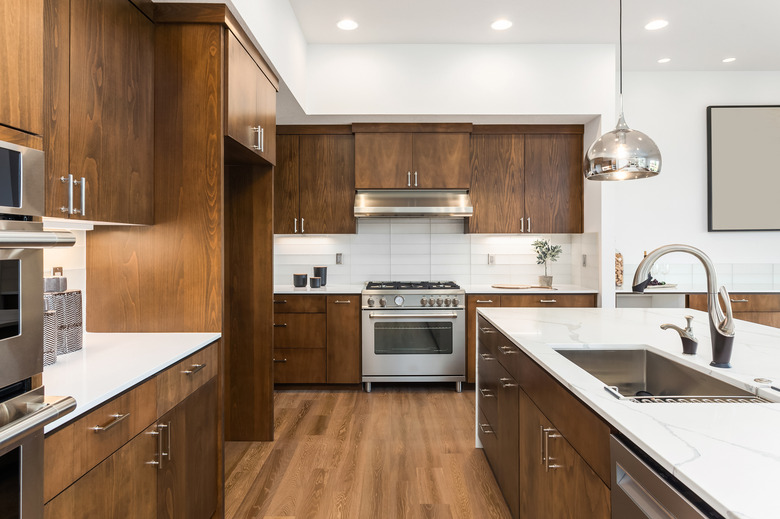
When you're building a new kitchen with hardwood flooring, the rule of thumb is to lay the flooring before you set the cabinets. This eliminates gaps around the base of the cabinets and makes it easier to swap out the cabinets when the need arises. However, when you're putting new flooring in a kitchen with existing cabinets, you usually have to work around them. Lifting them 3/4 inch to get flooring underneath would throw off all the plumbing connections and create the need for new backsplashes.
The procedure for installing flooring around the cabinets depends on which direction the flooring is running. You should have an easy job if the flooring is running perpendicular to a cabinet face, but when it's parallel, the job is more challenging, particularly when the installation requires you to place a final board next to a cabinet with a toe kick that doesn't allow access for nailing.
Start the Installation on the Cabinet Wall
Start the Installation on the Cabinet Wall
If you're laying hardwood flooring only in the kitchen (you aren't extending it into other rooms) and the flooring direction is parallel to a bank of cabinets on one wall, start the installation on the wall with the cabinets and work toward the opposite wall. That allows you to butt flooring perpendicular to the side of the cabinet, notch around the corner, and run flooring under the toe kick. The procedure calls for cutting a notch to go around the cabinet using a jigsaw. Use a table saw to rip more flooring boards to the depth of the notch to go under the toe kick.
The tongues of the boards will be facing out, and depending on the depth of the notch (and the width of the boards), you may be able to blind nail them, although you'll have to do this with a nail gun or by hand because there won't be room for a flooring nailer. You can also cut out the underlayment from under the toe kick and glue the boards to the subfloor with construction adhesive. Don't forget to leave a 1/4-inch expansion gap between the flooring and the cabinet.
Fitting the Last Board
Fitting the Last Board
When you're doing a whole-house installation that includes the kitchen, you don't have the luxury of choosing the flooring direction in the kitchen or the starting wall. More often than not, you'll be coming in through a doorway, and you'll end up on the cabinet wall. If the flooring runs perpendicular to a row of cabinets, you'll have to place a final board under the toe kick.
Measure the width of the gap and cut boards to fit. Measure and cut the boards from the groove side and discard the tongue side. You also need to rip off the bottom sides of the tongues so you can lay the boards in flat; there's no room to tilt them so you can lock the tongues and grooves together. Note that if the gap is angled, it's important to rip matching angles on the boards to avoid large gaps. The safest way to do this is to use a circular saw.
How to Secure the Last Boards
How to Secure the Last Boards
There isn't enough clearance from the floor to the underside of a toe kick for a hammer, so you can't face-nail boards under a toe kick by hand. Depending on the width of the last boards, you have two possible options:
- Cut away the underlayment from the subfloor, coat the boards with construction adhesive, set them in place, and wedge them down with blocks of wood to hold them until the adhesive sets.
- Face nail them at an angle with a nail gun.
It's best if you can combine these methods, but if the boards are too thin to use a nailer, the glue method will work. If the gap is unsightly, fill it with caulk or cover it with shoe molding or quarter round. Be sure to leave a gap, though, or you might be plagued by lifting or crowning flooring.
