How To Replace Carpet With Laminate Flooring
We may receive a commission on purchases made from links.
Laminate flooring offers a quick way to update your room when your carpet gets old and worn. Choosing laminate floors gives you the look of wood flooring with ease of installation, durability, and low maintenance. Removing old carpeting and installing laminate flooring is a DIY job that most homeowners can handle.
Removing the Carpet
Removing the Carpet
Removing the old carpet takes a few tools, including a utility knife and pliers plus a little muscle. The old carpeting should have a tack strip around the perimeter of the room holding it in place. To remove the carpet from the tack strip, start in a corner, grabbing the carpet with pliers and pulling along the edges.
Once you remove it from the tack strip, you can cut the carpet into strips and roll it up to remove it from the room. Since you're not putting down more carpet, pull up the tack strips with a pry bar. Then, you can pull up the carpet pad. If you have a wood subfloor, the carpet pad is likely stapled in place. A floor scraper can help you easily remove the staples.
Preparing the Subfloor
Preparing the Subfloor
Once you get everything removed, do a thorough cleaning of the room's subfloor to prep for the laminate and check its condition. You can use the existing plywood floor if it's flat and in good condition. Use a level or straightedge to check for humps and dips in several locations. You can sand down high points, use a floor leveler for low areas, and screw down subfloor panels to eliminate squeaks.
Planning the Laminate
Planning the Laminate
Laminate flooring is easy to lay with its click-together, tongue-and-groove design. Decide which wall will be your starting wall where you'll install your first row. Most people choose the longest wall in the room, although you might prefer to run the laminate planks parallel to a focal point, like a fireplace, even if it's not on the longest wall.
When planning your laminate, consider how you offset the end joints of the board. Staggering the end joints by at least 6 inches on adjacent rows is ideal. To get the staggered layout, you can adjust the length of the first board in each row. Make sure the staggering is random so the offsets don't create an obvious pattern.
Considering the Baseboards
Considering the Baseboards
Inspect the existing baseboards to consider how to handle them with the new flooring. They might have a gap along the bottom where the carpet was tucked under them. You can either remove the baseboards before installing the laminate or use quarter-round to cover the gap once you install the laminate.
Installing the Laminate
Installing the Laminate
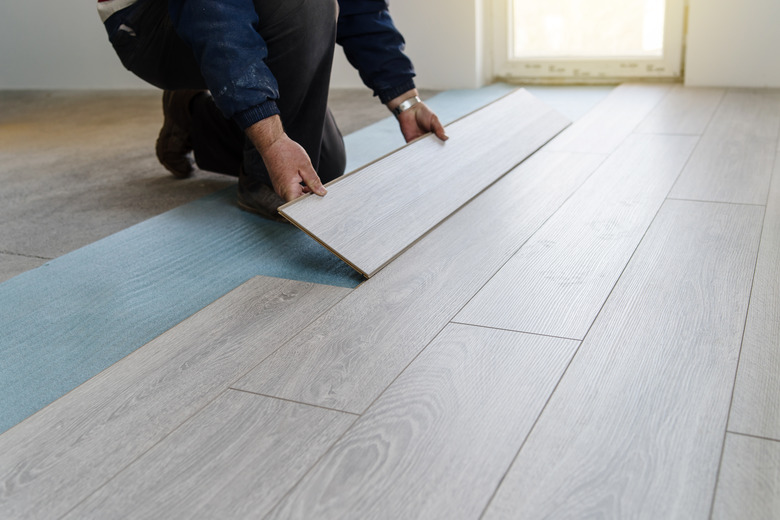
Before you start your installation, open up the laminate flooring packages and lay out the planks so they can acclimate in the room for at least 48 hours. You usually need to first install laminate flooring underlayment for cushioning and insulation. The underlayment comes in rolls and sometimes has adhesive along the seams for easy application. Other types of underlayment require you to use tape to join the seams.
You might need to trim the door jambs slightly so the laminate flooring fits under them; it is best to do this with an undercut saw or pull saw. Then, install your first row of planks, leaving an expansion gap of at least 1/4 inch (or as recommended by the manufacturer) along the walls on all sides of the room.
Fit the planks together as directed by the manufacturer. You may need a tapping block and hammer to close the joints between the ends of the planks. Start with the next row, offsetting the joints. Fit the long edge of the planks together by setting the second-row planks at an angle, lowering them so they snap into place, and then closing the end joint with the neighboring second-row plank.
Laminate flooring often comes with a tapping block, or you can buy one separately. It also helps to have a pull bar, which helps you tap the last piece in each row into place. Once you lay all rows of flooring, you can install the baseboard and trim to finish the room.
