How To Put Down A Laminate Wood Floor Without Removing Your Furniture
If you want to try laying laminate flooring with furniture in the room, you're in luck. The plank-by-plank installation of laminate flooring makes it possible to work around your furniture in a way that isn't possible with rolls of carpet or vinyl. The strategy here is to get the furniture out of the way, do the installation, and then move it all back to continue.
It's even easier if you can move the furniture to a different room from where you are doing the wood laminate installation. But if you can't, don't worry, it'll be a tight squeeze, but you'll still be able to proceed with installing laminate flooring with furniture in the room.
Moving Furniture to Install Hardwood Floors
Moving Furniture to Install Hardwood Floors
Move all of your furniture to one side of the room or into one room of the house. If not all of it fits, move as much as you can. Consider carefully stacking furniture and securing it with ropes so that it is not in danger of falling.
Prepare the Floor for Laminate Installation
Prepare the Floor for Laminate Installation
If you have carpets, this will entail tearing out the carpet, padding, and any carpet nails holding it in place. Make sure the floor is level and clean of dust and debris. According to Lowe's, a laminate floor will not lay flat or stay in place easily if the subfloor is uneven, so pay close attention to this step for a satisfying end result.
Lay a moisture barrier, if needed. If you have concrete subfloors, you will have to use a moisture barrier. On wood subfloors, this step isn't always needed. A moisture barrier prevents water from seeping up from the foundation and warping the laminate.
Measure the sheets and cut them to fit. If you need more than one sheet, make sure they overlap by at least eight inches. Tape them together with packing tape.
Install the Padding and Laminate Floors
Install the Padding and Laminate Floors
Lay your foam padding on top of the moisture barrier (if present). Do not attach these together or overlap them.
When installing the laminate floor, start in one corner of the room. Take your first plank of laminate and set it in the corner. Use laminate spacers to keep the laminate spaced approximately 1/4 inch away from the wall. This "expansion gap" will allow the laminate to contract and expand with temperature changes.
Saw the piece of laminate that goes next to the first one in half using the table saw. By cutting this board, you stagger your laminate pieces to give your floor a more natural look.
Connecting the Laminate Pieces
Connecting the Laminate Pieces
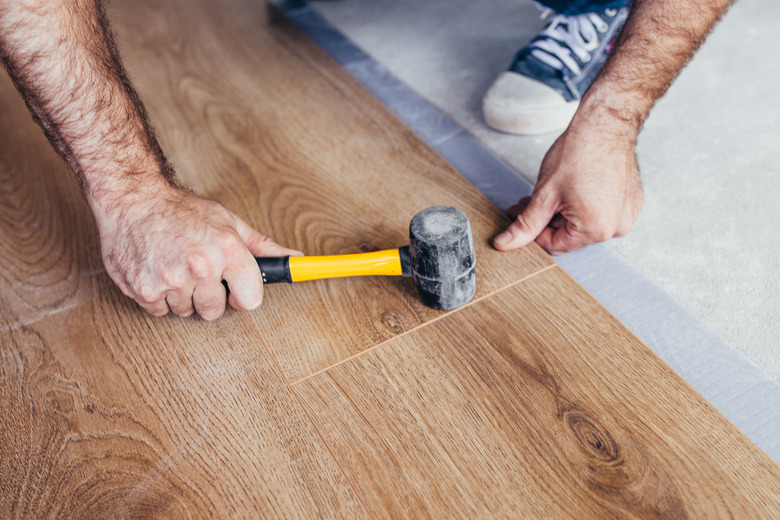
Be sure to use spacers along the wall, and hold the second piece lengthwise next to the first piece at a 45-degree angle. Insert the tongue into the groove in the board and press down until you hear the board click into place. Set the block of wood next to the new board. Tap on this with the hammer to ensure the two boards are seated firmly.
Take another piece of laminate and insert the shorter "tail" on this piece into the groove on the first board. Lower this in place until you hear it snap. Use the spacers to keep the gap along the wall even.
Take a new piece of laminate and go to the second row. First set it lengthwise alongside the last board and snap the pieces together. Then, using the hammer and block of wood, tap on the shorter end of the laminate plank to connect firmly at the "heel" of the board to the "head" of the one there. Repeat this process, completing first one row and then the other, until you reach the other wall.
Move Your Furniture and Finish
Move Your Furniture and Finish
Finish the room halfway. If you have all of your furniture stacked in this room only, move it all to the finished side of the room. If all your furniture is in another room, you can leave it there while you finish the laminate installation. Finish installing the laminate, using the two row method, until the entire room is finished.
Finally, measure and cut the quarter round molding along the base of the wall. This molding will hold the floor in place and also cover the gap. Remove the laminate spacers on one side of the room, then install the quarter round. Do this for the other walls until you are finished.
