How To Convert A Garage Door Opening Into A Wall
Things Needed
-
Wrenches, pliers and screwdrivers
-
Crowbar, hammer and chisels
-
Tape measure, framing square and carpenter's level
-
Treated 2-by-4-inch lumber
-
2-by-4-inch framing lumber
-
Saws and drills
-
Sheathing, siding, insulation and drywall
Tip
Check local building code requirements for windows and doors in living spaces and include those in the openings as necessary.
Warning
Use safe practices when demolishing or building, especially around power tools. Wear safety glasses, hearing protection, and gloves.
Garage door torsion springs mounted above the door are under high tension and can unwrap with great force. Consider hiring a garage-door contractor to remove the doors if you have this style spring.
Homeowners who find themselves in need of new living space often decide that a garage conversion is one of their simplest and most economical alternatives. An attached garage is a ready-made enclosed space with the framing, roof and siding already in place. Conversion can reduce both the cost and duration of construction. The first step in a converting a garage to a living space is removing the door or doors and walling off the openings that remain.
Step 1
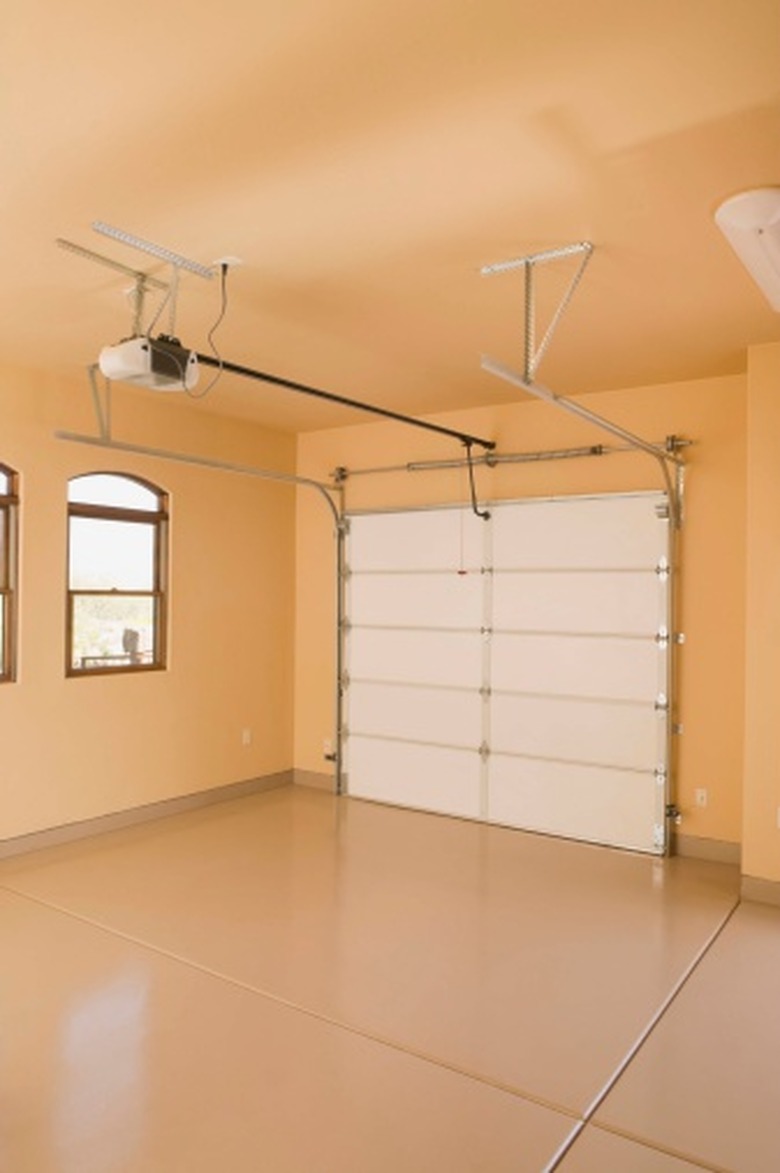
Disconnect the spring or springs from the door. You must release a torsion spring mounted above the door with winding rods. You can disassemble a door with side extension springs using ordinary tools.
Step 2
Dismantle the door by removing the hardware on the sides and the hinges between sections. Remove the door hardware, such as tracks, mounts and opener.
Step 3
Pry loose and remove all the molding that surrounds the space. This exposes the header and the studs on the sides of the opening.
Step 4
Construct a new sole plate across the opening. Use treated lumber rated for ground contact and insert a strip of aluminum or copper termite shield between the wood and the slab. Attach the sole plate with masonry nails or with lag screws inserted into pre-drilled holes in the slab.
Step 5
Frame the opening with 2-by-4-inch lumber on standard 16- or 24-inch spacing. Rough frame any required window or door openings.
Step 6
Install windows and doors. Insulate all framed areas below, above and beside windows and doors. Apply sheathing to the exterior wall.
Step 7
Install siding on the exterior. If the home's exterior siding is horizontal, it may be simpler to install contrasting siding than attempt to match the existing pattern. Install exterior molding around windows or door openings.
Step 8
Complete the interior with drywall. Add molding to frame the windows and doors and install the baseboard.
