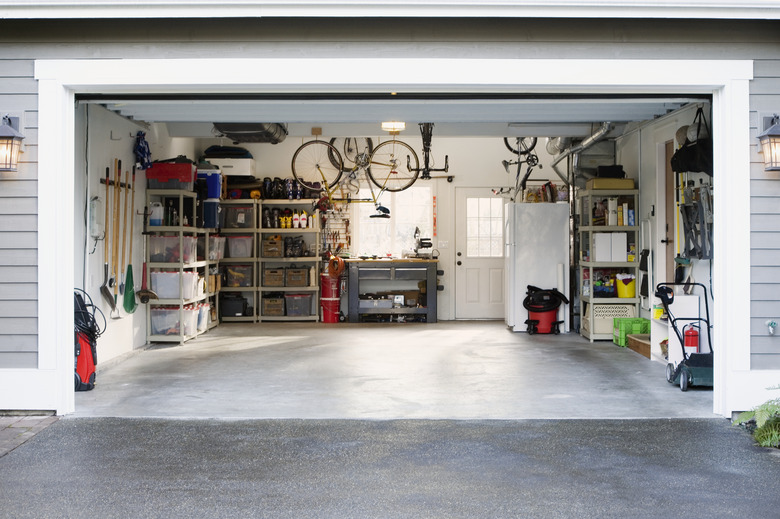
How To Make An Enclosed Room In Your Garage
Maybe you're no longer using your second car, or you moved all your gardening equipment to a brand-new shed. Whatever the reason, you have extra space in the garage, and you want to take advantage of it by making an enclosed room. Good call ... lots of people have done the same thing, and it's not that difficult a project, although the amount of work and money will depend on how you want to use the room.
You may, for example, want to make a new laundry room, in which case you're probably going to have to install new electrics and plumbing. You'll need a permit for that, and to get it, you'll need plans. On the other hand, you might just want to make a simple office or chill space, and if you can do that without installing any new electrics or modifying the garage structure, a permit probably won't be necessary but check with the building department just to be sure.
Planning Your New Room
Planning Your New Room
The dimensions and structure of the new room depend on the available space and structure of the garage. The most efficient design makes use of two of the existing garage walls, meaning you have to construct two new walls in a corner of the garage. If the garage has windows, you might want to incorporate at least one of them into the enclosed space. Because garages usually have high ceilings, it's a good idea to plan a false ceiling to make the room cozier and easier to heat, and if you build the ceiling with 2x6 joists, it can double as a storage space.
Plan on an 8-foot ceiling height, which will allow you to do the framing with inexpensive 94 1/2-inch 2x4 studs and will provide plenty of headroom in the finished space. You'll be covering the walls with drywall, and designwise, you need to plan how to cover them and what to do about the existing concrete subfloor. Easy flooring choices include laminate, vinyl, and all-weather carpeting. Finally, plan the location of the door and any windows you want to add so you can frame them in the right places.
Framing Your New Room
Framing Your New Room
After you've cleared out the space and outlined the room dimensions of the floor, you're ready to build the walls. Construct each one on the floor, spacing studs 16 inches on center and framing in doors and windows with appropriate headers. Lift the walls into place, plumb and level them, and then fasten them to each other and to the existing garage framing with 3-inch nails or screws. The walls need to be fastened to the subfloor using concrete nails or screws.
You'll need to install a ledger board on one of the garage walls to support the ceiling, and if you plan to store things up there, use a 2x6 for extra support. Nail or screw it to the garage framing and then support the ceiling joists on it and one of the walls you built, spacing the joists 16 inches apart. Cover the tops of the joists with 1/2-inch or thicker plywood to make the storage space, screwing it securely onto the joists, and you're ready for the next steps.
The Rest of the Procedure
The Rest of the Procedure
Once the framing is finished, your job is still less than halfway completed, and the amount of remaining work depends on how you plan to use the room. If you're making a laundry room, you'll need to run water pipes, install a drain, run electrical wires, and connect them to the garage's subpanel or the main panel in the house. If you pulled a permit, this must all be done to code, so you might want to consider hiring an electrician, a plumber, or both.
After the wires and pipes are in, install insulation in the walls and ceiling and then hang drywall on all the room walls and on the outside of the two walls you built. Tape and finish the drywall and paint it or install a wall covering. Then install the doors and windows and all the trim you need (pre-painting the trim will save you a lot of time). Do the electrical and plumbing trim work (installing electrical outlets, faucets, etc.), cover the floor, and enjoy your new space.
