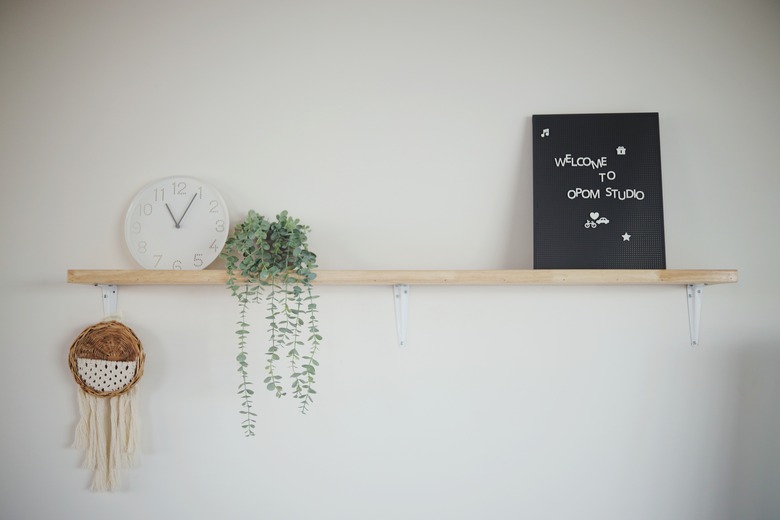
How To Hang Shelves On Plaster Walls
We may receive a commission on purchases made from links.
When it comes to interior wall coverings, drywall rules in North America, and it's been that way for well over half a century. There are still plenty of older homes with plaster walls, though, and if you happen to live in one, you need to know how these walls are constructed if you plan to install hanging shelves.
The plaster itself is a hard coating spread over a backing of thin strips of wood lath that are nailed to the studs. The studs are the strongest part of the wall and will provide the support the shelves need, but they aren't spaced the same way that they are for drywall, and they are a little more difficult to find. If it should happen that you need to set a shelf support on a part of the wall that isn't in front of a stud, you can do it with toggle bolts that anchor themselves to the back of the lath.
Things Needed
How to Hang Shelves on Plaster Walls
1. Choose Your Shelving
Choose a shelving system that works for you. It may have preattached brackets, or the brackets may come separately. Loose brackets that aren't attached are better for plaster walls because of the irregular stud spacing, but you can make shelving with preattached brackets work by using toggle bolts.
2. Find the Studs
You need a stud finder to locate the wall studs, but it has to be a magnetic one because the lath prevents electronic imaging stud finders from working. A magnetic one will detect the nails holding the lath to the studs. Move the stud finder in a horizontal line along the wall and mark the positions of the studs that intersect the planned location of the shelf. If you can't find a magnetic stud finder, a strong magnet will also work in a pinch.
3. Position the Shelf and Mark the Bracket Locations
Set the shelf against the wall in the desired location, level it with a torpedo level, and draw a line on the wall along the bottom edge using a pencil. If the brackets are preattached, position the shelf so at least one of them is in front of a stud and then mark the positions of the screw holes on the wall. If the brackets aren't preattached, remove the shelf and line up the brackets with a line on the wall, positioning each of them in front of a stud, and mark the screw holes.
4. Drill Holes for the Screws or Screw Anchors
Use a wood-boring bit with a diameter slightly less than the screw you're going to drive. Operate the drill at low speed, drilling a hole on each of the marks you made to avoid chipping the plaster. Unless you're installing anchors, you can stop drilling as soon as the bit contacts wood.
When drilling holes for toggle bolts, the drill bit diameter has to be just wide enough to insert the bolt sleeve with the spring-loaded wings folded together.
5. Hang the Shelf
If the shelf doesn't have attached brackets, attach the brackets to the wall by driving a screw through each of the bracket holes for which you predrilled a hole in the plaster. The screw must be long enough to sink at least an inch into the studs, so 2 inches is a minimum length.
When installing with toggle bolts, you first need to unscrew the bolt from the sleeve, feed it through the hole in the bracket, and reattach the sleeve. Then poke the sleeve through the hole and tighten the bolt to secure the bracket.
If the brackets are already attached to the shelf, you'll have to support the shelf against the wall while you drive screws or install toggle bolts. Otherwise, you can secure the shelf after the brackets have been installed.
Tip
If you're hanging modular shelf units with vertical strips that support multiple shelves, attach the strips to studs. Toggle bolts could make the wall bulge if you put too much weight on the shelves.
