How To Install Kraftmaid Crown Molding
Things Needed
-
Measuring tape
-
Pencil
-
Paper
-
1-by-2 inch board
-
Miter saw
-
Finish nail gun
-
Kraftmaid crown molding
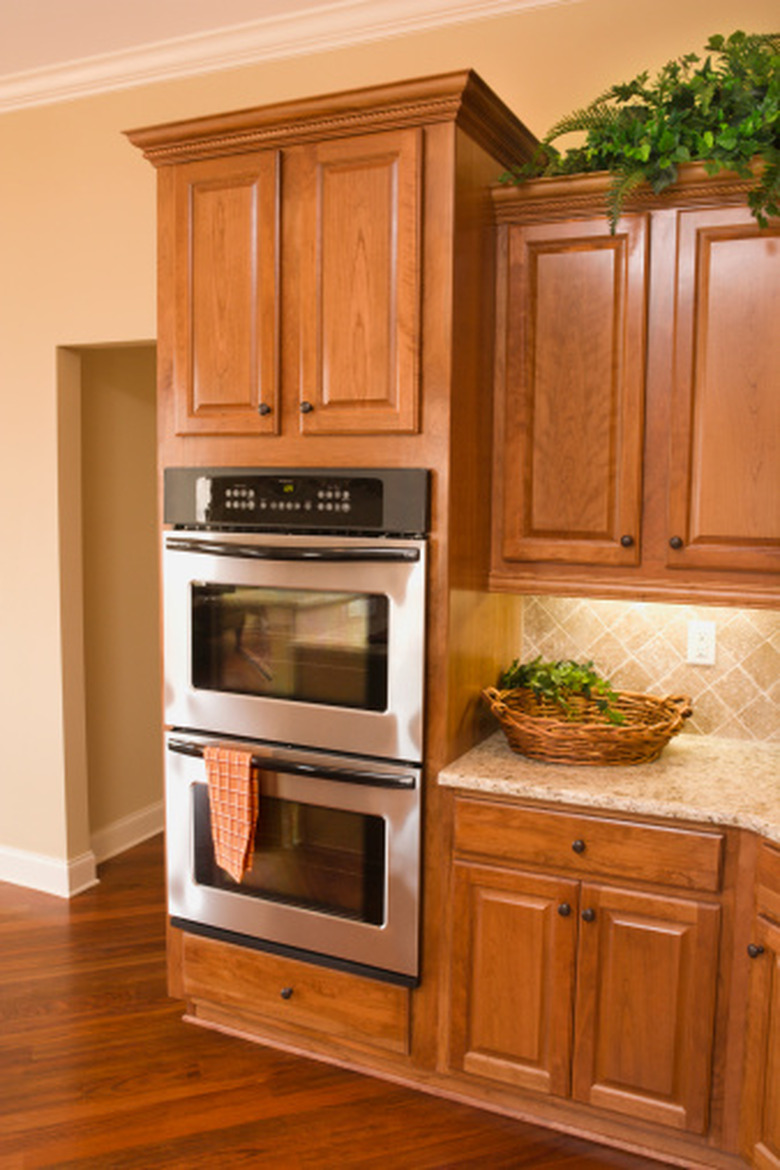
Kraftmaid crown molding is typically made to go on the top of kitchen cabinetry. Crown molding can give kitchen cabinets a custom look. Installing Kraftmaid crown molding isn't difficult and should take about an hour or two, depending on the size of the kitchen. Kraftmaid crown molding is prefinished and ready to install on kitchen cabinets. Once the molding is installed, you can fill in any holes with tinted wood filler that matches the paint or stain of the molding.
Step 1
Take the measurements of the top of the cabinets with a measuring tape. Have someone hold one side of the measuring tape while you take measurements from the other side. Write down these measurements on a piece of paper.
Step 2
Transfer the measurements from the top of the kitchen cabinets to a 1-by-2-inch board with a pencil.
Step 3
Place the 1-by-2-inch board on a miter saw and cut it to size at a 90-degree angle. Use the cut pieces to create a frame for the top of the cabinet. Nail the pieces to size with a finish nail gun. The finished frame should sit on the top of the cabinet.
Step 4
Mark the measurements from the top of the kitchen cabinets on a piece of Kraftmaid crown molding with a pencil.
Step 5
Set the Kraftmaid molding on the miter saw with the top of the molding resting against the saw table and the bottom of the molding resting against the saw fence. Set the miter saw to a 45-degree angle. Cut the molding to size on the saw. For corners, cut the molding on either side of the corner to an opposite 45-degree angle.
Step 6
Hold the Kraftmaid crown molding in place on the 1-by-2-inch frame. Nail the molding in place with a finish nail gun.
