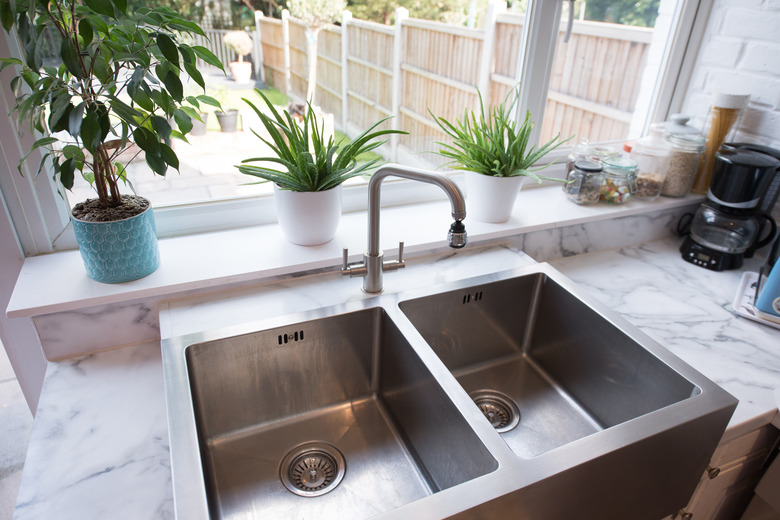
How To Make A Kitchen Sink Cutout Smaller
If you are hoping to replace your kitchen sink with a smaller one or if you have finished cutting countertop for a new sink and then realized you've made it too big, there's not a tremendously easy fix. You cannot patch together pieces of countertop and expect it to be structurally sound or sturdy enough to support a basin. As such, the only solution in such a situation is to cut out a larger section of countertop and replace it, then cut the correct size from it for your kitchen sink.
Important Safety Considerations
Important Safety Considerations
If you will be cutting countertops, you're likely to use a circular saw or a jigsaw. You should always wear hearing and eye protection when using any kind of power saw. Thick leather gloves are also smart, if possible, to protect your hands. If you are cutting stone countertops, you should definitely wear gloves, as sharp edges can cause serious injuries.
Be sure there are no children or pets in your immediate vicinity during this project. In addition, you should take care that cords for your tools do not get near sources of water. Home Depot explains how dangerous it could be if water and power tools were allowed to mix. You're likely to have the water to your sink plumbing turned off during a sink installation regardless, but verify there's no chance electrocution hazard before you get started.
Countertop and sinks can be heavy and cumbersome, especially if they are made of stone. Seek the help of another able-bodied adult before you begin the removal and installation process. This will help to avoid injuries.
Make Kitchen Sink Cutout Smaller
Make Kitchen Sink Cutout Smaller
If you are wondering how to make a kitchen sink cutout smaller, you should first determine with certainty the size you need the hole to be. This will help you avoid a similar issue in the future. Mark this cutout with a pencil on the new piece of countertop you plan to install.
With all safety protocols in place, use a jigsaw or circular saw to cut the existing countertop out of its position. Then, lay the new countertop over the existing section. Carefully mark where you will need to cut on the edges of the counter if it is not quite the right size. Make any additional cuts as needed.
Then, lay the new countertop in the hole and apply adhesive to all three sides (one side will face out toward your kitchen and won't need adhesive). Allow this adhesive to dry completely according to manufacturer instructions.
Finishing Your Countertop Installation
Finishing Your Countertop Installation
You'll want to reinforce the countertop installation to ensure the adhesive has additional support. Use wood strips beneath the countertop (you may need to access this from inside your kitchen cabinets) that span either side of the cutout. Drill the strips into place so that they cannot move.
Return to the markings you placed on your countertop for the new sink. Verify that these marks are still at the center of the new piece of countertop and that the sink will be positioned just where you want it. Then, you can begin the process of installing your new sink. You may need help from a plumber for this part if you are not familiar with joining pipes.
