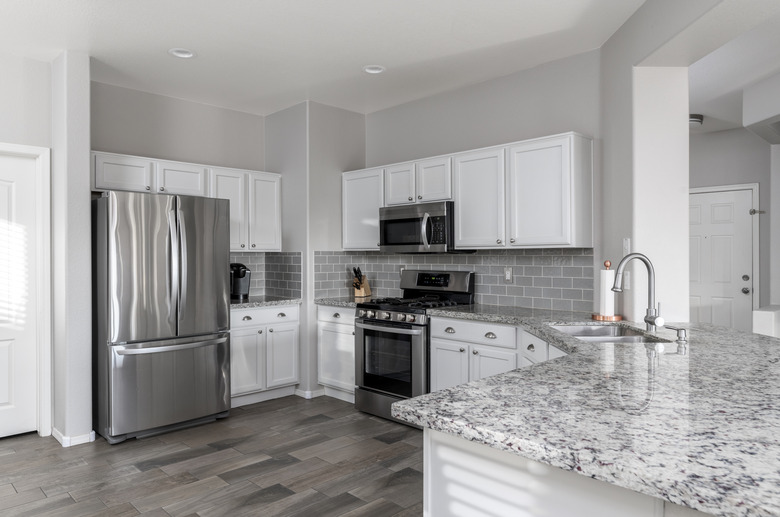
How To Frame A Kitchen Counter
The surface of a kitchen counter can be made from anything from Formica glued to a pre-shaped piece of particle board, to a counter top made from baked and glazed clay tiles. The wall and base, however, are almost always made from a 2x4 cabinet frame, while the bulk of the counter that is used as counter area will eventually hold a row of kitchen cabinets made out of 2x4 wood as well. Learn how to frame the wall that is located directly behind the counter space as well as special pieces that form the base of a kitchen cabinet.
How to Make a Countertop Frame
How to Make a Countertop Frame
Check any adjoining walls to see if they are square. Often, a counter is built against a straight section of wall, so you can skip this step. But if there is a section of wall that adjoins the counter space at a right angle, then check the juncture to see if it is square.
If the side wall is not square or plumb and you are installing cabinets, then you might want to allow room for a spacer piece to fill the gap between the edge of the cabinets and the wall. If this is the case, add some room to the frame that goes on the floor beneath the cabinets.
Build the 2x4 Cabinet Frame
Build the 2x4 Cabinet Frame
The frame that goes underneath the cabinets should be made from 2-by-4s standing on the 2-inch end so that they're 4 inches high. Add cross pieces every 24 inches located on the center.
If your cabinets are 24 inches deep and 72 inches long, then your base will come out to be 20 inches by 72 inches. This allows for a "kick space" that is four inches deep underneath the cabinets. To make this base you will need two long 2-by-4s at 72 inches and four short pieces, each one 17 inches long. Cut the pieces and then nail them together using rosin coated nails.
Install the Cabinet Frame
Install the Cabinet Frame
Place the frame exactly where you want it to go and then nail it to the bottom plate of the rear wall. Drive several #16 framing nails through the rear piece of the base and into the bottom plate of the interior wall. Place several nails along the length of the rear piece. Don't forget that the bottom plate only comes up 1 1/2 inches, but you can also nail the base to the lower portion of the vertical framing members.
Make sure the base is square (check it with your frame) and then nail the frame of the base right through the sub floor and into the floor joists. According to Wood Magazine, you'll also want to make sure your floor is level and square as well. Also, make sure the nails penetrate the sub-floor and grab into the top of the wooden joists.
Prepare for the Countertop Installation
Prepare for the Countertop Installation
Place 2-by-4 blocks in the wall behind the counter so the Formica countertop can be anchored to the wall. Calculate the height of the countertop before you nail the blocks. Examine the counter top and locate where the screws are inserted on the splashboard when you attach the counter top to the wall.
When you make the measurement for the height, include the height of the base and the cabinets, as well as the vertical distance along the splashboard. When you know the precise height for the blocking, begin to put the 2-by-4 blocks in place. Turn the blocks sideways so that the 3 1/2 inch wide face is flush with the outside edge of the vertical wall studs. Nail the blocks to the uprights with #12 nails, placing at least four nails for each board.
Add another row of blocks so that the cabinets can also be attached to the rear wall. This row of blocks should fall midway between the top and the bottom of the cabinet.
