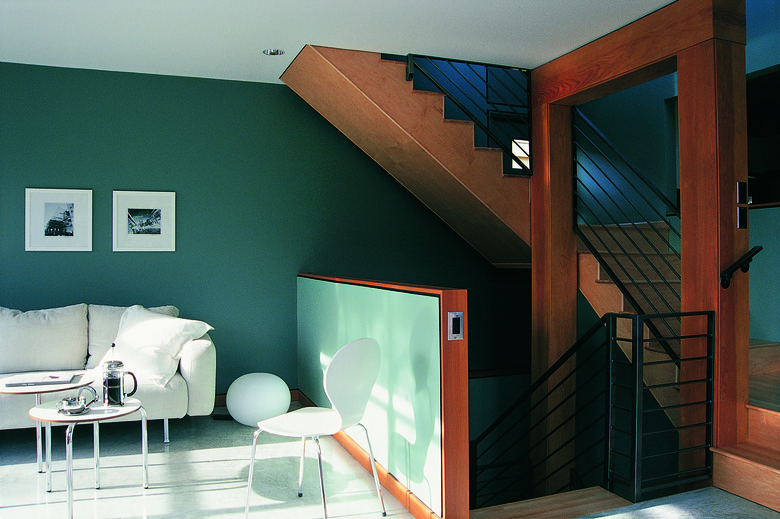
How To Cut Through A Floor For Stairs
Things Needed
-
Utility knife
-
Tape measure
-
Straightedge
-
Reciprocating saw
-
2-by-10-inch boards
-
Nail gun or hammer
-
Joist hangers (optional)
-
16d nails
Tip
When in doubt, plan to create an opening as long as your stairs. That way, even when you are on the first step, you have adequate headroom. Alternatively, cut an estimated opening and frame both sides and one end. Extend the opposite end, which hangs over the staircase, as necessary once your stairs are in place. Frame the remaining end to finish the stairs.
Warning
Use protective wear when cutting through the floor, including gloves and eye protection.
Never cut through a double joist when creating your staircase. Double joists are usually load-bearing. Removing them will severely compromise the integrity of your floor.
The thought of cutting through your floor might seem scary, but installing any new staircase, whether rigid stairs from one floor to another or pull-down stairs leading to an attic, requires an opening in the floor. Its length depends on how much headroom you need. Most local building codes require 6 feet, 8 inches of clearance between the floor above and your head, regardless of where you are on the staircase. Consult the architect's plans or use a calculator to determine how large an opening you require. Then prepare to brace the joists and cut the floor.
Step 1
Inspect the ceiling where you will build the staircase. Cut away a section, using a utility knife for drywall or a saw for thicker material such as wood plank. Make sure there's no wiring or ductwork running through the area before proceeding. While you may be able to reroute wiring slightly, ductwork is difficult to move. Adjust your staircase opening as necessary to avoid major obstacles.
Step 2
Locate the opening on the floor above. Create an opening square to the room around it by measuring from an existing structure such as an exterior or interior wall. Mark the floor with an X in at least three spots.
Step 3
Measure and mark the length of the stairway opening, running through the X marks to keep the opening square to the room. Use a straightedge to connect the marks in a solid line. This is one side of the stairway opening.
Step 4
Mark another, parallel line to indicate the opposite side of the staircase opening. Run the tape measure, from the first line over the desired width, in at least three spots. Align the marks with a straightedge. Both sides of the stairway opening are now marked and the distance between them is the width of the stairs.
Step 5
Run a straightedge between the side marks to create the end marks for the opening. Measure from one corner of the opening to the exact opposite, diagonally, to ensure the opening is square before cutting. All measurements should be equal if the opening is square.
Step 6
Cut along the guide marks, using a reciprocating saw to penetrate the floor. Work carefully to ensure you don't accidentally cut through anything you shouldn't. Your saw will contact the flooring material first, gradually biting through the wooden joists supporting the floor.
Step 7
Pry away any clinging bits of flooring or joists to eliminate the floor in the staircase opening. If you have insulation in the floor, you may have to tuck it back in the exposed sides. Remove all cut-away floor materials.
Step 8
Attach trimmers — joists — to the joists directly on either side of the staircase opening. Floors are designed to carry a load capacity, and removing joists weakens the structure. Add one trimmer per joist removed. If you remove four joists, you must add a trimmer on either side of each joist on either side of the opening — a total of four new joists. Use a nail gun or joist hangers to secure the boards together.
Step 9
Frame the ends of the opening by running a board across the cut joist ends. These boards, which sandwich between the joists and trimmers on either side, are called headers. Install a minimum double thickness of headers to provide structural strength for stairs up to 6 feet wide.
