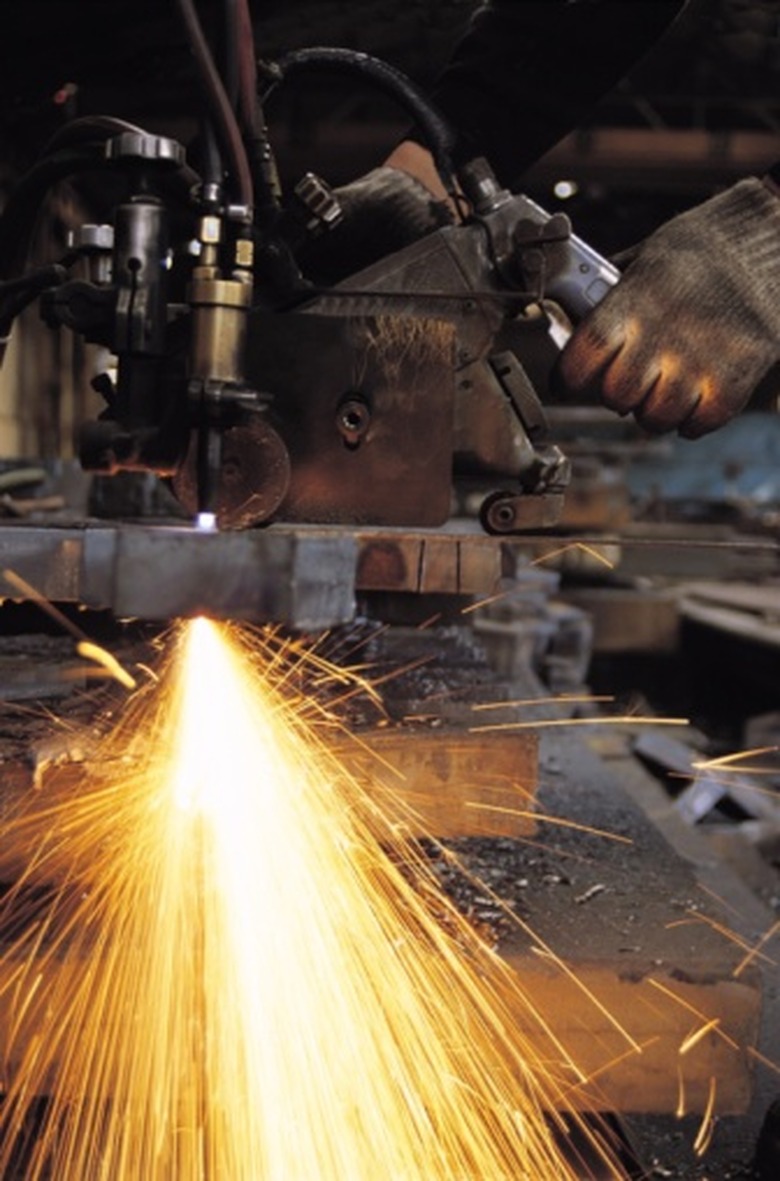
How To Separate Welded Metal
Things Needed
-
Grease pencil or permanent marker
-
Clamps
-
Cutting torch, with gas tanks and lighter, or
-
Grinder or circular saw, with metal-cutting wheel, or
-
Reciprocating saw, or
-
Hacksaw
-
Safety equipment (goggles, gloves and apron)
Tip
Wear goggles, gloves and heavy clothes or an apron to protect your body from sparks and metal shavings.
Plan your cuts to encounter the smallest possible surface area of welded material; alloyed metal will present an easier and more predictable cutting surface than will the weld.
Secure the metal with enough space underneath it so that the cutting tool does not have to encounter a secondary surface below the metal itself.
Warning
Take caution when using power tools or cutting torches: Work in an open, well-ventilated area, and cut away from your body.
Because welding fuses two pieces of metal together, separating those pieces again can present some challenges. The weld itself is often stronger than the pieces of metal on either side of it. Several different tools and techniques can separate the metal again, but each is best directed alongside, rather than directly on, the weld.
Torch
Step 1
Mark the metal where the cut should take place, with the grease pencil or the marker.
Step 2
Secure the metal piece in place with clamps.
Step 3
Light the cutting torch, and adjust the flame. Commonly, metal-cutting torches use a combination of oxygen and acetylene gases; the gas tanks must be turned on, their flows regulated and a spark or flame held up to the torch. Alternatively, with an electric torch, connect the power cord and press the starter button to light the torch.
Step 4
Move the torch flame along the marked line, slowly and steadily, allowing the flame to cut all the way through the metal, but without lingering long enough to melt excess metal. Continue until the cut is complete.
Step 5
Shut off the torch and allow the cut metal pieces to cool before handling.
Grinder or Circular Saw
Step 1
Mark and secure the metal piece to be cut, in the same way as described for the torch.
Step 2
Connect the power cord of the grinder or circular saw to an electrical outlet.
Step 3
Line the cutting wheel up with the mark on the metal, and start the saw or grinder with its trigger. Keep the wheel perpendicular to the surface of the metal.
Step 4
Allow the wheel to cut down through the metal, then push the saw or grinder away from your body in a straight line to cut all the way through the piece.
Step 5
Turn off the power tool, and allow the metal pieces to cool from the friction before handling.
Reciprocating Saw or Hacksaw
Step 1
Prepare the metal to be cut in the same way as described above: mark and clamp the piece.
Step 2
Plug in the power saw, if you are using one.
Step 3
Position the saw blade perpendicular to the edge (not the surface) of the cut mark, so that the thinnest possible surface faces the blade.
Step 4
Pull the trigger to start the power saw, and keep it steady and perpendicular as the blade cuts through the metal. If using a hacksaw, keep the blade perpendicular as you saw through the metal.
Step 5
Turn off the (power) saw, and allow the metal to cool, if necessary, before handling.
