How To Use A Level
We may receive a commission on purchases made from links.
A level is an incredibly useful tool to keep around the house, particularly a carpenter's level, which also doubles as a straightedge for marking lines on a project piece. The little air bubble within a spirit or bubble level helps you figure out how to make your project pieces perfectly horizontal or perfectly vertical based on where the air shows up within the level's vial.
How a Spirit Level Works
How a Spirit Level Works
A spirit level, also known as a bubble level, is an old-school type of level featuring small vials of liquid built into the tool. This liquid is often clear or slightly tinted to make the air bubble within it easier to see. Parallel lines drawn on the vial show you the goal area for the air bubble; when the bubble sits perfectly between the lines, the plane you're measuring is level.
In some cases, the bubble level might just be a small, sealed disc containing liquid and an air bubble. This bubble level works much like the others except instead of two lines drawn on a vial, the target area is a small circle painted on the center of the disc. This type of level comes in handy in a pinch, as it fits easily in a pocket and takes up only a little more space than a few stacked quarters. All things considered, any level featuring a vial of liquid and an air bubble works in the same way, but the outer shape of the level and its size may vary greatly, which makes it better suited to some projects than others.
How to Use a Level
How to Use a Level
A level with a straight edge, such as a carpenter's level, is a great tool to learn with since that perfectly straight edge helps ensure you'll get a good reading on a straight surface. Set the level on one of its solid, plain sides on a horizontal surface that you wish to check, such as a desk or a major appliance with adjustable feet. The vial that sits horizontally is the one to read. Lift one end of the level and watch the air bubble move; then set the level down and lift the other end, again watching the air bubble. This gives you an idea of how the level works because if the item you're checking is too far off level, the bubble is far from its target area between the lines.
Set the level on the desk again and look at the air bubble. If it's perfectly between the target lines, the desktop is level. If it seems off, lift one end or the other until the bubble sits in the target zone. If you've raised the right end to meet your goal, the right side of the desk needs to be higher, for instance. Raise the desk feet on the right side a little at a time (or stick something under them just for experimentation purposes) until the air bubble hits its goal.
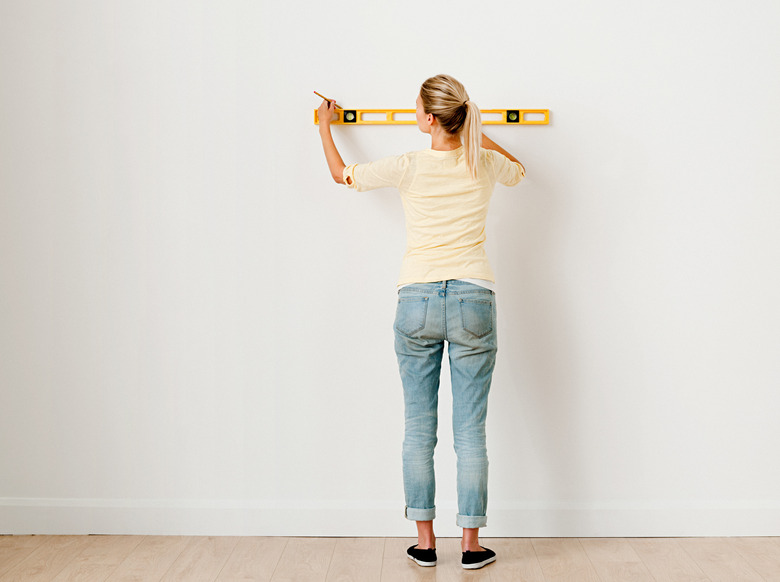
To use a level vertically, hold the straight-edged level against a vertical surface, such as the side of a fence post. The bubble to read (if the level has more than one) is the one that looks horizontal right now. Move the top or bottom of the level slightly to move the bubble into the centered target zone. If it's already there, the object in question is already vertical; if not, the bubble shows you how much you need to adjust the item to make it perfectly vertical.
Using a Laser Level
Using a Laser Level
Some laser levels also have bubble levels built in; this ensures that the tool is level. Other models have a self-leveling feature, so read up on how to use your specific model if you don't see a bubble level on it. Though different laser levels are used on different projects, some require setup on a tripod or a level surface, such as a table. Set it and level it at the desired height, such as when figuring out the bottom edge of a large, framed piece of art for the wall.
When the tool is level, the beam it projects is also level, and you're all set. Some smaller laser levels use suction to stick to walls, for instance, but they work in the same basic manner.
