How To Use Tile Spacers
We may receive a commission on purchases made from links.
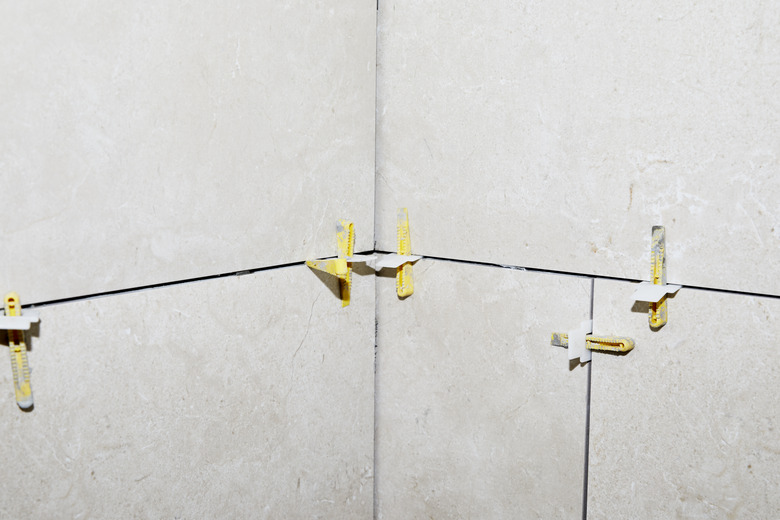
You can install wall or floor tiles without tile spacers, but because a small misalignment can lead to big problems when you reach the perimeter of the tiled area, you probably don't want to do that. When properly used, tile spacers guarantee straight grout lines and a professional job. They are small plastic crosses that fit in the spaces between tiles, and because they are meant for temporary use, you can use them over and over again. They are easy to use, but like every building tool or material, you have to use them right to get the best results.
Purchasing Spacers for a Tile Installation
Purchasing Spacers for a Tile Installation
Spacer size varies from 1/8 to 3/8 inches, and you choose the size based on the width of the grout lines you want. Thin grout lines are easier to keep clean than wide ones, but some tiles have irregular edges, so they need a wider line. As a rule of thumb, grout lines on a tiled wall should be about 1/8 to 1/4 inches in width, while those on floors and horizontal surfaces should be wider – from 1/4 to 3/8 inches, but there are also installations that involve very fine grout lines using special tile.
If you're laying tiles on a floor, and the walls aren't square, opt for a wider spacer. Wide grout lines make it easier to compensate for irregularities at the edges.
Calculating the number of spacers you need is straightforward. Simply count the number of tiles you are able to lay in a day, multiply by 4, and add a 10 to 20 percent overage to ensure you don't run out with only three tiles left to lay.
Install Tile Spacers as You Go
Install Tile Spacers as You Go
Whether you're installing 1-inch or 4-inch tiles, it takes two spacers to make a straight grout line. Don't be tempted to use just one. After aligning the central tile with chalk lines or with laser lines, set it in the adhesive and place two spacers on each edge. When you lay each successive tile, make sure it contacts the spacers on the one next to it, but don't jam the tiles together and squeeze the spacers, or they will be hard to remove.
The spacers need to be in place until the tile adhesive sets, which usually takes from 20 to 30 minutes. Don't leave them much longer than that, or they may get bonded to the adhesive. It's never a good idea to leave spacers in place permanently and grout over them. The spacer will be visible as the grout settles, and the grout will probably break up after a short time.
Tips for Using Tile Spacers
Tips for Using Tile Spacers
When you're using small spacers to create thin grout lines, the spacers can be difficult to remove with your fingers. A pair of needle-nose pliers makes extracting them easier, but use caution. Small spacers can be fragile, and you don't want any of them to break and create a headache for you.
You can change the spacers you use in a tile installation to create effects with grout lines of different widths. This is a common technique when laying mosaics or bordered patterns.
Tile spacers aren't helpful when the tiles you're laying have rough or irregular edges or have been cut poorly. If you're creating a mosaic with pieces of tiles and whole tiles combined, it's probably best to space the tiles by eye.
