How To Use Sanding Sponges
We may receive a commission on purchases made from links.
Most DIYers have an assortment of sanding tools and sandpaper products, including sanding sponges. This abrasive tool is relatively easy to use and gives you an advantage over traditional sandpaper and stiff sanding blocks. Choosing the right type of sanding sponge and knowing how to use it properly improve the outcome of your home improvement project.
What Is a Sanding Sponge?
What Is a Sanding Sponge?
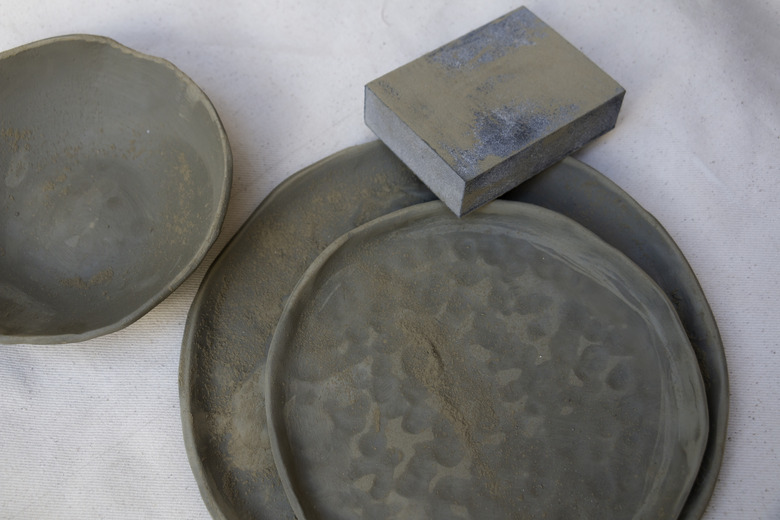
A sanding sponge is an abrasive block you can hold in your hand for various sanding jobs. Its center is a firm yet flexible foam block, and it has abrasive material on the outside. Sanding sponges are available in a variety of grits just like regular sandpaper. They also come in different shapes and sizes to match your use. You can use the sponges for dry or wet sanding, and they work well on both flat and shaped surfaces.
Uses for Sanding Sponges
Uses for Sanding Sponges
Sanding sponges give you something thick to hold onto, which makes it easier to apply consistent pressure to the surface you're sanding. The flexibility is another advantage, as it lets you mold the sanding sponge around curves and hard-to-reach areas. Sanding sponges are ideal for detail work that requires more control over the pressure and precision in your work. They're also ideal in areas where you need a smooth finish, such as sanding drywall or ceilings. You can use them on the same surfaces as regular sandpaper, including wood and drywall.
Choosing the Right Sanding Sponge
Choosing the Right Sanding Sponge
Matching the size, shape, and grit to your project gives you smoother results. Most sanding sponges are rectangular, but you can also get specialty shapes, such as corner sanding sponges, for specific jobs. Consider the grit needed for the job. Avoid starting with a grit that's too harsh for the job, as you can remove too much material or gouge the surface. You might need different grits for various stages of the project, usually starting with a heavier grit and finishing with a lighter grit for a smooth finish.
Dry Sanding With Sanding Sponges
Dry Sanding With Sanding Sponges
Dry sanding with a sanding sponge is similar to using regular sandpaper. Hold the sanding sponge firmly in your hand and move it along the material. If you're sanding wood, always go with the grain. Make sure your pressure is firm and consistent.
Wet Sanding With Sanding Sponges
Wet Sanding With Sanding Sponges
You can also use sanding sponges for wet sanding, which is less aggressive than dry sanding and cuts down on dust while sanding. It's usually one of the last sanding passes and can help smooth out scratches that the sandpaper or sanding sponge made in the first passes.
To wet sand with a sanding sponge, dip it into water and wring it out so it's damp but not saturated. You'll need to rewet the sponge as it dries out, and you might need to rinse the sponge in water if it gets clogged with gunk as you sand. Let the surface dry completely before you continue the finishing work.
Cleaning a Sanding Sponge
Cleaning a Sanding Sponge
Sanding sponges are reusable, but you'll need to clean them occasionally. Using an air compressor or similar air source can help blow out the dust from the sanding sponge. You can also brush or pick debris off the surface of the sponge.
If it needs a deeper clean, submerge the sponge in water, swish it around, and squeeze it a few times to get the debris out of it. You can add a few drops of gentle detergent to the water to help clean it better. Rinse the sponge well, squeeze out the extra water, and let it dry fully before you use it again.
