How To Install Concrete Steps
Things Needed
-
Shovel
-
Tamper
-
Gravel
-
Concrete-reinforcing mesh or debris, such as block and brick
-
Concrete
-
2-by-4 lumber
-
1/2-inch plywood
-
Hammer
-
Cooking spray
-
Finishing trowel
-
Edge trowel
Tip
Design your steps with consistent riser heights and tread depths of 7 to 8 inches and 10 to 12 inches, respectively. Let these dimensions determine the total run length of your steps.
For people who would like a more solid and durable set of steps than those constructed of wood, concrete steps are a good option. The work in installing a set yourself involves some physical labor that requires strength but not refined skill. Follow the steps below to make your own set of concrete steps.
Step 1
Excavate the entire area for the steps down to a depth of 6 inches. Use a tamper to compact the soil firmly. Add 4 inches of gravel to the area, smooth to level and tamp again to compact.
Step 2
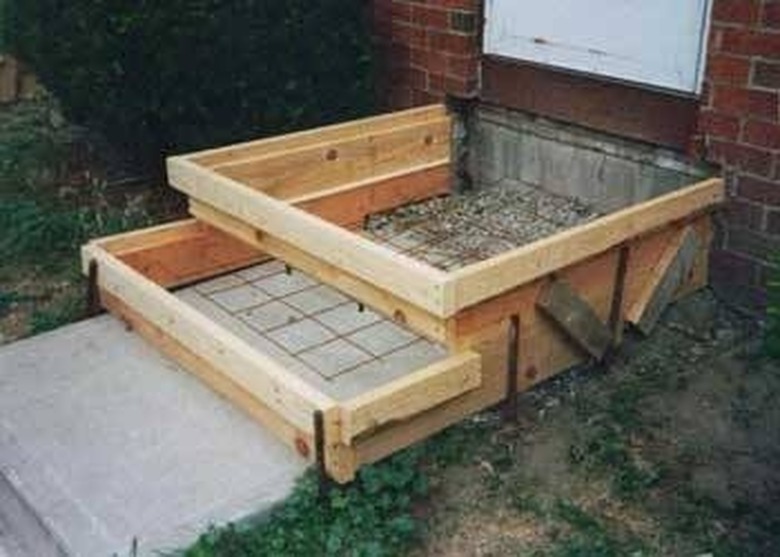
Measure and cut 1/2-inch plywood according to the dimensions of your steps for the concrete forms. Cut stakes from 2-by-4 lumber and drive them into the ground in position to support the plywood and accounting for the 1/2-inch thickness of the plywood form.
Step 3
Plumb the plywood form with a level so that all of the sides are standing perfectly vertical. Brace the forms further by driving 2-by-4 stakes a short distance away and in line with those next to the form. Nail 2-by-4 lumber pieces at an angle between them as shown in the photo. Spray all of the portions of the form that will come into contact with concrete generously with cooking spray. This will allow easy release of the forms from the cured concrete.
Step 4
Use a concrete calculator (see Resources) to calculate the quantity needed for your steps. Mix enough concrete for the entire project at one time.
Step 5
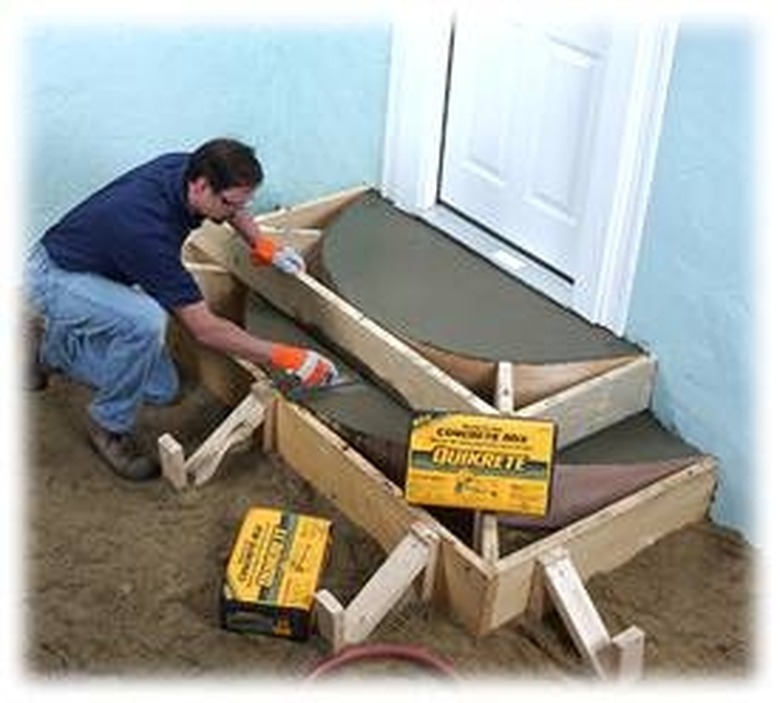
Fill the forms with concrete, adding some debris, such as stones, brick or broken concrete pieces, to add fill. You may also add a layer of concrete-reinforcing mesh if desired. Work a piece of 2-by-4 lumber in and out of the mix to settle it down into the forms correctly. Add enough excess concrete to the forms to allow for screeding.
Step 6
Get a 2-by-4 long enough to span the step area and rest upon the opposite ends of the form. Screed the concrete by working the 2-by-4 back and forth to smooth the concrete at a level equal to the top of the form. Add any concrete needed in low spots and repeat. Allow the water that has risen to the surface to evaporate.
Step 7
Finish and smooth the surface of the concrete with a trowel, and round the edges with an edge trowel. Dampen the concrete often over the next five to seven days for proper curing. Remove the forms. Your steps are installed.

