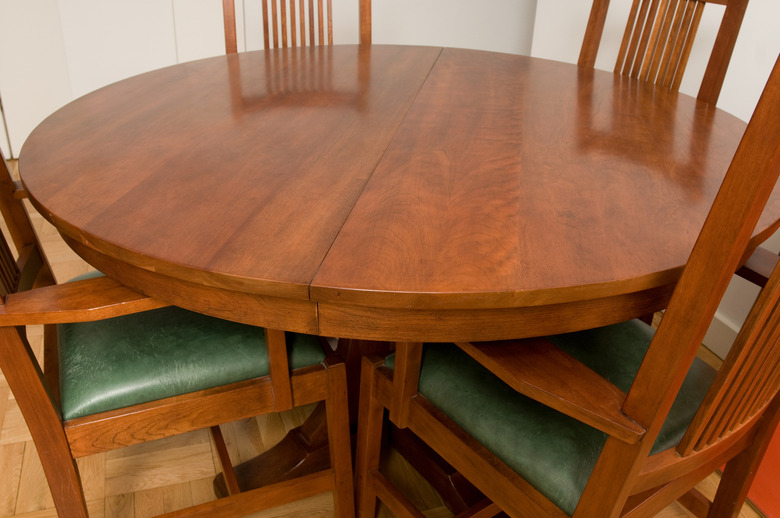
How To Refinish A Veneer Table Top
Things Needed
-
Newspapers
-
Wood putty
-
1-inch putty knife
-
Protective rubber gloves
-
Paste finish remover
-
Disposable 2-inch natural bristle paintbrush
-
3-inch putty knife
-
Toothbrush
-
Medium-fine steel wool
-
Lacquer thinner
-
Orbital or finish sander
-
220-grit sandpaper
-
Tack cloth
-
Furniture stain
-
Rags
-
Clear polyurethane finish
-
3-inch natural bristle paintbrush
-
400-grit sandpaper
Veneer is a thin layer of wood glued to a base of less-expensive wood. The process allows expensive or exotic woods to be used on reasonably-priced furniture. You can refinish veneer almost the same as you would refinish a piece of solid wood, as long as you take precautions to avoid damaging the thin veneer. Set up your tabletop refinishing project in an area with good ventilation, as the compounds used in the process may contain harmful vapors.
Step 1
Spread out newspapers on the floor of the work area. Set the table on the newspapers.
Step 2
Repair any gouges or nicks in the tabletop. Apply wood putty to the damaged areas with a 1-inch putty knife. Remove excess wood putty from the repair and then smooth out the putty with the putty knife. Put on protective rubber gloves before proceeding.
Step 3
Strip the old finish using paste finish remover. Apply the paste to the tabletop with a disposable 2-inch natural bristle paintbrush. As you apply the remover, always paint it in the same direction and do not paint over your previous brush strokes. Follow the finish remover manufacturer's safety precautions.
Step 4
Wait the time recommended by the finish remover manufacturer for the chemical to lift the finish. Scrape off the finish remover with a 3-inch putty knife, working in the same direction as the wood grain. Keep the putty knife as flat as possible to avoid damaging the veneer.
Step 5
Remove the finish remover from curved areas with an old toothbrush or medium-fine steel wool. Use care around the edges of the tabletop to avoid pushing the finish remover under the edge of the veneer.
Step 6
Apply another coat of finish remover with the disposable 2-inch natural bristle brush. Wait the recommended time for the finish remover to work. Remove the finish remover with medium-fine steel wool, rubbing gently if necessary to remove any remaining finish.
Step 7
Clean the finish remover from the tabletop using clean medium-fine steel wool. Dip the steel wool into lacquer thinner and rub the tabletop. Continue cleaning the tabletop, using fresh medium-fine steel wool, until all traces of the finish remover are gone.
Step 8
Sand the tabletop smooth using an orbital or finish sander and 220-grit sandpaper. Move the sander in the direction of the wood grain. Keep the sander moving to avoid sanding through the veneer. Use a loose sheet of 220-grit sandpaper to sand curved edges of the tabletop. Wipe away the dust with a tack cloth.
Step 9
Apply a stain that matches the rest of the table. Apply the stain with a rag or a natural-bristle brush, following the stain manufacturer's directions. Allow the stain to dry for at least 24 hours.
Step 10
Paint the tabletop with a coat of clear polyurethane finish. Stir the polyurethane before using to suspend the solids, and stir it again during use. Apply the polyurethane with a 3-inch natural bristle brush, painting in the direction of the wood grain.
Step 11
Allow the polyurethane to dry, following the manufacturer's drying time recommendations. Sand the polyurethane with 400-grit sandpaper to remove slight imperfections and roughen the surface to promote adhesion of the next coat of polyurethane. Do not use a sanding block or power sander for this step; hold the sandpaper in your hand to buff the surface. Use a tack cloth to remove sanding dust.
Step 12
Apply a second coat of clear polyurethane finish. The drying times and recoat instructions are different, depending on whether you choose water-based or solvent-based polyurethane. Follow the polyurethane manufacturer's directions.
Step 13
Wait the recommended time between coats, and then sand the polyurethane by hand with 400-grit sandpaper. Use a tack cloth to wipe away the sanding dust. Apply a third coat of clear polyurethane finish. Wait until the tabletop is dry before handling the table. Be aware that the manufacturer's recommended dry times between coats and dry time before handling may be different.
