How To Repair A Leather Inlay Table
Things Needed
-
Dish soap
-
Low tack painter's tape
-
Hobby knife
-
Sandpaper
-
Leather cleaning and coloring kit
-
Sponge
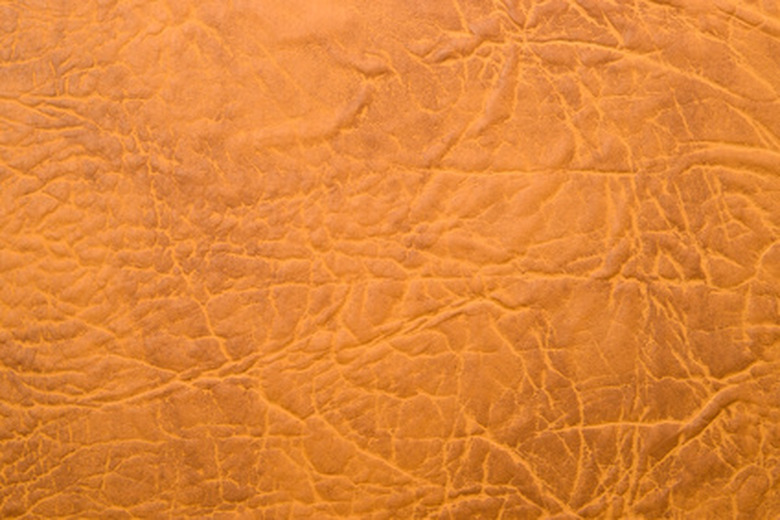
A table with a leather inlay can get abused by beverages, the oils from your hands, and the heels of your shoes. The leather will get scratched and worn and over time, will begin to fade in color. You can repair and restore your leather inlay table with the use of a leather repair kit. These kits are available online and in most home improvement stores. Choose a stain color that is slightly lighter than the color you are trying to achieve. Adding layers of stain will allow you to deepen the color.
Step 1
Mix one tbsp. of dish washing soap and water in a small bucket. Dip a sponge into the solution, and clean the leather thoroughly. Rinse the sponge, and wipe away the soap residue. Wipe up standing water with towels, and let the leather dry overnight.
Step 2
Put on rubber gloves. Wipe leather prep onto the leather inlay with a soft rag. Leather prep is a chemical stripper that will remove some of the color. Let the chemicals sit on the surface according to package directions. Remove it with a clean cloth.
Step 3
Sand the leather inlay with fine grit sandpaper. Move the sandpaper in a gentle, circular motion around the top of the table to add a small amount of texture to the leather.
Step 4
Tape the wooden part of the table with low tack painter's tape. Trim the tape with a hobby knife to create a sharp line between the tape and the wood.
Step 5
Dip a sponge into the leather stain. Wipe the stain onto the leather, and wipe away the excess with a clean cloth. Allow the first coat to soak into the leather. Apply more coats until you have a color that you like.
Step 6
Allow 48 hours for the stain to absorb completely into the leather. Do not use the table during this time.
