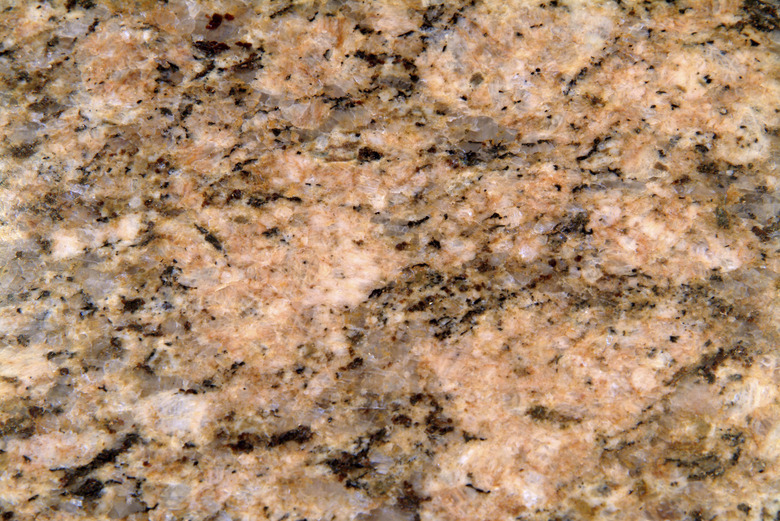
How To Build A Table Frame For Granite
Things Needed
-
Granite
-
Measuring tape
-
2-by-4-inch hardwood
-
Circular saw
-
4-inch wood screws
-
4-by-4-inch hardwood posts
-
5-inch carriage bolts
-
Screwdriver
-
2-inch wood screws
-
1/2-inch plywood
-
Nail gun
-
Paint or wood stain
Tip
The weight of the granite will keep the table top in place, but if you prefer, you may attach it directly to the table frame. Use a power drill with a masonry bit to predrill holes through the plywood on the table frame into the underside of the granite. Drive masonry screws through these holes into the granite to secure it.
Warning
Always wear protective gear and exercise caution when operating power tools.
After completing a home improvement project, such as a kitchen renovation, you may have an extra slab of granite. Rather than wasting this valuable material, turn it into a functional piece of furniture. Build a wooden table frame and use the granite slab for the table top. This project can be completed in a few hours and will provide you with extra table space.
Step 1
Measure the length and width of your granite table top using a measuring tape. Subtract four inches from both the length and width measurements to find the dimensions for your table frame.
Step 2
Cut two pieces of 2-by-4-inch hardwood to the length measurement you just determined in Step 1 using a circular saw. Cut two additional pieces of 2-by-4-inch hardwood to the width measurement, minus four inches. Use these boards to construct the support structure for your table frame.
Step 3
Arrange the four pieces of 2-by-4-inch hardwood in a rectangular shape. Sandwich the two shorter boards between the ends of the two longer boards. Drive 4-inch wood screws through the longer boards into the thickness of the shorter ones to secure the frame.
Step 4
Cut four 4-by-4-inch hardwood posts to the desired height of your table frame. These posts will be the legs for your table.
Step 5
Lay the rectangular hardwood frame you just constructed flat on the ground and stand one of the 4-by-4-inch hardwood posts upright inside each corner. Adjust the posts so they are flush with the inside edges of the frame on two sides.
Step 6
Predrill holes through the support frame into the adjacent sides of each table leg. Insert a 5-inch carriage bolt into each hole and tighten it using a screwdriver until the head of the bolt is flush with the wooden frame.
Step 7
Drive 2-inch wood screws at an angle through the inside edges of the table legs into the hardwood frame for added support. Because your granite table top will be very heavy, your table frame needs to be as sturdy as possible. Securing the legs to the frame as tightly as possible is one way to ensure stability.
Step 8
Cut a piece of 1/2-inch plywood to the length and width dimensions of your table frame using the circular saw. Stand the frame upright on its four legs and lay the piece of plywood flat over the top of the frame. Drive nails from a nail gun down through the plywood into the frame to secure it in place.
Step 9
Paint or stain your completed table frame to match the decor scheme in your room. Take the coloration of the granite into consideration as well when selecting a color for your table frame. Allow the paint or stain to dry completely before moving on.
Step 10
Move the table frame into the desired position. Have someone help you lift the granite and set it on top of the frame. Adjust the granite so it overhangs the table frame by about two inches on all four sides.
