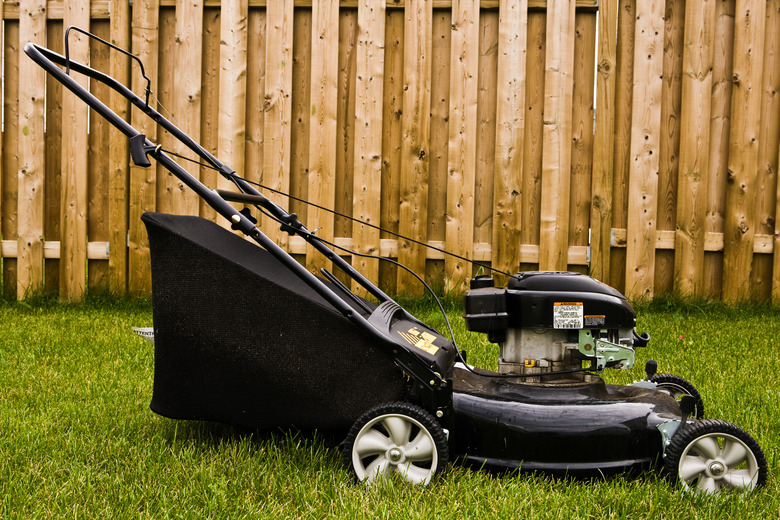
How To Adjust The Valves On An OHV Lawn Mower Engine
Things Needed
-
Socket set
-
Feeler gauge set
-
Flat head screwdriver
Tip
It is very important that you obtain the service manual for your mower before you adjust the valve settings. It is possible that the valve clearances for your mower are different depending on the engine design. In addition, some mower engines have hydraulic or non-adjustable valves.
Many lawn mower engines use overhead valves. This means, the valves rest at the top of the engine. Most 4-stroke lawnmower engines have an intake valve and an exhaust valve. The camshaft inside the engine lifts the valves at different intervals to allow air into the engine and exhaust gas out of the engine. If the valves loose their proper timing, you will see a reduction in engine efficiency. To correct this, you must adjust the valves.
Step 1
Remove the bolts that secure the valve cover onto the top of the engine and then place the valve cover off to the side.
Step 2
Remove the spark plug wire from the spark plug and then remove the spark plug from the engine with a spark plug socket and ratchet.
Step 3
Place a screwdriver into the hole for the spark plug. You will feel the tip of the screwdriver press against the top of the piston. Rotate the shaft or flywheel extending from the bottom of the engine. This is the shaft the mower blade attaches to. You will feel the piston push up on the screwdriver as you rotate the shaft. As soon as you feel the direction shift and the screwdriver starts to go back down, rotate the shaft in the opposite direction until the screwdriver goes back up. This is TDC or top dead center.
Step 4
Locate the rocker arm mounted above the exhaust valve. The exhaust valve is located towards the muffler on the engine.
Step 5
Place a feeler gauge that measures 0.005 of an inch between the bottom of the rocker arm and the top of the valve. If properly adjusted you should feel a slight drag when you slide the gauge between the two pieces. If the gauge will not go in or there is excessive play, you must adjust the rocker.
Step 6
Place a flathead screwdriver into the slot on the setscrew that protrudes from the top of the rocker arm and then loosen the jam nut with a wrench. Turn the screwdriver to either increase or reduce the clearance between the setscrew and the top of the valve. Tighten the jam nut and then test the clearance with the feeler gauge. Repeat this until you obtain a slight drag with the feeler gauge.
Step 7
Repeat step six with the intake valve located close to the carburetor on the engine. However, replace the 0.005 of an inch feeler gauge and replace it with a slightly thinner 0.003 of an inch feeler gauge.
Step 8
Place a new valve cover gasket onto the top of the engine if originally equipped with a gasket and then secure the valve cover onto the top of the engine.
