How To Take Apart A STIHL String Trimmer Head
We may receive a commission on purchases made from links.
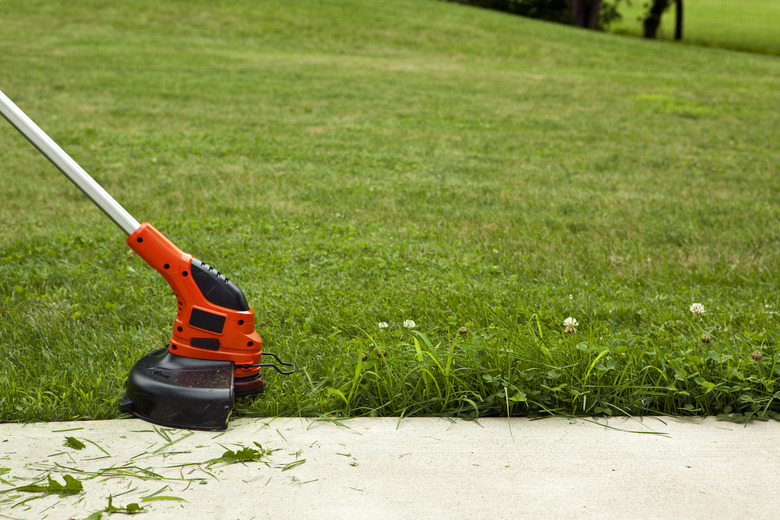
The long grass that edges your property after you've mowed the lawn can be quite an eyesore. The quickest way to remove these remnants is to use a trimmer, such as a STIHL string trimmer. Like other tools, string trimmers need maintenance to keep them in top working condition. You also need to know how to disassemble the trimmer head so you can restring your trimmer when it runs out of trimmer line.
STIHL Trimmer Head Models
STIHL Trimmer Head Models
There are three common types of heads for STIHL trimmers. There is the STIHL Autocut model, the STIHL Autocut Easy Spool, and the STIHL Trimcut. Before beginning to remove any parts, turn the trimmer off and let the tool rest for a short period to allow the head to cool down. On certain models, the head of the trimmer heats up while the head is rotating, so it is best to wait for it to cool before attempting to remove any parts. If your model is a gas trimmer, disconnect the spark plug wire from the spark plug.
Each model is slightly different, so it is best to refer to the disassembly instructions for your particular type of STIHL trimmer to make sure that you take it apart properly. If you are unsure, the model of the trimmer is usually found on the side of the rotating trimmer head. Once the head of the trimmer has cooled down and can be manipulated, flip your trimmer over so you can see the underside of the head.
STIHL Autocut Head Removal
STIHL Autocut Head Removal
The Autocut model has a tapping cover that is secured in place by tabs on either side of the head. Press on each tab firmly, pushing the tab inward and then up toward the trimmer head to disengage the cover from the trimmer head. Slowly pull on the cover of the head to remove this piece. You will then see the spool inside, which you can remove by pressing down on the center knob and turning counterclockwise to release it.
STIHL Trimcut Head Disassembly
STIHL Trimcut Head Disassembly
You can identify the STIHL Trimcut model by the star nut that holds the spool in place. This model does not have a tapping cover as the Autocut does, making the spool even more accessible with minimal effort. Twist the star nut counterclockwise to fully remove it from the trimmer head. You then have immediate access to the spool within.
STIHL Autocut Easy Spool
STIHL Autocut Easy Spool
The STHIL Autocut Easy Spool has a large nut on the head to keep the spool in place. This nut is different from the nut on the Trimcut model because it looks like a large knob, without any indentations, on the bottom of the trimmer head. Twist the nut counterclockwise to disengage it; then lift out the spool of string from within the head. Pay close attention when disassembling this model, as there is a spring located in the center of the spool. Do not lose this spring, as the tool will not function properly without it.
Cleaning a STIHL String Trimmer
Cleaning a STIHL String Trimmer
If you are adding trimmer line to your STIHL trimmer, this is a perfect opportunity to properly clean it to maximize its efficiency. Clean your lawn care tools regularly to ensure proper functionality.
With a dry cloth, wipe off any debris, such as dirt or grass that may have found its way into the cavity of the trimmer head. Depending on your model, you can also wipe down the cover or nut as well to ensure easy reassembly. If your STIHL trimmer spool is empty and needs to be wound with new line, wipe down the empty spool as well.
