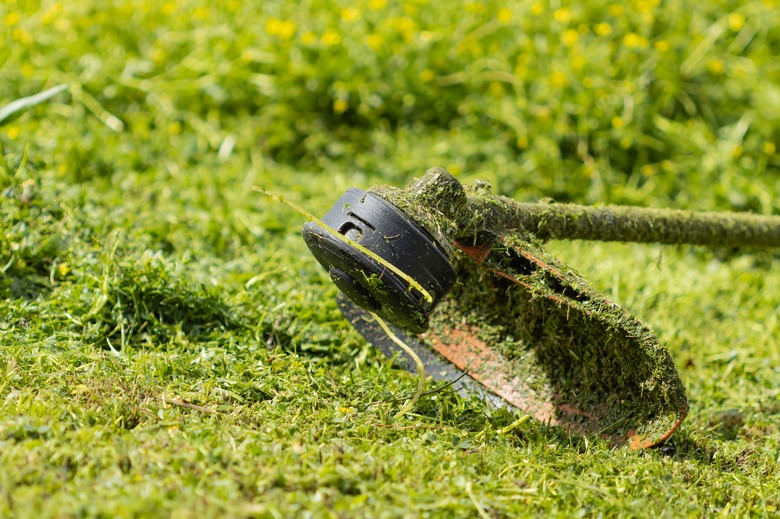
How To Unfreeze A Bump Knob From A Troy-Bilt Weed Trimmer
The bump knob on a Troy-Bilt weed trimmer is a mechanism at the bottom of the spool that feeds the line needed for trimming back weeds. On occasion, the bump knob can freeze, keeping the line from moving through the spool and rendering the trimmer inoperable. According to Troy-Bilt, this could be caused by corrosion, dirt collected inside the mechanism or an issue with the retaining screw. Unfreezing a bump knob on a Troy-Bilt weed trimmer requires determining the cause and then using minimal tools to solve the problem.
Things Needed
How to Unfreeze a Bump Knob From a Troy-Bilt Weed Trimmer
How to Unfreeze a Bump Knob From a Troy-Bilt Weed Trimmer
Before beginning the process, be sure to consult the user manual that came with your Troy-Bilt weed trimmer for specific instructions. Always proceed with caution when repairing equipment by ensuring the device is turned off or unplugged and being mindful of potentially dangerous mechanisms. If you are unsure about the repairs, consult a professional.
You may need these tools to repair your Troy-Bilt weed trimmer;
1. Remove the Bump Knob
1. Remove the Bump Knob
The bump knob rotates in the direction of the trimmer. Troy-Bilt notes that it manufactures weed trimmers that rotate both clockwise and counterclockwise. To determine the trimmer's rotational direction, safely start the trimmer and view the rotation from above. Standard string trimmers will spin clockwise, while brush cutters will spin counterclockwise.
Before you remove the bump knob, make sure there is no power running to the engine by either turning off the trimmer or unplugging it. Then, lay it on its side. For clockwise-rotating trimmers, the bump knob should be removed by twisting it off counterclockwise. Bump knobs on counterclockwise-rotating trimmers should be removed by twisting clockwise.
If the bump knob is stuck, use a pair of pliers for a more secure grip. Be careful when using pliers since the teeth on metal pliers can cut into plastic. If you are concerned, you can opt for taping the teeth of the pliers with Teflon tape to ensure it does not cut into the bump knob.
2. Inspect the Bump Knob and Spring
2. Inspect the Bump Knob
and Spring
Once the bump knob is removed, inspect the spring on the inner spool. If there is any damage to the spring, it is most likely the cause of the bump knob freezing and would need to be replaced.
If the inner spring appears intact, inspect the bolt at the top of the bump knob. If all is working correctly, the bolt should spin with little resistance. If there is resistance, there may be damage to the bump knob, which would require it to be replaced.
3. Reinstall the Parts
3. Reinstall the Parts
If there is no damage to the bump knob and spring or if you have purchased replacements, you can then reassemble the weed trimmer. To ensure that the bump knob does not freeze again, spray a lubricant, like silicone, where the bolt's threads exit the knob. Twist the bolt to distribute the lubricant evenly.
Next, clean and remove any grass and dirt from the inside of the outer spool housing. When clear of debris, first place the inner spring over the outer spool housing's shaft and then place the inner spool over the spring. Once secure, twist the bump knob by hand back onto the spool until it's tight. Finally, safely check whether the weed trimmer is back to working order.
