What Is A Thermostat Heat Anticipator? (And How To Adjust It)
A heat anticipator is a tiny electrical device inside a thermostat that makes the thermostat shut off the furnace burners just before the set temperature is reached. The furnace blower continues to blow hot air into the house for a short time, bringing the heat up to the desired room temperature. If the heat anticipator setting needs adjustment, your furnace may come on too often and shut off too soon (called short-cycling), or it may stay on too long and heat the house more than you want it to (called overshooting).
Here's how a heat anticipator works and how to adjust a heat anticipator if your HVAC system is cycling too quickly or staying on too long.
How Does a Thermostat Heat Anticipator Work?
How Does a Thermostat Heat Anticipator Work?
A heat anticipator is a metal resistor that heats up when electricity passes through it, much like the burner coils on an electric stove or a heating element in a toaster. The anticipator receives electrical current from one of the low-voltage thermostat wires; the amount is very small, typically between 0.3 and 0.4 amp (ampere).
During the furnace heat cycle, the anticipator heats up, making the thermostat's bimetal coil (the heat sensor in an old-style thermostat) behave as though the room air is warmer than it really is. This makes the thermostat shut off the heat cycle a few moments early. After the furnace burners shut off, the furnace keeps the blower going to use the residual heat in the furnace heat exchanger and empty the ductwork of heated air. By then, the room air will actually equally the set temperature on the thermostat. Without the heat anticipator, the room would get a little hotter than the set temperature every time the heat went on.
Does My Thermostat Have a Heat Anticipator?
Does My Thermostat Have a Heat Anticipator?
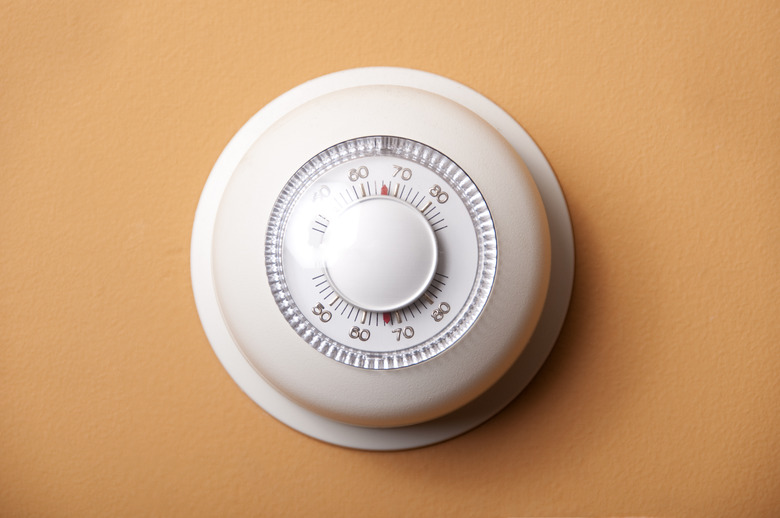
Only mechanical thermostats have heat anticipators. These include older-style manual thermostats that you adjust by turning a dial or moving a lever, such as the Honeywell CT87 round thermostats. Many of these also use a mercury switch and typically control only heat or only air conditioning but not both. If you have a digital thermostat with a digital readout or any other kind of electronic thermostat, it does not have a heat anticipator. Electronic thermostats use a different device to help smooth out temperature swings like a heat anticipator does.
How to Adjust a Thermostat Heat Anticipator
How to Adjust a Thermostat Heat Anticipator
Professionals adjust heat anticipators by measuring the amp draw of one of the thermostat wires and setting the anticipator to the same amperage. For homeowners, there's a simple DIY method that takes a bit longer and may require some trial and error, but it's easy, and you can do it right at your thermostat.
1. Remove the Thermostat Cover
Most old thermostats have faces that simply pull straight off of the thermostat base. You're just taking off the cover, not pulling the base from the wall. Some thermostats have a tab or button that you press to release the face.
2. Identify the Heat Anticipator
Look for a small needle or dial inside the thermostat. It will point to a scale with several numbers, typically ranging from 0.2 or 0.25 to 1.2. This is an amperage scale.
Warning
Be careful not to damage the mercury bulb inside the thermostat; mercury is highly toxic.
3. Move the Heat Anticipator Needle
The direction to move the needle depends on what you're experiencing:
- Heat is shutting off too early (before the room gets to the set temperature): move the anticipator needle UP by 0.1 on the amp scale.
- Heat is staying on too long (after the set temperature is reached): move the anticipator needle DOWN by 0.1 on the amp scale.
Some heat anticipators have a little lever that moves the needle; with others, you may need to use a pencil point or other pointed object to move the needle itself.
4. Let the System Adjust
Give the thermostat and heating system plenty of time to adjust to the change — this can take several hours to more than a day. If the problem persists after the waiting period, adjust the heat anticipator up or down (as before) by 0.1 amp, and wait again. If a second heat anticipator adjustment doesn't solve the problem, it's time for a professional service call.
Need to see the process visually? Watch these step-by-step instructions from grayfurnaceman:
