How To Clean Mitsubishi Split Air Conditioners
We may receive a commission on purchases made from links.
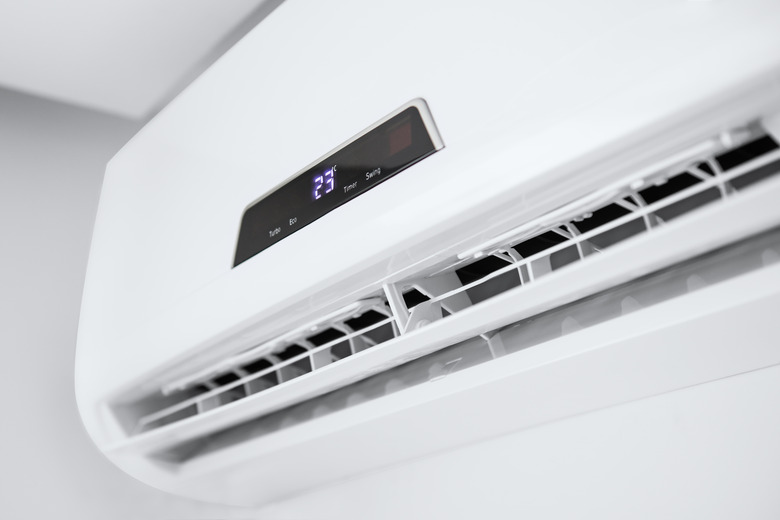
Mitsubishi minisplit air conditioners, like all minisplits, consist of an indoor unit, which contains the evaporator coil and blower, and an outdoor unit that houses the compressor. Both indoor and outdoor units need regular cleaning to maintain good airflow. If dirt is allowed to accumulate, the system works harder, won't last as long, and won't keep you as cool as it should.
The indoor unit typically needs more frequent cleaning than the outdoor one, and if you follow a regular regimen, you should be able to do the job with a few cloths, soap, water, and a vacuum cleaner. It's a good idea to purchase a set of attachments designed for cleaning air conditioners. They will make the job much easier.
If dirt has accumulated, you can wash both the indoor and outdoor units with water but be sure to turn off the circuit breaker controlling the system before you do so to avoid getting a serious shock. When washing down an indoor unit, be sure to purchase a waterproof bag with a drain to avoid getting your living room wet. If you clean your indoor unit regularly, you shouldn't ever have to wash it down.
How To Clean the Indoor Unit
1. Turn Off the Power
Use the remote to turn off the system. If you need to wash down the unit, turn off the circuit breaker.
2. Remove and Clean the Air Filters
Lift the front cover as far as it will go, disengage the hooks on either side, and remove it. Pull out the filters (there are usually two) and vacuum them with a brush attachment. You can also take them to the sink and wash them with soap, water, and a sponge.
3. Clean the Heat Exchanger
Use the brush attachment on your vacuum to clean the heat exchanger fins inside the unit just behind the door, Always run the vacuum vertically along the fins. They are fragile, and you can damage them by running the vacuum horizontally along them.
4. Clean the Fan Unit
Unhook and remove the louver on the bottom of the unit and use the vacuum to clean dirt from the fan blades, fan motor, and cooling coils. If you don't have a small enough attachment to get all the dust, wipe off the dust with a dry cloth. Be sure to wear rubber gloves.
5. Clean the Condensate Pan
Wipe up any moisture on the condensate pan at the bottom of the unit. If water has collected, the drain hose may be blocked. Pour in a little full-strength vinegar to clear the hose, giving it a few hours to work before turning the unit back on.
How To Clean the Outdoor Unit
1. Turn Off the Power
Turn off the circuit breaker for the air conditioning system. You'll be using water for this procedure, so don't rely on the remote control to cut power to the system.
2. Remove Debris From the Housing
Clear any loose debris you find on the housing, particularly if it's covering any of the heat exchange grilles.
3. Vacuum and Wash the Grilles
Use the vacuum cleaner and brush attachment to clean dirt off all the heat exchange grilles. Be sure to run the vacuum vertically along the fins, not horizontally. If the grille is still dirty, spray it with liquid soap and wash it down with a garden hose.
4. Clean the Inside of the Housing
Access the inside of the housing by unscrewing and removing the top of the unit or one of the grilles, whichever is easier. Wipe down the fan blades with a dry cloth and vacuum the interior of the housing, paying special attention to the condenser coils. If the coils are extra dirty, brush off the dust with a coil brush.
5. Clean the Condensate Pan and Hose
Check for moisture in the drain pan and wipe it with a cloth. If you see any mold growing, spray it with a 10 percent bleach solution and clean the condensate hose with vinegar to unblock it.
